Summary
Solo players often struggle in Storm Dive because most Trampler builds are designed for full crews. The featured run demonstrates how a carefully optimized 3-Man Trampler can survive against larger teams by prioritizing durability, efficient repairs, and disciplined engagements instead of reckless aggression. Based on this solo Storm Dive gameplay, this guide explains how to build your Trampler, prepare before deployment, manage PvP fights, and recognize when to disengage. Players looking to strengthen their progression outside combat may also consider Buy SAND: Raiders of Sophie Crown as part of their overall resource planning.
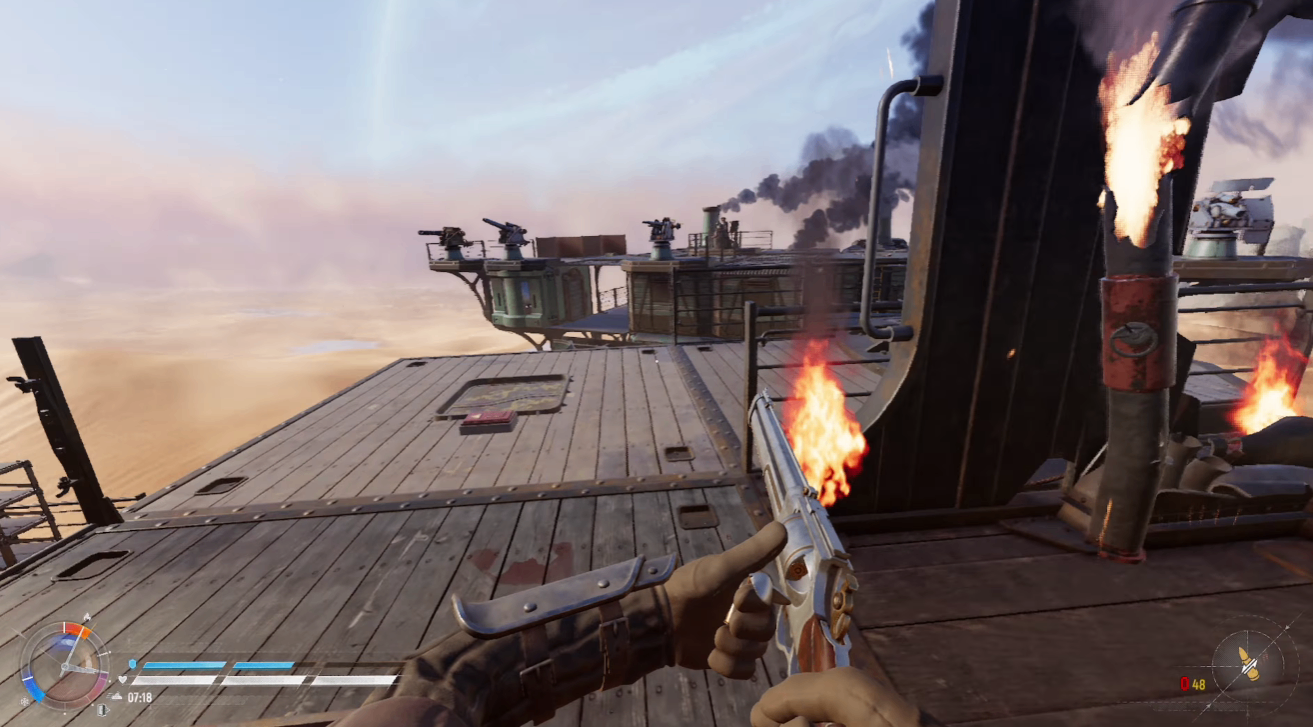
Step 1: Build Your Trampler Around Survivability
A solo pilot cannot rely on teammates to repair damage or defend multiple positions simultaneously, so survivability becomes the highest priority.
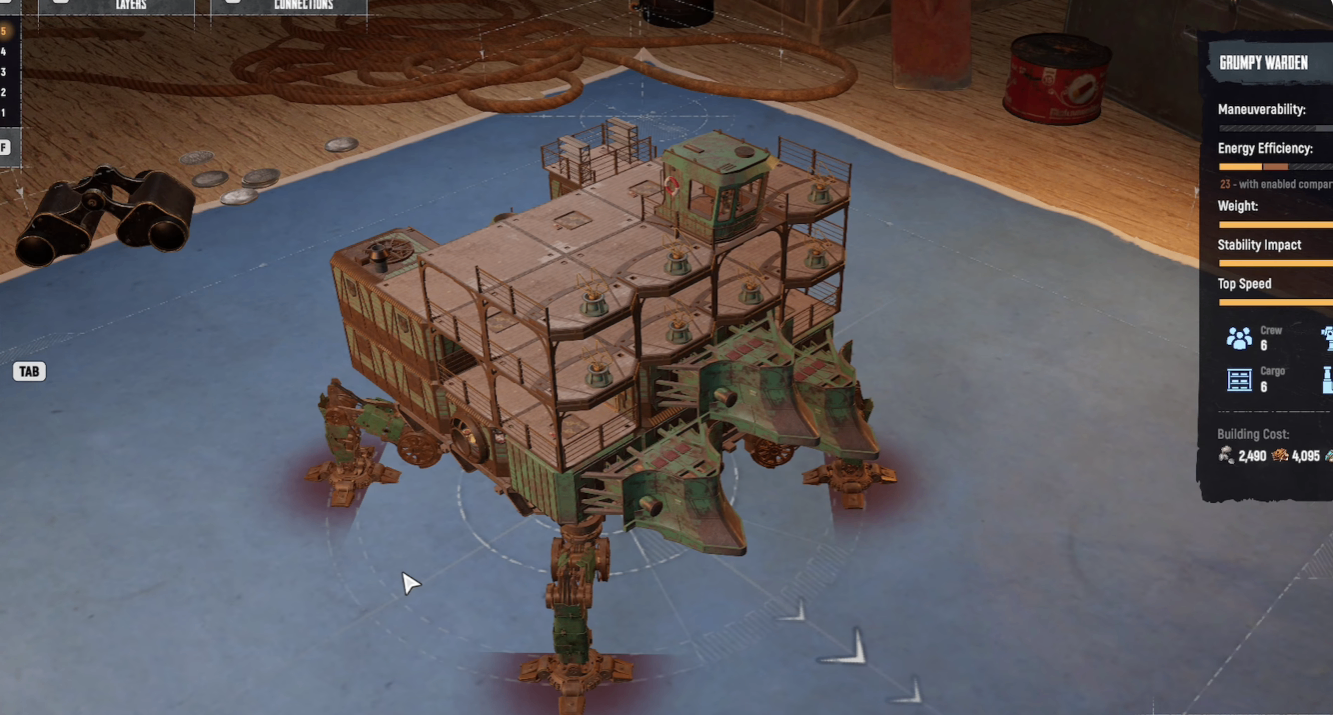
The featured Trampler focuses on several defensive upgrades:
Battering Ram with 8,000 HP protecting the front.
Three Metal Hatches that can be repaired without shutting down the engine.
Four 7,000 HP Cargo Bays stacked to shield critical components.
Full two-story protection around the Reactor.
One of the biggest mistakes many players make is leaving the upper section of the Reactor exposed.
Since the Reactor occupies two floors, both levels must be protected. Ignoring the second floor allows enemy crews to destroy your Trampler much faster during boarding engagements.
Step 2: Prepare Every Compartment Before Entering Storm Dive
Good preparation saves valuable seconds once combat begins.
Before leaving the deployment area, complete the following setup:
Weapon Loadout
Three Shotgun Turrets
Pristine 80
Two Reflectors
Two Amplifiers
Orbital Strike Pointer
Great Silence
Ship Preparation
Place repair kits inside compartments.
Store food throughout the ship for emergency recovery.
Load Smoke Shells into the Shotgun Turret.
Position secondary weapons, including the 40 mm, before combat begins.
Completing this preparation early allows you to stay focused during PvP instead of searching for supplies mid-fight.
Step 3: Pick Your First Fight Carefully
The objective of this run is PvP rather than farming Points of Interest.
Instead of looting ships or exploring the map, immediately search for enemy Trampers.
During the first encounters:
Watch how opponents react after spotting your Trampler.
Do not rush into poor terrain.
Force enemies to make the first positioning mistake.
Several enemy crews choose to retreat after recognizing the heavily armored build, demonstrating that strong ship design can influence engagements before firing even begins.
Step 4: Disable Enemy Mobility Before Going for the Reactor
Once combat begins, avoid shooting random armor sections.
The featured engagement follows a clear sequence:
Destroy the enemy legs.
Expose the Reactor.
Deploy an Amplifier.
Eliminate defensive turrets.
Destroy the Reactor.
Push forward only after the enemy is disabled.
Because the opposing Trampler backs itself against terrain, it loses room to maneuver, allowing the solo player to control the engagement from higher ground.
Following this sequence results in two confirmed eliminations before the fight ends.
Step 5: Repair Immediately After Every Victory
Winning a fight does not mean you're safe.
After looting the defeated crew, immediately:
Repair damaged modules.
Reposition turrets.
Restock repair equipment.
Prepare for the next contact.
Solo players rarely have enough downtime to recover completely, so every repair window should be used efficiently.
Step 6: Adapt Your Strategy Against Heavy Trampler Builds
The second major encounter features a much stronger opponent equipped with an Experimental 80 mm Rail Cannon.
Rather than trading shots immediately, the solo strategy changes:
First Response
Close the distance to reduce the Rail Cannon's range advantage.
Activate Great Silence to interrupt enemy systems.
Deploy a Reflector.
Follow with an Amplifier before focusing fire.
Defensive Recovery
After taking heavy damage:
Deploy Smoke to break enemy vision.
Retrieve repair kits.
Continue repairing while repositioning.
Bring the 40 mm back into the fight.
This layered response gives a solo player enough time to recover despite losing key components.
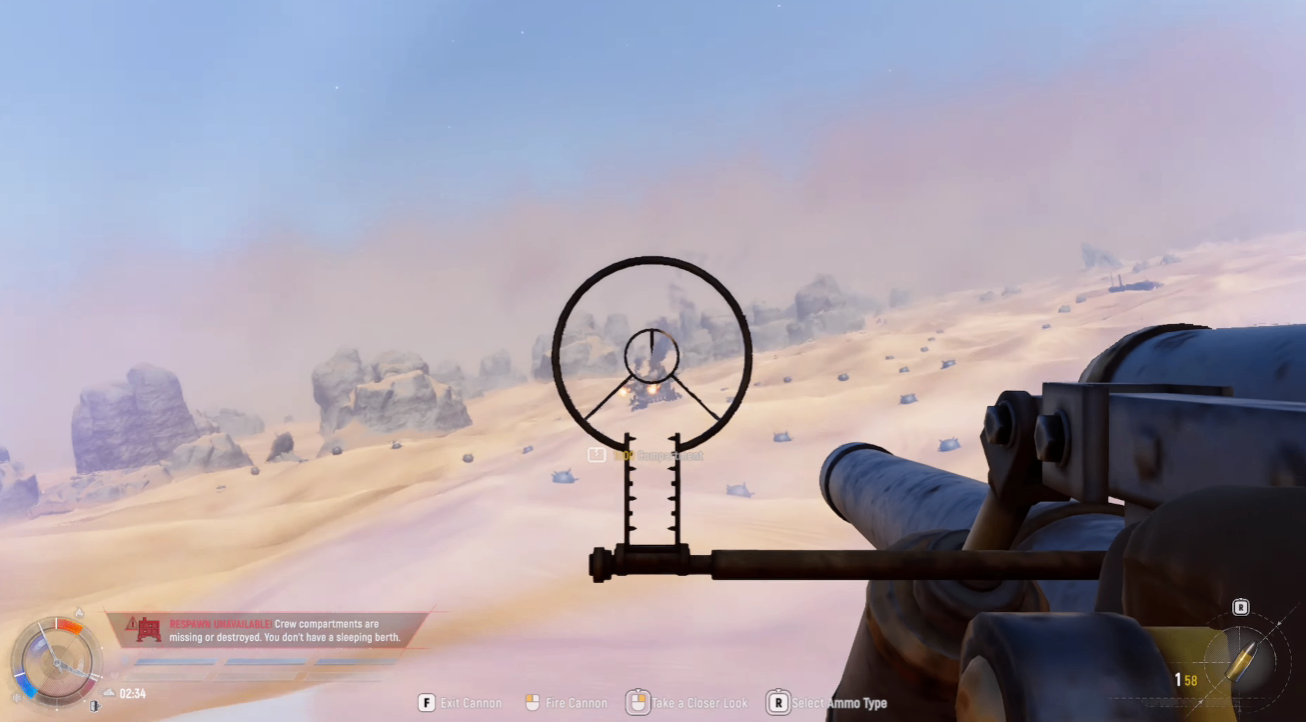
Step 7: Recognize When Crew Numbers Become the Deciding Factor
Even the strongest solo build has limits.
During the final engagement, the enemy crew combines several advantages:
Multiple operators repairing simultaneously.
Continuous fire from Pristine weapons.
Boarding pressure.
Experimental 80 mm firepower.
Constant offensive coordination.
The solo player responds by:
Attempting another Great Silence.
Launching an Orbital Strike Pointer.
Targeting the enemy Experimental 80.
Continuing repairs until the ship is overwhelmed.
Although the Trampler is eventually destroyed, the engagement demonstrates how a properly designed solo build can survive far longer than expected against a coordinated trio.
Step 8: Learn from the Final Fight
The post-fight review identifies several possible improvements.
Future adjustments include:
Landing Great Silence more consistently.
Considering an EMP Charge during close engagements.
Preserving greater distance before enemy boarding begins.
Evaluating whether bringing a Pristine U40 would improve sustained damage output.
Rather than changing the entire build, these refinements focus on improving execution against highly coordinated teams.
Key Takeaways
Build your Trampler around Reactor protection before increasing weapon damage.
Use 8,000 HP Battering Ram and stacked 7,000 HP Cargo Bays to maximize durability.
Prepare all repair kits, food, and defensive equipment before entering Storm Dive.
Disable enemy movement first, then focus on the Reactor.
Repair immediately after every engagement instead of chasing another fight.
Use Great Silence, Reflectors, Amplifiers, and Smoke in sequence against stronger opponents.
Against organized trio crews, recognize when boarding pressure becomes the highest threat and adjust your positioning accordingly.
Conclusion
This solo Storm Dive demonstrates that careful preparation and disciplined decision-making can compensate for the lack of teammates. A durable Trampler, efficient repair routine, and structured target priority allow a single player to defeat weaker crews and remain competitive even against well-equipped trios. While coordinated teams still hold a numerical advantage, optimizing your build and executing each engagement methodically will significantly improve your survival rate and overall combat performance in SAND: Raiders of Sophie. Players planning long-term progression can also consider Buy SAND: Raiders of Sophie Items alongside their equipment strategy.