Summary
Mastering your Trampler is the key to surviving in SAND: Raiders of Sophie. This guide covers the best Trampler builds, optimal cannon loadouts, target priorities, boarding strategies, repair tactics, PvE encounters in SAND: Raiders of Sophie Crown, and rebuilding tips to help you dominate both PvP battles and dangerous desert expeditions.
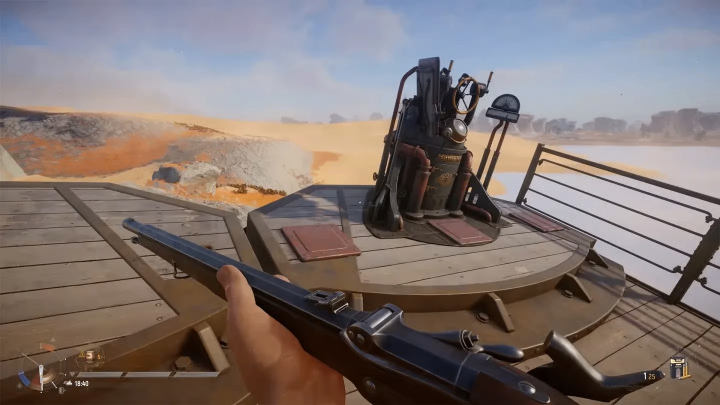
Understanding the Trampler System
Before choosing weapons or armor, it's essential to understand how a Trampler functions.
At the heart of every Trampler sits the Reactor, the single most important component of your machine. Without it, your fortress immediately loses:
Movement
Weapon functionality
Crew respawns
Because of this, experienced players always prioritize protecting their own Reactor while searching for opportunities to destroy an enemy's.
Unlike traditional vehicles, Tramplers are fully modular. Players can customize nearly every section of the fortress, including:
Crew compartments
Cargo storage
Spawn beds
Armor modules
Weapon platforms
Engines
Utility structures
This modular system creates meaningful decisions.
Adding more armor dramatically increases survivability but also makes the Trampler slower across the desert. Lightweight builds sacrifice durability for speed and mobility, allowing them to avoid unfavorable fights.
Choosing the right balance depends entirely on your preferred playstyle.
Loot Storage Is Just as Important as Combat
Many new players lose valuable resources simply because they misunderstand the extraction system.
Items collected during exploration must be stored inside your cargo compartment before extraction.
Anything left lying around on the deck disappears if your Trampler is destroyed.
Before entering dangerous PvP areas or contested ruins, always:
Organize inventory
Deposit valuables into cargo storage
Prepare for immediate extraction if necessary
Survival is often more profitable than chasing one extra fight.
Best Trampler Builds in Early Access
Current Early Access gameplay has produced three dominant Trampler philosophies.
1. Dune Runner (Best Solo Build)
Solo players benefit most from mobility.
A lightweight Dune Runner focuses on:
Fast movement
Compact layout
Easy access to controls
Minimal travel distance between systems
Keep your Reactor, steering wheel, and cannons close together so one player can operate every important system without wasting precious seconds running through the ship.
Speed becomes your greatest defense.
2. Outpost Build (Best Small Squad)
Small teams should prioritize defense and teamwork.
The Outpost design features:
Heavy armor
Protected Reactor
Multiple crew stations
Efficient repair routes
One teammate controls weapons while another performs repairs or prepares boarding actions.
Good coordination often wins battles before the enemy even reaches your hull.
3. Iron Dreadnought (Best Large Crew)
For larger groups, durability becomes the priority.
This fortress-style Trampler emphasizes:
Maximum armor
Deeply buried Reactor
Multiple cannon platforms
Dedicated repair crews
Strong defensive corridors
Although slower, Iron Dreadnoughts become extremely difficult to destroy once properly defended.
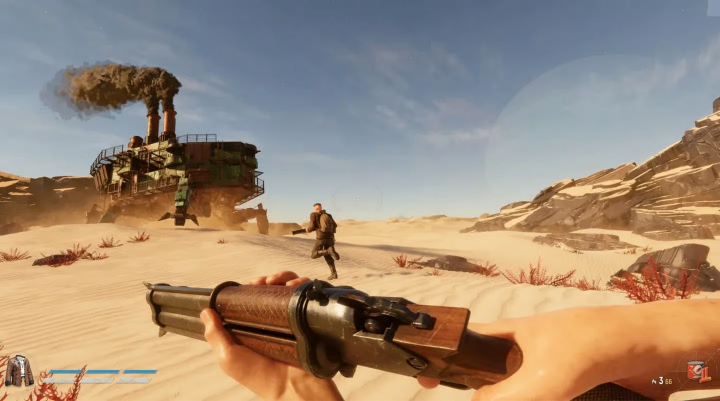
Best Weapons and Cannon Loadouts
Different cannon types excel in different situations.
The most balanced setup currently combines:
40mm Cannon for sustained damage
80mm Cannon for high-impact finishing shots
Mount one weapon toward the front and another toward the rear so you're always prepared regardless of enemy positioning.
For boarding combat, dual grey revolvers remain one of the strongest choices because:
Fast reloads
Reliable damage
Instant weapon swapping instead of lengthy reload animations
This setup gives boarders consistent firepower inside cramped enemy corridors.
Recommended Cannon Attachments
Attachments significantly improve combat efficiency.
Reinforced Gun Shield
Ideal for Heavy Autocannons.
Benefits include:
Protects the gunner
Prevents easy sniper eliminations
Improves survivability during prolonged engagements
High-Capacity Ammo Drum
Best used on Flak Artillery.
Advantages include:
Around 40% fewer reloads
Better sustained DPS
Excellent for defending against boarders
Thermal Tracking Scope
Perfect for Sniper Cannons.
This attachment allows players to:
Identify structural weak points
Locate enemy Reactors
Target critical systems from long range
Knowledge is often more valuable than raw damage.
Target Priority That Wins PvP Battles
One of the biggest mistakes beginners make is firing randomly at whatever part of the enemy Trampler is visible.
Successful crews follow a strict target order.
Step 1: Destroy the Legs
Mobility is everything.
Without functioning legs, an enemy cannot:
Escape
Flank
Position effectively
A stationary Trampler becomes dramatically easier to eliminate.
Step 2: Eliminate Their Cannons
Once mobility is gone, remove their offensive power.
Destroying weapon platforms prevents return fire while allowing your team to safely reposition.
Step 3: Finish the Reactor
The Reactor should always be the final objective.
Destroying it disables:
Respawns
Ship functions
Movement
However, remember that the captain may still survive and attempt to escape or steal your Trampler.
Always secure the battlefield completely.
Boarding and Ship Theft Guide
Boarding represents the highest-risk, highest-reward strategy available.
Once an enemy ship has been weakened:
Ram your Trampler into theirs.
Breach the hull.
Reach the captain's cabin.
Interact with the captain's terminal.
Capturing the terminal immediately grants control of the enemy Trampler while preventing the opposing crew from effectively defending it.
Afterward, eliminating the remaining crew becomes much easier.
Best Boarding Equipment
Certain explosives dramatically simplify boarding operations.
Recommended equipment includes:
Time Bombs
C4 Charges
These can destroy:
Reinforced doors
Cannon mounts
Wheels
Defensive barriers
Creating shortcuts through enemy defenses often determines whether a boarding attempt succeeds.
Before leaving a destroyed Trampler, always recover the Reactor's black box, which sells for a valuable profit back at the orbital base.
How to Defend Against Boarders
Good defense is just as important as offense.
Strong crews consistently:
Reinforce internal doors
Repair damage immediately
Guard the captain's cabin
Prevent enemies from reaching the Reactor
Never allow attackers free movement inside your fortress.
Every hallway should become a defensive choke point.
Why Repairs Decide Long Battles
Repairs are often overlooked by inexperienced crews.
During combat, damage affects nearly every part of the Trampler.
Use the multi-tool to repair:
Armor plates
Pipes
Electrical circuits
Structural supports
Reactor components
Damaged legs should always receive top priority because reduced movement limits your tactical options.
Many PvP engagements eventually become wars of attrition.
The crew that repairs faster usually survives longer.
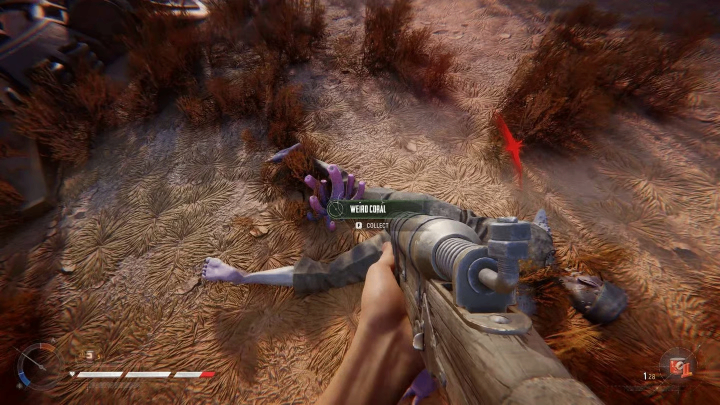
PvE Encounters Worth Farming
Not every fight involves other players.
Several PvE enemies provide valuable resources.
NPC Tramplers
These enemy machines are excellent farming targets.
Most fall after only four or five accurate 80mm cannon shots.
Rewards commonly include:
Fuel rods
Metal alloys
Repair kits
Perfect for gathering supplies before challenging human opponents.
Ironclad Robots
Ironclads are significantly more dangerous.
They appear after eye-shaped map beacons activate.
Although powerful, they remain vulnerable immediately after spawning.
Landing several free shots before they fully engage can greatly reduce the difficulty of the encounter.
Upiors
These mutated creatures roam abandoned cities.
They pose little danger to moving Tramplers but become deadly once players explore on foot.
Using Flak Artillery in open terrain provides one of the safest methods for clearing them before looting.
Armed Zombies
Don't underestimate armed zombies.
Despite being basic enemies, they possess surprisingly accurate firearms and can quickly punish careless players searching ruined buildings.
Always clear nearby threats before focusing on loot.
Rebuilding Your Trampler After Destruction
Eventually, every player loses a Trampler.
Fortunately, rebuilding is straightforward.
After successfully extracting, return to your orbital hangar and open the Trampler Editor.
From there you can:
Load saved blueprints
Select starter templates
Purchase a new Reactor
Install engines
Attach cargo modules
Mount fresh weapons
Stock ammunition and food
One of the best features in SAND: Raiders of Sophie is that your saved blueprints remain permanently unlocked.
Even if your Trampler is completely destroyed, you only need to gather the materials required to rebuild it—you never lose the design itself.
Final Thoughts
The Trampler is the foundation of every successful expedition in SAND: Raiders of Sophie. Understanding Reactor protection, modular construction, efficient repairs, and proper target priorities will dramatically increase your survival rate in both PvP and PvE.
Whether you prefer the speed of the Dune Runner, the teamwork of the Outpost, or the overwhelming durability of the Iron Dreadnought, success ultimately comes down to preparation, coordination buy SAND: Raiders of Sophie Crown, and smart decision-making. Master these mechanics, protect your Reactor, board enemy ships with confidence, and you'll quickly establish yourself as one of the most dangerous raiders roaming the dieselpunk desert.