





Looking for a ship setup that can soak punishment, keep firing under pressure, and still threaten enemy ships with relentless damage? The Mine Colossus Brig tank build answers that question with a loud yes. With 176,000 health, 76,462 burst strength, and 1,978 armor, this ship is designed to stand firm while stacking resistance, taunt pressure, flooding damage, and repair synergy. Want a build that survives explosive punishment, controls enemy attention, and keeps pressure rolling? This guide breaks down exactly how the tank works, what makes it so durable, and why its weapon layout creates constant battlefield control.
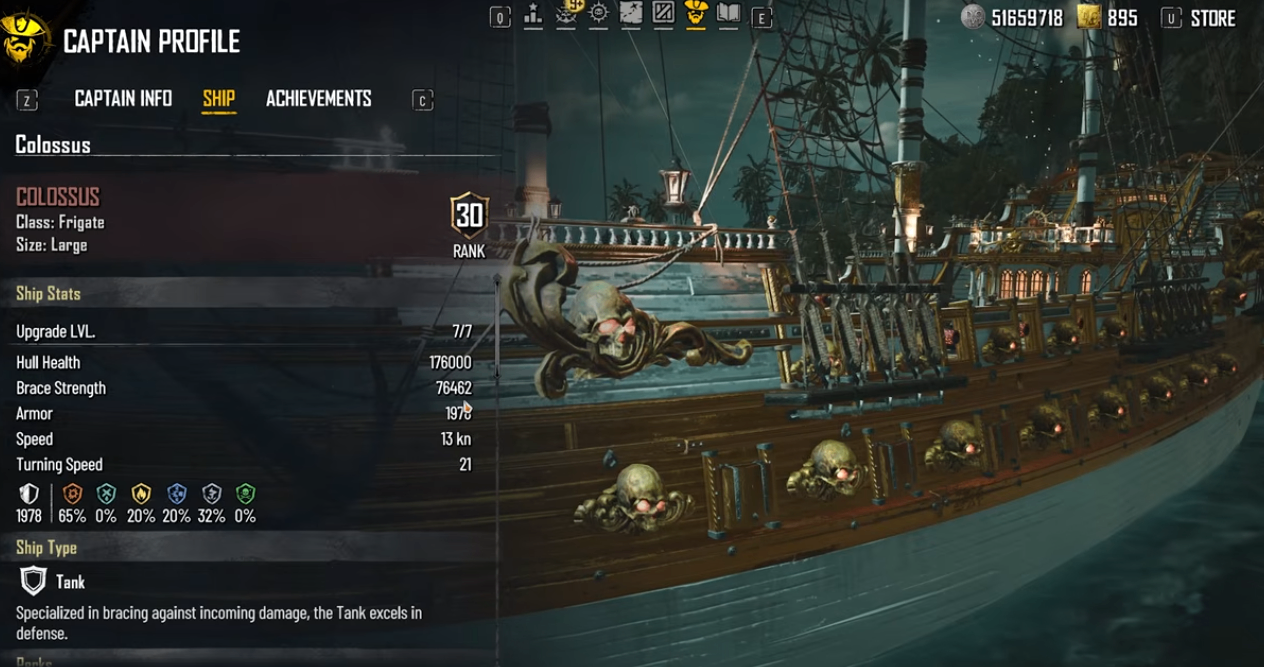
Why the Mine Colossus Stands Out
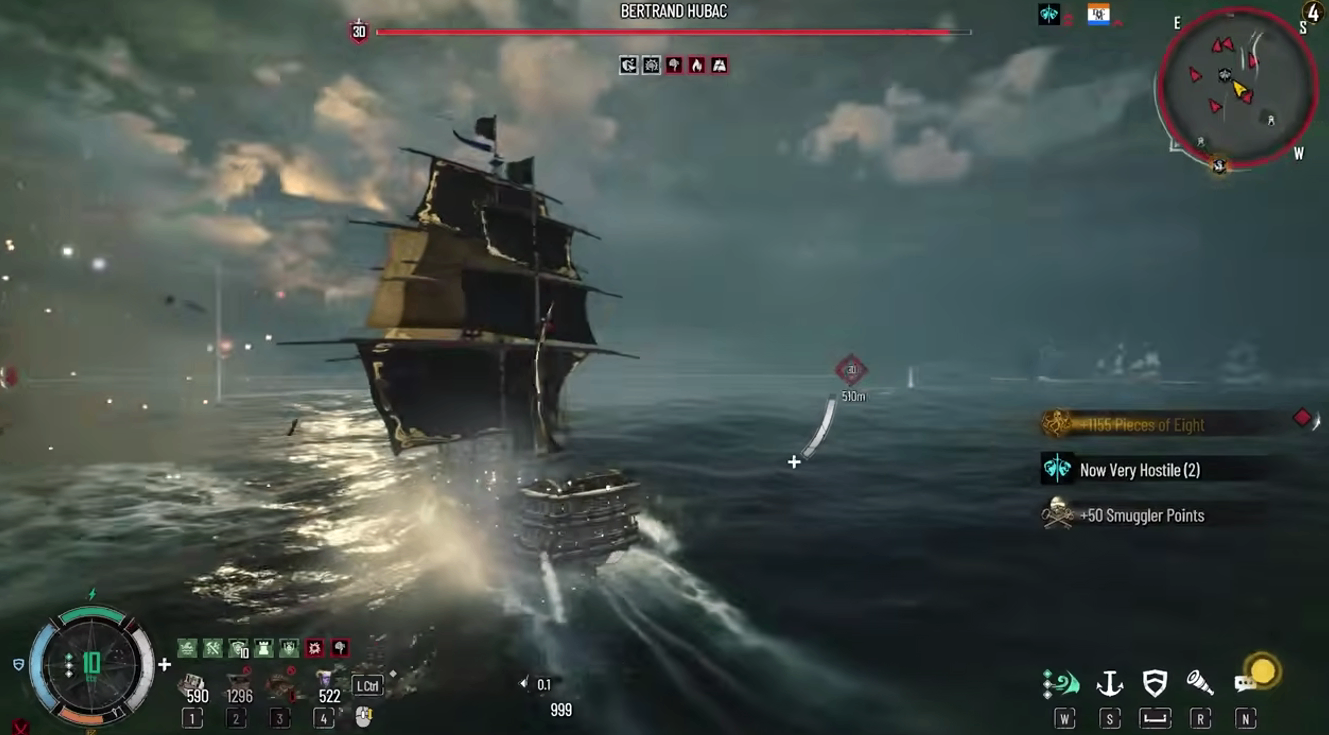
This Brig is not built like a typical damage-first ship. Its identity is pure tank resilience with strong grit and resolve. The build focuses on:
· High health and armor stacking
· Explosive mitigation and brace strength
· Taunt-based pressure
· Flooding and secondary damage synergy
· Strong sustain through mending support
In practical terms, this means the ship is meant to stay alive longer, draw enemy focus, and punish targets over time rather than relying on one huge burst window.
Skill Tree Priorities That Make the Tank Work
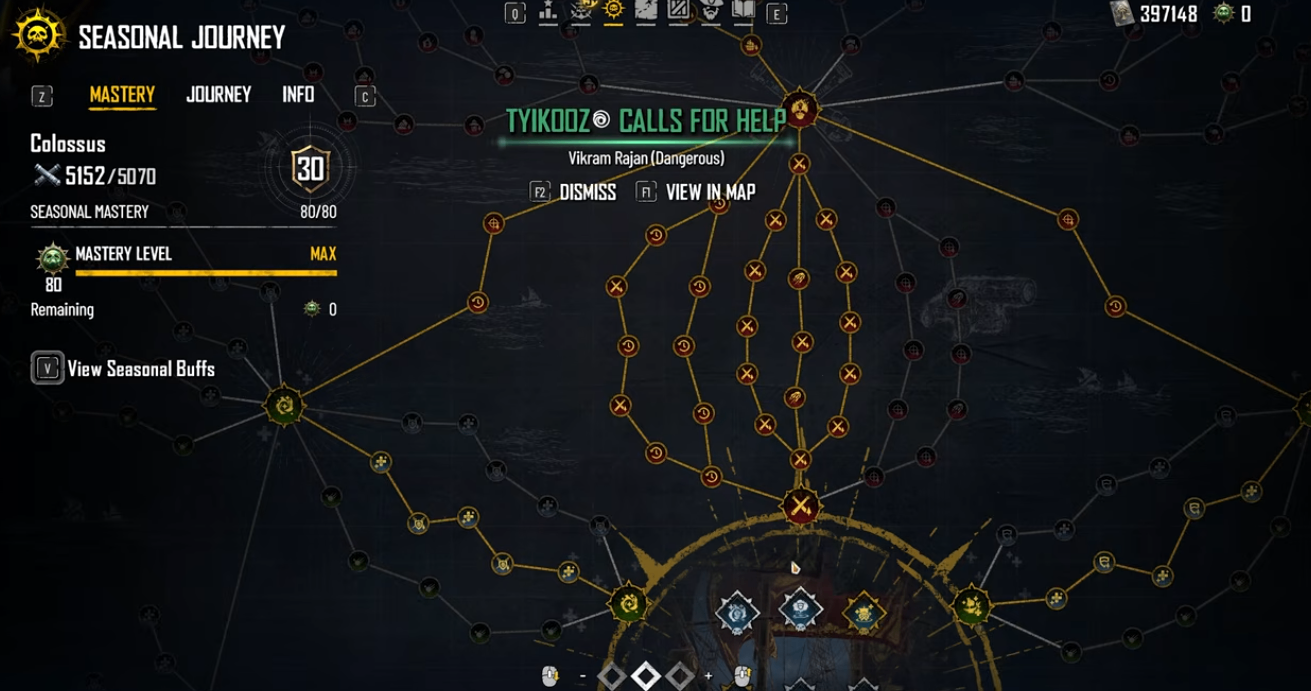
The skill setup is carefully tuned for survivability and damage support. Key picks include:
· Battle Medic
· Finishing Blow
· Deadly Medicine
· Specialized Missions 1 and 2
· Fire damage and flooding damage upgrades
· Penetration bonuses
· Vicious Munitions 1
· Hard Munitions
· Blood for Blood
· Projectile speed and reload improvements
· Defensive nodes such as Damage Control, Critical Damage Control, and health/armor upgrades
· Patchwork Repairs for slower mending with extra durability
The main takeaway is simple: this is not a glass cannon. It is built for efficient, repeated damage while staying upright through extended fights.
Weapon Layout: Why Triple Hell Ports Change the Fight
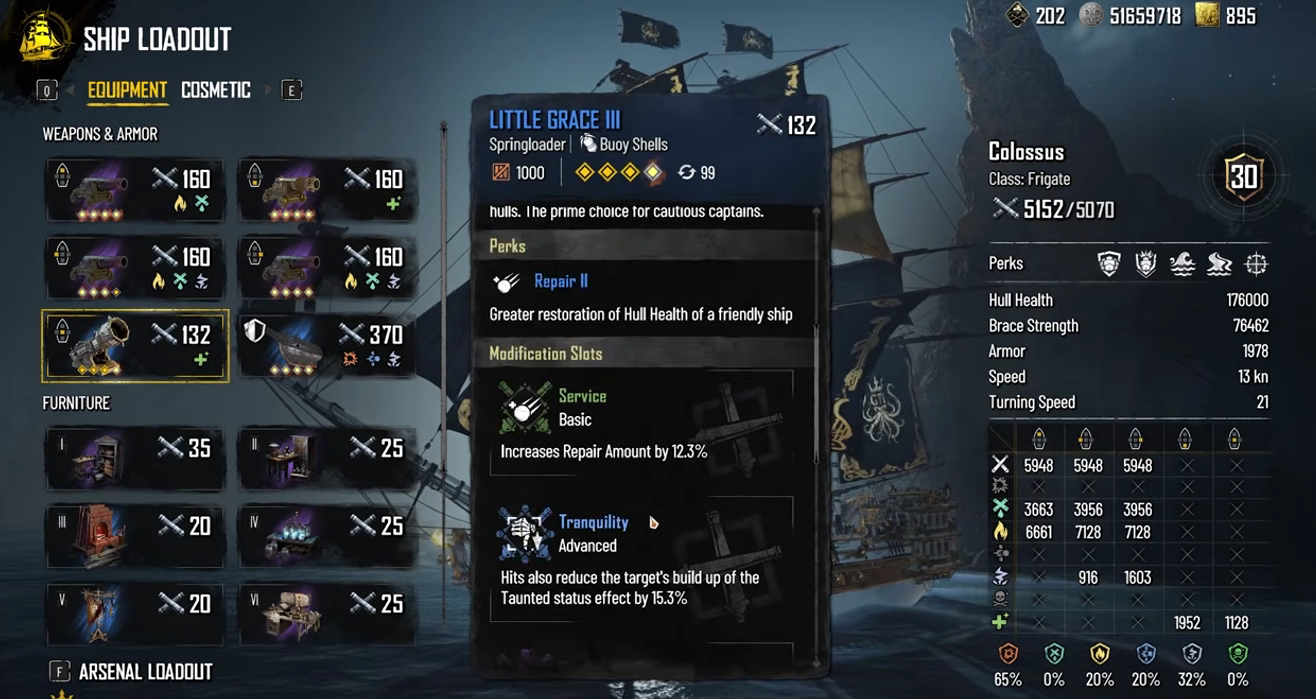
The weapon arrangement is what gives this build its edge:
· One Hell Port at the front
· Two Hell Ports on the sides
· One healing weapon in the rear
The front loadout uses Rupturing Roar, Roar, and Corpse Explosive Bomb, while the side mounts use combinations of:
· Rupturing Roar
· Severity
· Lightning Strike
The reason for using Roar twice in the front is to speed up the taunted effect, helping trigger the Inverted Flag Rack faster. That means more pressure on taunted targets and more value from your control tools.
Auxiliary Choice: Defense First, Not Empower
Instead of running an empower-style support setup, this build uses:
· Service Tranquility
· Preemptive Defense
· Purify
The standout piece here is Preemptive Defense, which grants 50 extra armor on the target for 10 seconds and can stack up to five times, reaching 250 armor. That is a huge defensive boost for a tank-focused ship and helps reinforce the role of frontline control. If you're looking to optimize your loadout faster, you can buy Skull and Bones Silver to unlock these upgrades without the endless grind.
Armor and Resistance: The Real Backbone
The armor choice is Titan’s Cuirass, one of the standout defensive options in the setup. If unavailable, similar blue armor alternatives can still work, such as:
· Harrow Guard
· Sumaru Sunder
· Boltas Ward
The selected armor includes:
· Stout Maintenance
· Steel Integration
· Fortified Plates
A major stat highlight is 65% explosive mitigation, which significantly boosts armor and brace strength. According to the build logic:
· Every 1% explosive resistance adds 11 armor
· Every 10% explosive resistance increases brace strength by 9%
That means the more explosive resistance you stack, the harder this ship becomes to break.
Furniture Synergy: Every Slot Has a Job
This build uses furniture pieces that reinforce its intended combat rhythm:
Drowning Cabinet
· Damaging a target reduces its max health
· Flooding weapons deal 15% more weapon damage for 20 seconds
· Flooding effects last longer
· Reload time for flooding weapons is reduced by 10%
The key reason for this choice is the reload reduction, which helps the ship maintain pressure more efficiently.
Caustic’s Ball Station
· Projectile speed bonuses increase flooding damage by 1% per 1% projectile speed, up to 30%
This is why the skill tree leans heavily into projectile speed.
Leaden Ball Array
· Adds bonuses for electric damage and storm-struck targets
· Also reduces reload time for electric weapons
While not the primary focus here, it still contributes useful secondary value.
Grand Rod Workshop
· Reduces reload time of broadside weapons by 7%
· Increases secondary damage dealt by broadside weapons by 7%
That makes side-mounted pressure more efficient.
Inverted Flag Rack
Since the build uses roar/taunt, this furniture is essential:
· Deals 14% more weapon damage to taunted targets
· Increases taunted duration by 15%
This is one of the main damage amplifiers in the build.
Physician’s Ledger
· Increases secondary damage dealt by mending weapons by 7% per consecutive hit, up to 35%
· Increases projectile speed of mending weapons by 12%
This pairs especially well with the healing weapon setup and further supports the tank’s sustained combat style.
How the Build Plays in Real Combat
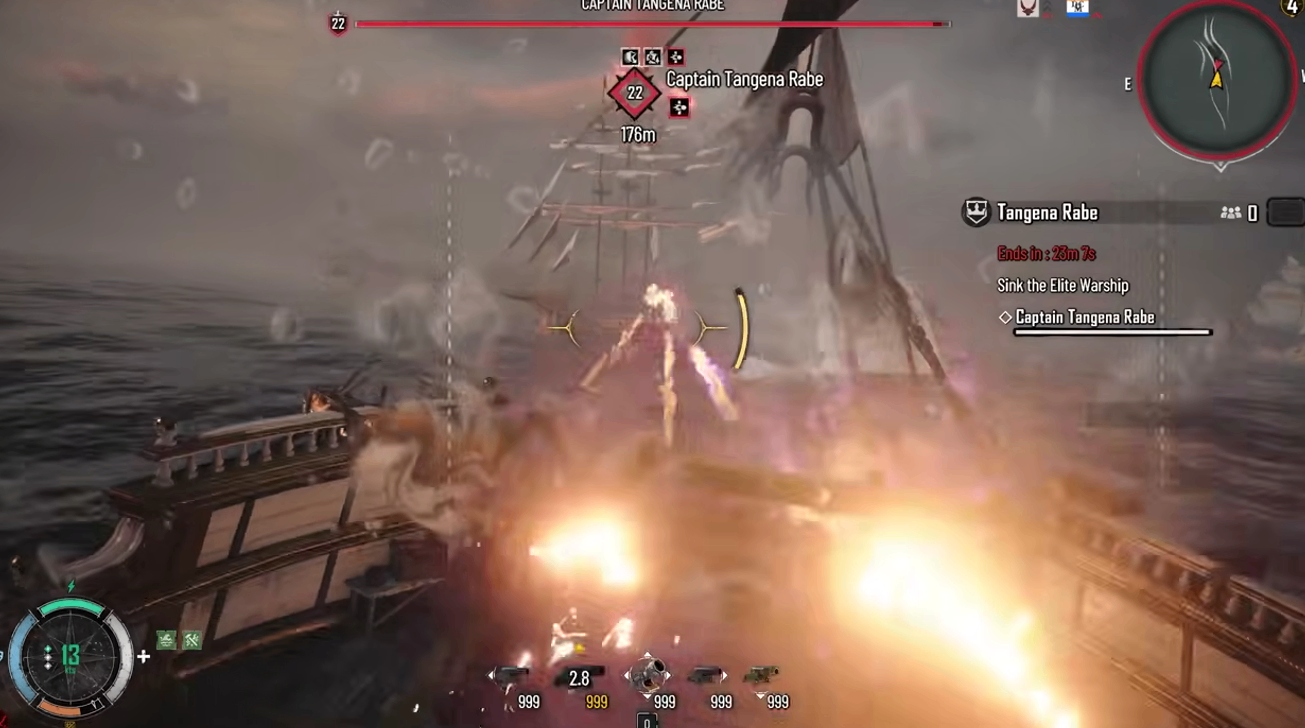
This Brig is best played as a repetitive-shot control tank. It is not trying to end fights instantly. Instead, it:
· Keeps enemies taunted
· Maintains pressure with flooding and secondary damage
· Uses armor and mitigation to survive explosive retaliation
· Applies sustained fire while staying in the brawl
It is especially effective when enemy ships try to disengage, because the weapon setup and tankiness let you keep pace without collapsing under return fire.
Buy Skull and Bones Items at mmoexp, save your sanity, and enjoy the real endgame by building a ship that performs consistently instead of forcing you into fragile, high-risk setups.
Who Should Use This Build?
This setup is ideal for:
· Players who prefer survivability over raw burst
· Brig users who want a frontline tank role
· Combatants who like taunt-based pressure
· Anyone who values steady damage, armor stacking, and fight control
It delivers value by making battles more forgiving, improving staying power, and creating more room for mistakes without immediately sinking.
Core Strengths and Trade-Offs
Strengths
· Extremely high durability
· Strong explosive resistance
· Good taunt control
· Reliable flooding and secondary damage
· Better long-fight performance
Trade-Offs
· Not focused on explosive burst kills
· Requires commitment to the tank playstyle
· Torpedo-heavy opponents can still be dangerous
Final Tips
· Prioritize explosive resistance whenever possible.
· Keep projectile speed high to maximize flooding synergy.
· Use Roar effectively so taunted targets trigger the damage bonuses.
· Stay in fights long enough for your sustain and stacking effects to matter.
· If Titan’s Cuirass is unavailable, use a solid blue defensive alternative and still keep the tank identity intact.
Bottom Line: What Different Players Gain
· Tank lovers gain a durable Brig that can anchor fights.
· Sustain-focused players get a build that rewards patience and smart positioning.
· Damage-over-time fans enjoy strong flooding and secondary damage synergy.
· PvP-minded players get a setup that absorbs pressure while keeping enemy ships under constant threat.
![[Weapon] Atma's Toll](https://assets.mmoexp.com/images/202607/d19ecf02180aaf4b98e434b738c3dc61dd03360c.png)
![[Furniture] Physician's Ledger](https://assets.mmoexp.com/images/202607/b3955ff65a311b909a82f2f8790c08490d66ee8a.png)
![[Weapon] De Breker](https://assets.mmoexp.com/images/202605/ff55aae187f8eb5d895b6b0e74b5a022db1d6408.png)
![[Furniture] Royal Ramming Works](https://assets.mmoexp.com/images/202605/f9c582c68f7f9f8052f457f41ae489e4969c4b35.png)


