Skull and Bones medium ship builds remain viable, but players should not treat them as automatic replacements for large ships. Reported stream testing suggests that the schooner and brigantine can still provide enjoyable, flexible gameplay, while large ships—especially the galleon—often benefit from more serious damage and scaling advantages. This guide explains how to choose a medium ship, test weapons and furniture safely, recognize unclear mechanics, and manage limited reroll resources. It is most useful for returning and advanced players who want to experiment without wasting materials or assuming that every item description works exactly as written.
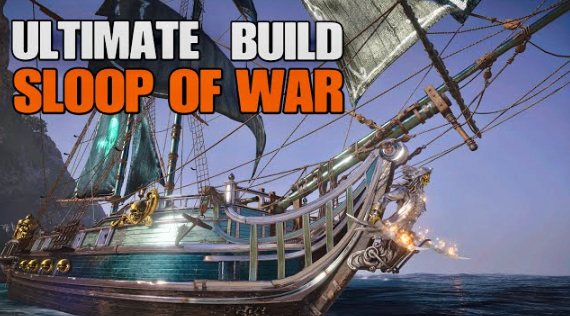
Is Medium Best?
Choose flexibility over popularity
Medium ships are still a reasonable choice for players who value maneuverability, experimentation, and a different combat rhythm. The schooner and brigantine were highlighted as preferred alternatives to large ships, even though the wider player base appears to be moving toward larger vessels.
The main advantage is not a confirmed numerical superiority. Instead, medium ships offer a playstyle that feels more engaging for players who dislike relying on the current large-ship meta. Large ships can appear structurally favored, with the galleon receiving particular criticism for a broadside bonus that may be too strong — a concern that often pushes players to chase the best Skull and Bones Items just to stay competitive.
Ship Type | Reported Strength | Main Concern | Best For |
Schooner | Flexible medium-ship play | May lack support in higher tiers | Players who value agility |
Brigantine | Enjoyable experimental platform | Can struggle against stronger scaling | Build testers |
Galleon | Serious damage and broadside pressure | May be overpowered | Players prioritizing efficiency |
Other large ships | Stronger endgame presence | Can reduce build variety | Meta-focused players |
The practical conclusion is simple: choose a medium ship for flexibility and enjoyment, not because the available evidence proves it is stronger. This matters most to players who want to keep experimenting instead of copying the dominant large-ship setup.
How Should You Test?
Change one variable at a time
Effective build testing requires controlled changes. Start with a stable ship, then alter one major element—such as a weapon, furniture effect, or talent—before judging the result. Swapping lightning strike, rupture, burn, shock, and flooding-related options all at once makes it difficult to identify what actually improved performance, especially if you're trying to get the most out of cheap Skull and Bones Items without overspending on upgrades that don't fit your build.
Prioritize builds around your intended combat role. If you want direct damage, compare how a weapon performs before and after a relevant modifier. If you prefer status effects, test whether the effect reliably applies and contributes during real encounters. Do not assume that a written bonus works merely because the item description sounds specific.
A useful testing order is:
1. Select a consistent medium ship.
2. Keep most equipment unchanged.
3. Replace one weapon or furniture effect.
4. Test it in comparable combat situations.
5. Record whether the observed result matches the description.
This approach is especially valuable for advanced players who enjoy theorycrafting but cannot afford unlimited experimentation.
Which Mechanics Need Caution?
Treat unclear text as unverified
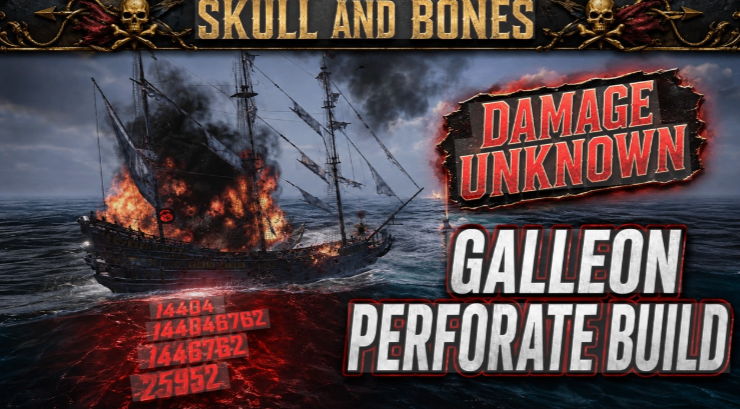
Several mechanics were described as broken, unclear, or inconsistent with their written effects. The perforate talent is the clearest reported example: its text appears to imply that projectiles should pierce through enemies, but live testing did not produce the expected behavior.
The junk’s expected damage bonus was also reported as non-functioning during observed testing. These findings should not automatically be treated as confirmed bugs, because the cause could be unclear wording, a hidden condition, or an interaction that was not fully isolated.
The safest rule is to classify every questionable effect as unverified until repeated testing shows a reliable outcome. Avoid rebuilding your entire ship around a single talent description. New and returning players benefit most from this caution because it prevents wasted resources and unrealistic build expectations.
Can You Afford Rerolls?
Protect your testing budget
Resource costs are a major barrier to build experimentation. The streamer reported that rerolling and refining gear require enough essence or similar resources to make repeated testing difficult. That friction can push players away from theorycrafting, even when they are interested in trying different weapons and furniture combinations.
Use your available resources on one clear experiment at a time. Avoid rerolling several pieces simply because a perk sounds promising, especially when the effect has unclear wording. Save costly changes for equipment that supports your preferred ship and combat plan.
Is rerolling worth it?
Rerolling is worth considering only when the possible improvement supports a build you already understand. It becomes risky when the mechanic is reported but not confirmed, or when you cannot afford a second attempt. This is most relevant to budget-conscious and returning players rebuilding their equipment.
Are large ships required?
No. Medium ships remain a viable reported choice for players who prefer them, although large ships may offer more serious damage and scaling advantages. Choose a large ship for efficiency, or stay with a medium ship when flexibility and personal enjoyment matter more.
What should new players test first?
New players should begin with the ship, weapon, and effects they already understand. Test one change at a time before spending resources on rerolls. This creates a reliable baseline and reduces the chance of mistaking unclear descriptions for real improvements.
Quick Tips
· Test one weapon or furniture change at a time.
· Treat perforate behavior as unverified until testing confirms it.
· Do not assume the junk’s reported damage bonus is working.
· Avoid expensive rerolls on effects with unclear conditions.
· Choose a medium ship for playstyle, not proven superiority.
Who Benefits Most?
· Returning Players: Reassess medium ships before following the large-ship meta blindly.
· Advanced Players: Use controlled testing to separate useful effects from unclear descriptions.
· Budget Players: Protect limited reroll resources and avoid speculative upgrades.
Medium ships are a sound choice when you value experimentation and personal playstyle, but they may require more patience in higher world tiers. Start with a stable build, verify each effect through testing, and spend resources only after the result supports your plan.
![[Weapon] Atma's Toll](https://assets.mmoexp.com/images/202607/d19ecf02180aaf4b98e434b738c3dc61dd03360c.png)
![[Furniture] Physician's Ledger](https://assets.mmoexp.com/images/202607/b3955ff65a311b909a82f2f8790c08490d66ee8a.png)
![[Weapon] De Breker](https://assets.mmoexp.com/images/202605/ff55aae187f8eb5d895b6b0e74b5a022db1d6408.png)
![[Furniture] Royal Ramming Works](https://assets.mmoexp.com/images/202605/f9c582c68f7f9f8052f457f41ae489e4969c4b35.png)