A Tier 4 Tank Built for Explorers
Want a Gallion build that can survive Tier 4 encounters without relying on unavailable gear? This Blackwood-ready setup turns the ship into a stubborn, toxic-focused tank with impressive resistances, reliable taunt control, and enough cannon pressure to finish dangerous fights. Which furniture pieces matter most? How does piercing resistance become extra armor? And can a defensive build still contribute meaningful damage? The answer is yes, provided you combine Wailing Ward armor, toxic weapon bonuses, Culverin upgrades, and careful bracing. This guide breaks down the skill tree, loadout, furniture, combat rotation, and practical improvements so explorers can reproduce the build confidently.
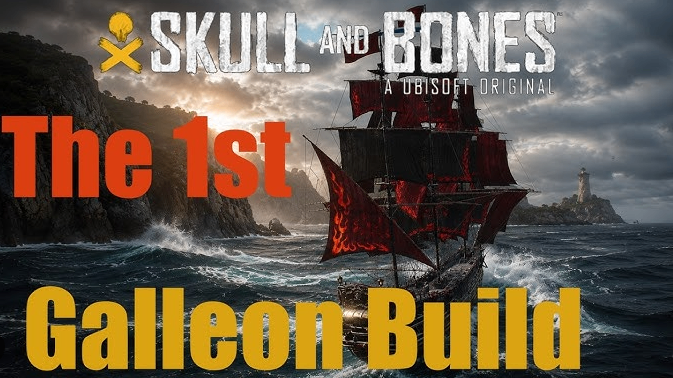
The Core Strategy: Survive First, Punish Second
This Galleon is designed around durability, resistance stacking, taunt control, and toxic damage. It is not built to produce the highest possible burst damage, but that is precisely why it performs well during difficult exploration content and Tier 4 encounters.
The ship’s defensive profile allows it to remain in combat while enemies are burning, flooding, poisoning, or firing piercing ammunition. Once enemies are taunted, the ship’s offensive furniture increases damage against them, turning defensive control into a steady source of pressure.
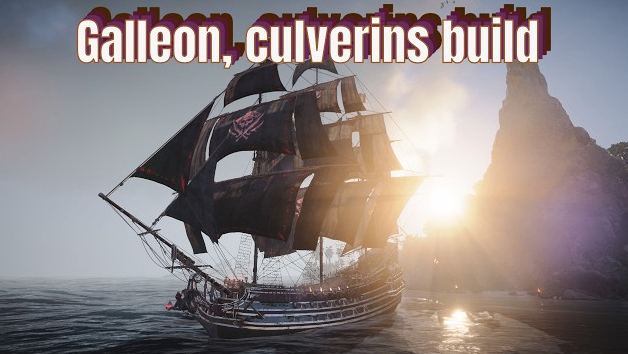
Choose Iron Thunder and Red Wake
The featured ship perks are Iron Thunder and Red Wake, which support a sturdy combat approach. Rather than focusing entirely on an explosive glass-cannon setup, this configuration gives the Galleon the tools to stay active under pressure.
The key idea is simple: draw enemy attention, absorb punishment, and keep firing. That makes this setup especially useful for players exploring dangerous waters, completing missions with unpredictable enemy groups, or supporting less durable ships in a coordinated fleet.
Skill Tree: Build Around Resistance and Control
The skill tree takes a different route from a conventional damage build. Begin with the specialized mission nodes, then invest in the available explosive, electric, and toxic damage options where appropriate.
Important offensive selections include:
- Vicious Munitions I
- Hard Munitions
- Blood for Blood
- Weak Point Damage
- Weapon Reload
- Critical Damage Control
- Culverin damage
- Maximum range
- Heavy Shot
The defensive side of the tree is even more important. Take the health upgrades leading into Wind Barrier, then complete the defensive section as fully as possible. This investment improves the ship’s ability to brace, recover, and remain useful when surrounded.

Why Piercing Resistance Matters So Much
The standout interaction is Adept Spiking Integration. Every 10% of piercing resistance adds additional armor, so resistance is not merely reducing incoming damage. It is also directly increasing the ship’s protection.
With the listed setup, the Galleon reaches approximately:
- 70% combustion mitigation
- 60% flooding mitigation
- 68% fire mitigation
- 75% piercing mitigation
- 45% electric mitigation
- 63% toxic mitigation
The result is a ship with roughly 3,349 armor, 2,334 brace strength, and 16,169 hull health. These numbers make the build particularly dependable during long engagements where repeated damage matters more than a single burst window.
Wailing Ward Armor: The Defensive Foundation
The Wailing Ward armor is central to this build. Its toxic resistance reduces damage and crew stamina depletion from toxic attacks by 50%. It also reduces crew stamina depletion when bracing begins, helping the ship maintain defensive uptime.
The recommended rolls are:
- Fire Resistant
- Stalwart Barbarian
- Adept Spiking Integration
This combination reinforces the ship’s main purpose: resist elemental damage, preserve stamina, and convert high resistance into additional armor.
The Essential Furniture Setup
The furniture selection turns the Galleon from a basic tank into a specialized toxic-control platform.
Inverted Flag Rack
The Inverted Flag Rack deals 40% more weapon damage to taunted targets and increases the duration of the taunted status effect by 15%.
This is one of the most important pieces in the entire setup. Taunt enemies before committing to a full firing sequence, then take advantage of the increased damage while they remain focused on you.
Plaguebringer Ward
The Plaguebringer Ward reduces toxic weapon reload time by 7% and increases toxic weapon damage by 4%.
Faster reloads make toxic pressure more consistent, while the damage increase works naturally with the ship’s resistance-based and poison-focused design.
Charge Stores
The Charge Stores create a strong follow-up attack after triggering Stormstruck. The next attack deals 50% more damage, while targets affected by Stormstruck also improve the charge rate of Ablaze.
Use this furniture to connect electric status effects with stronger weapon attacks. Stormstruck first, heavy attack second is the basic rhythm.
La Potence Schematics
The La Potence Schematics increases damage dealt to enemy weak points by 10% and allows weapon hits to ignore 10% of the target’s toxic resistance.
This is excellent against tougher enemy ships. Aim for weak points whenever possible, especially after applying the target’s status effects and taunt.
Culver Works and Auxiliary Equipment
The Culver Works I increases secondary Culverin damage by 19%, making it a reliable addition to the ship’s broadside pressure.
For the auxiliary weapon, use Little Grace III with:
- Fix
- Sailor’s Respite
- Empower
- Purify
These abilities provide useful recovery, cleansing, and support during prolonged fights. The build is not just about