Stop wasting your life on repetitive zombie waves. The newly discovered Kuwakajow out-of-map exploit isn't just a "fast track"—it's a complete game-changer that renders assault waves, ammo economy, and even the dreaded gas mechanic completely irrelevant. The counterintuitive truth? This glitch works best when you deliberately avoid Quick Revive. Here's your military-grade breakdown of the only method that turns the camo grind from a soul-crushing chore into a passive XP farm.
The Market Is Rigged—And So Is This Map
Let's cut the nostalgia. The current camo economy in Black Ops 7 is designed to drain your time. The "legit" path to Singularity or Genesis camos requires hundreds of hours. That's why the smart money is shifting to exploits. While casual players are burning out on round 30, you can be stacking XP while eating dinner. If you're tired of being a slave to the grind, remember that your time has value. For those who want to skip the setup entirely and just reap the rewards, you can always buy Call of Duty Black Ops 7 Bot Lobbies at mmoexp to fund your loadout experiments without the headache. But if you want the tactical advantage yourself, listen up.
The Setup: Why Quick Revive Is Your Enemy
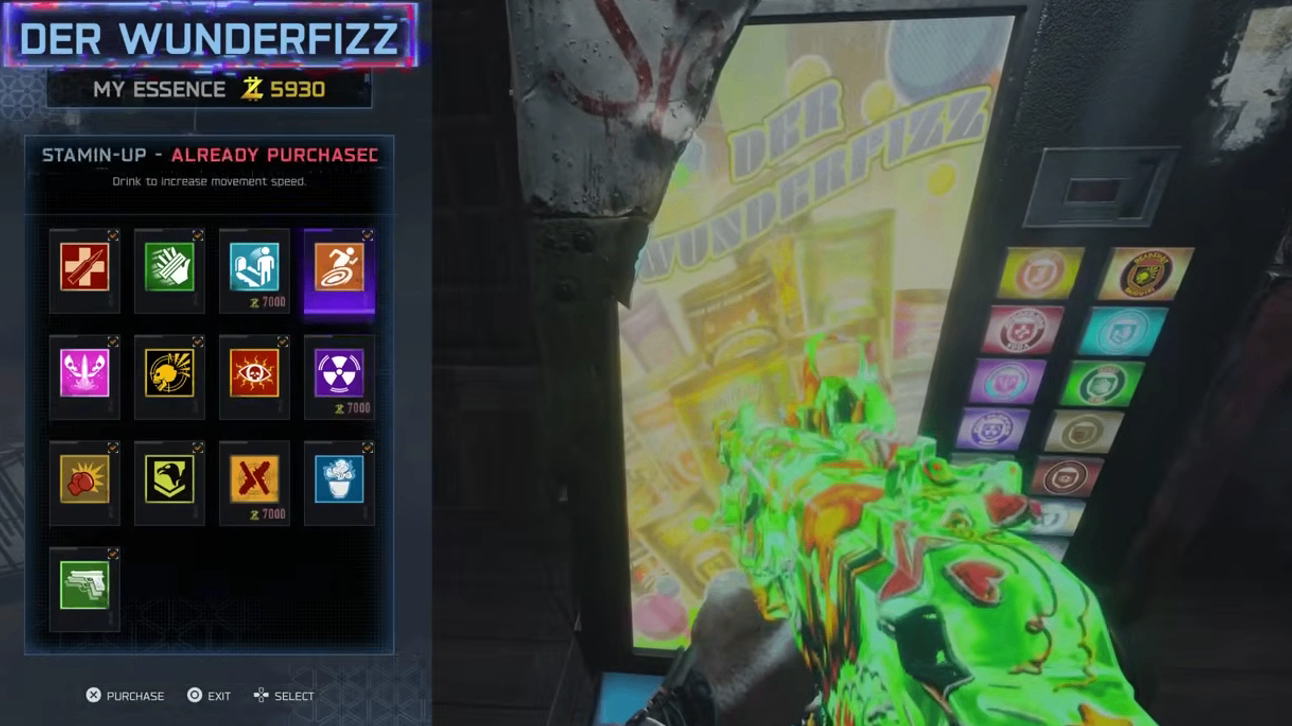
Most guides tell you to stack every perk. They are wrong. This exploit creates a specific death barrier interaction that turns Quick Revive into a proximity mine. Bring it, and you will die instantly upon entering the wall. Here is your mandatory loadout:
· Perks to Grab: Vulture Aid (with Connor's Reach), Deadshot Daiquiri, Wisp Tea (with Fetter augment).
· Ammo Mod: Dead Wire with Chain Lightning (Major) and High Voltage/Aftershock (Minor).
· The Golden Rule: Do not purchase Quick Revive. You have been warned.
· Pro Tip: Use the Stims tactical equipment during your first jump attempt. They won't save a bad angle, but they give you an extra second to correct your trajectory before you hit the death floor.
The "Jump" That Breaks the Game
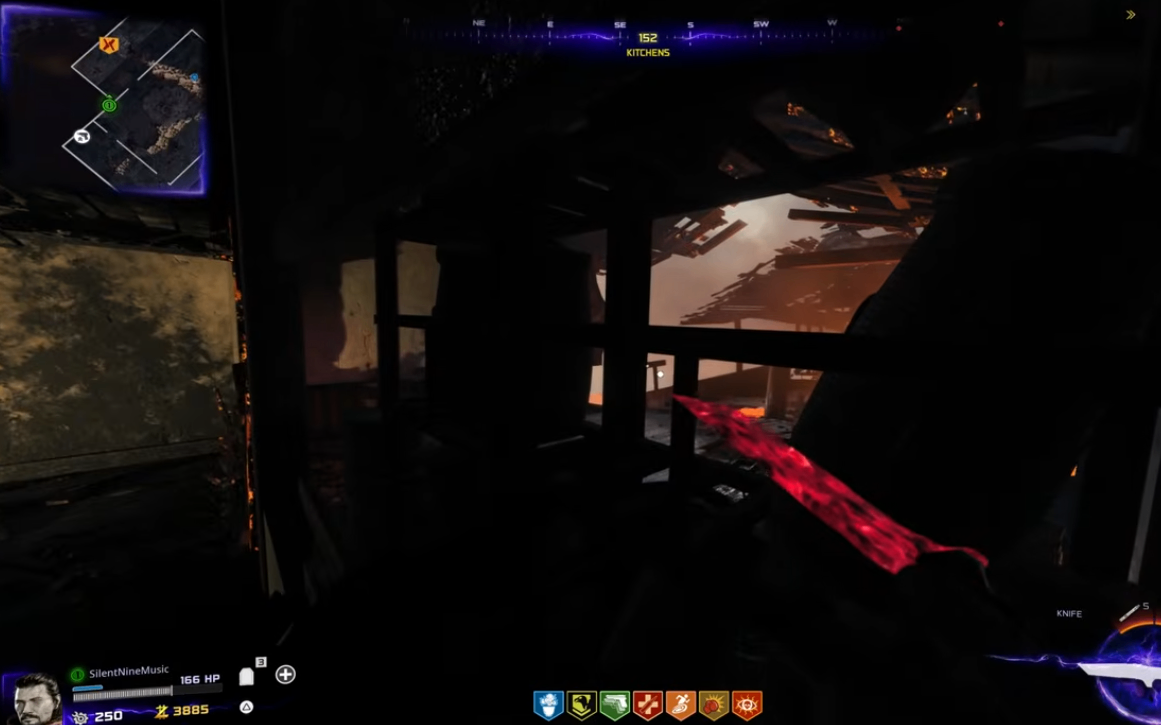
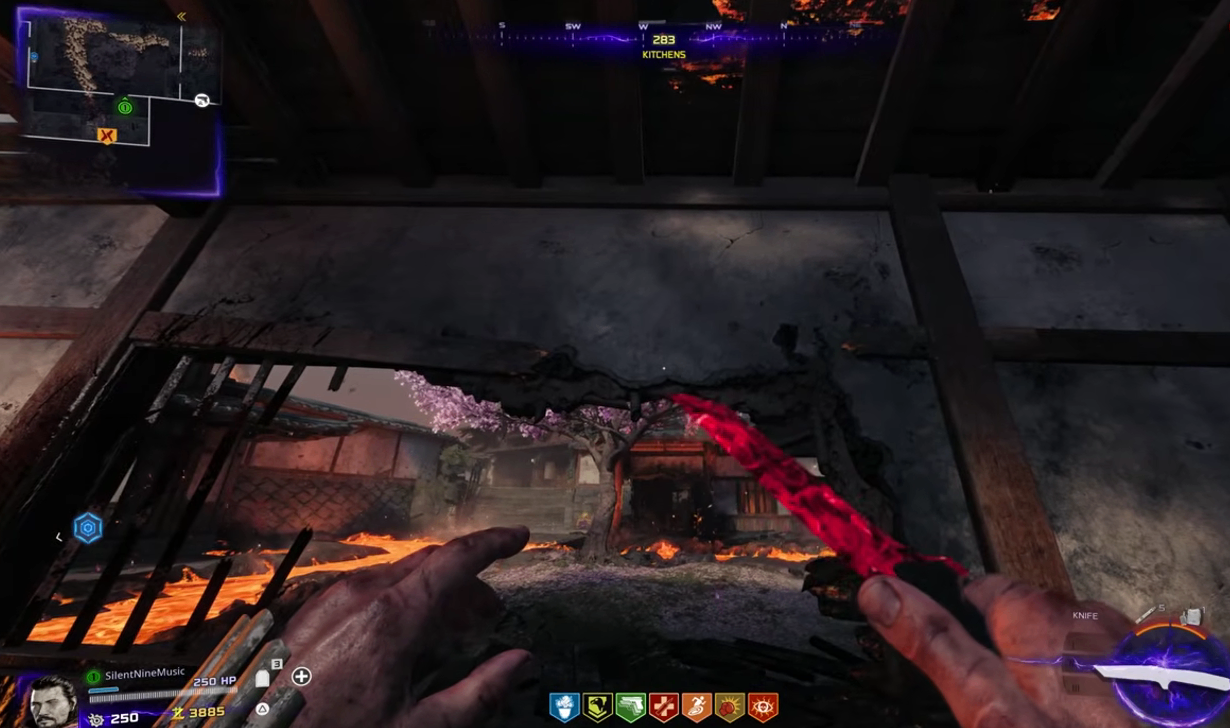
This isn't a pixel-walk; it's a physics manipulation. The wall gap near the Double Tap perk is your gateway. Position yourself exactly as shown in the data-mining clips—not too close, not too far. Face the gap between the two hanging wall pieces. Execute a run-jump into a wall-jump, spamming the jump button without touching the left stick.
The Failure Point: If you don't get enough height, you aren't aligning with that specific visual gap. This is 90% of your practice time. Once you pop over the roof, you are "outside." Move quickly to the roof hole, prone, and crawl into the wall corner. This stops the death barrier.
Pro Tip: If you fall into the lava, restart. There is no recovery. Practice this on Round 1 with a throwing knife to save your loadout costs.
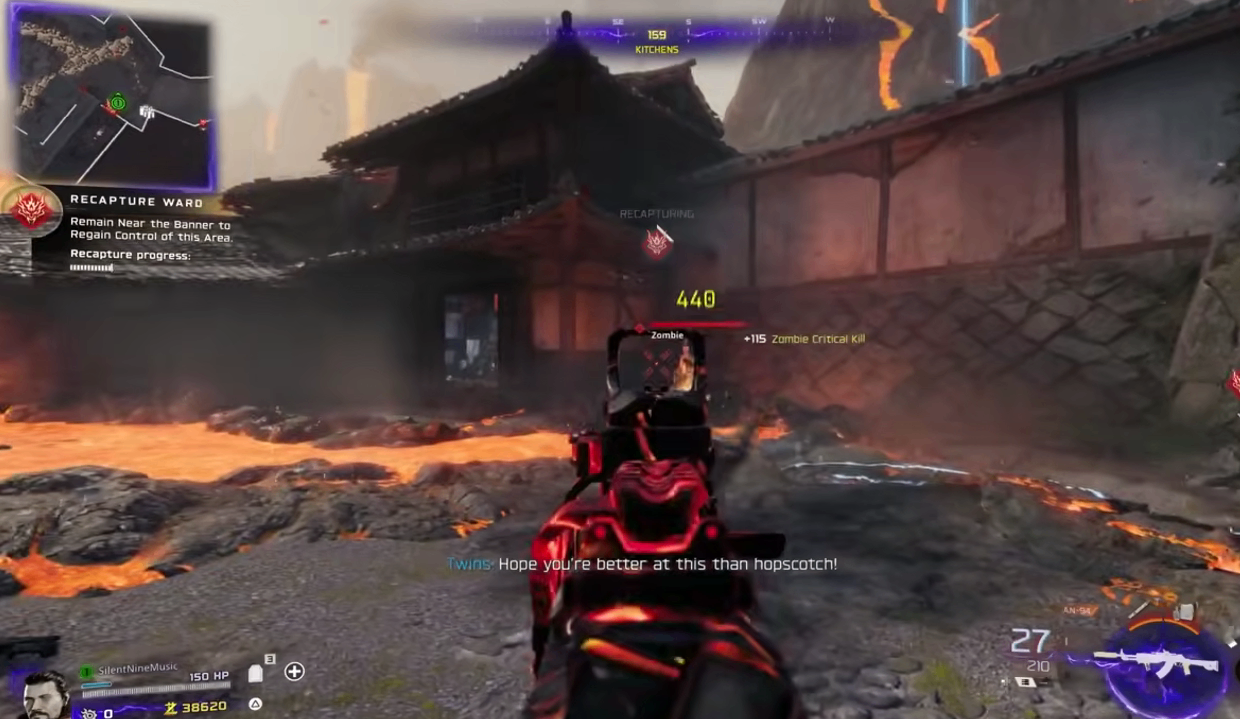
The Pile-Up Mechanic: Zero Ammo Waste
Now you are inside the wall. To spawn the zombies for easy headshots, use the wooden post and left wall to jump on top of the spawn barrier. Once on top, crouch and move in a circular motion against the wall. This "confuses" the zombie pathing, piling them up at the window.
This is where the loadout shines. Fire until Dead Wire procs, then stop shooting. The chain lightning will clear the wave. With Connor's Reach, Vulture Aid drops ammo constantly. You will actually gain ammo during the wave.
Pro Tip: If you run dry, simply exit the glitch (prone and crawl left), refill at the ammo cache at the end of a wave, and jump back in. Don't panic.
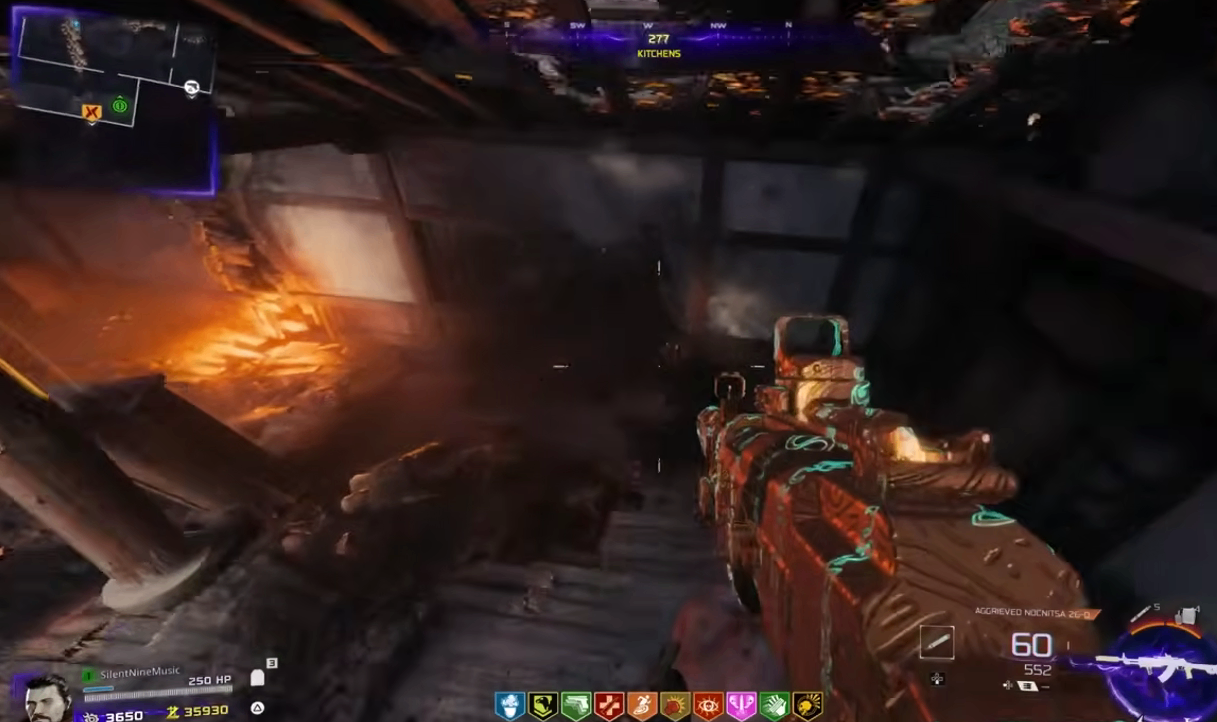
Handling Assault Waves & Gas
You don't need to fight the assault waves. Go to the opposite roof corner, wall jump to the building, and hide behind the structure. The AI will freeze, and the objective will complete itself due to the flag capture system timing out. For gas, run to the designated corner in the wall to heal. The visual effect will lag, but your health will regenerate.
If you want to adjust your build for these specific moments, you might need to tweak your gear. To optimize your survivability during that awkward transition back to the roof, buy Black Ops 7 Bot Lobbies at mmoexp to ensure you have the right tactical equipment on hand without wasting salvage.
Pro Tip: Keep a "Get Out" route memorized. If the gas spawns in your pile-up corner, just leave and wait it out. Survival is faster than death.
Summary: The Takeaway
This isn't a "cheat"; it's an efficiency upgrade. The developers patched similar wall breaches, but this season five release has remained untouched for days. Abuse it before the hotfix lands. Stop treating zombies like a test of skill and start treating them like a resource to be harvested.
Core Takeaways
· Loadout Lock: Avoid Quick Revive at all costs. It is your only risk of instant death.
· Pile-Up Strategy: Use circular wall movement to trap zombie AI for max XP per bullet.
· Ammo Economy: Dead Wire + Vulture Aid creates infinite sustainability.
· Assault Wave Cheese: Hide on the opposite roof to auto-complete objectives.
· Practice Point: Perfect the initial wall-jump angle; the rest of the glitch is passive.