Is the Chicom CQB really the weakest SMG in Black Ops 2, or has everyone been sleeping on a hidden nuke machine? Why does a burst-fire gun with a reputation for being "marshmallow-like" somehow melt entire lobbies when the connection is right? This guide breaks down the exact class setup, perk combos, and playstyle that turned a widely-hated weapon into a two-nuke, 73-kill legend — and shows you how to replicate it.
Meet the Underdog: Why the Chicom CQB Gets So Much Hate
The Chicom CQB holds a strange spot in Black Ops 2's SMG lineup — it's the first-ever burst-fire SMG in Call of Duty history, and that single trait splits the community right down the middle. Some players love the rhythm of controlled three-round bursts; others call it inconsistent, since it can melt an enemy instantly or feel like it's chewing through marshmallow depending purely on connection quality. Despite the mixed reputation, this build managed to pull off two separate nuclear streaks in back-to-back sessions — one on Meltdown, one solo on Standoff — proving the gun has more potential than its critics give it credit for.
Best for: players who enjoy underdog weapons and want to prove a "bad" gun wrong in front of a lobby.
Value: understanding the Chicom's core identity before touching a single attachment is the difference between fighting the burst mechanic and flowing with it.
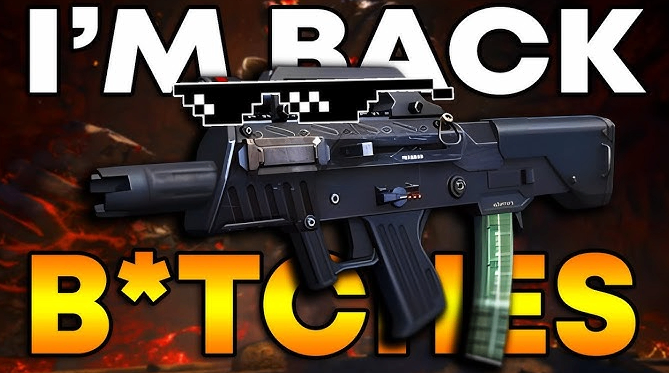
The Loud-and-Proud Build: Attachments That Actually Fix the Burst
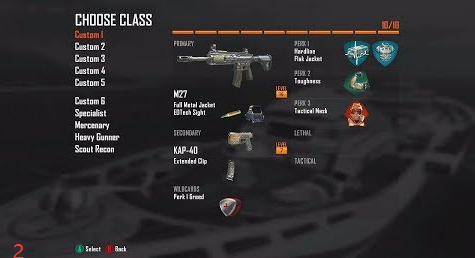
Forget the standard advice of running stock on every SMG — on the Chicom CQB, Quickdraw is the real MVP. It snaps your aim onto targets fast enough that the burst feels consistent instead of janky, cutting down on the moments where lag compensation ruins a fight you should have won. Pair it with Fast Mag as the second attachment, since the Chicom's default reload speed drags just enough to get you killed mid-fight. Select Fire is available if you want full-auto instead of burst, but it noticeably slows the time-to-kill, which is exactly why this build skips it entirely.
For perks, this setup runs a full loadout of greed: Blind Eye and Toughness up top, Hardline and Scavenger as the second picks. Blind Eye protects against explosives and killstreaks, Hardline speeds up your streak progression toward that coveted nuke, and Scavenger keeps your ammo and C4 supply topped off for extended firefights.
The Sneaky Alternative: Flanking Without Ever Touching the Minimap
Not every match calls for loud aggression. The flanking version of this build swaps in a suppressor alongside the Quickdraw handle — sacrificing that faster reload in exchange for staying completely off enemy radar. Ghost replaces Blind Eye here, keeping you invisible on the minimap while you rotate around the map's edges and catch enemies from angles they never expect. It's a slower, more calculated approach, but it lets the Chicom's burst mechanic shine exactly the way it was designed — picking off isolated targets before they even know you're there.
Best for: tactical players who'd rather win through positioning than raw aggression.
Value: this variant turns the Chicom's biggest weakness — inconsistency at range — into a non-issue, since flanking keeps every engagement at close-to-mid range where the burst actually excels.
Nuke Number One: The Meltdown Miracle
The first nuclear streak came on Meltdown, a map where close-quarters chaos usually favors exactly this kind of burst SMG. Riding a UAV-heavy loadout with Vsats stacked on top, every engagement stayed tight and controlled — camping smart positions, letting predicted enemy rotations do the work, and leaning on the streak snowball once the killstreaks started chaining together. If juggling constant streak management while dodging counter-UAVs sounds exhausting, plenty of players skip the grind entirely — buy Call of Duty Black Ops 2 Bot Lobbies at mmoexp, save your sanity, and enjoy the real endgame instead of burning hours farming currency for loadout upgrades.
Best for: players chasing their first nuclear streak who want a map and playstyle combo that minimizes risk while maximizing streak snowballing.
Nuke Number Two: The Solo Standoff Domination Run
The second nuke, arguably the more impressive of the two, came completely solo on Standoff Domination — no coordinated squad, just one player, a Vsat-heavy streak path, and a lot of patient camping. Running non-lethals solo is normally a tough sell, since squad-based non-lethal spam works far better with a coordinated team, but this run leaned into smart positioning and predicted enemy paths to make it work anyway. Sitting at a 25-kill streak with teammates constantly at risk of stealing the moment, the tension of protecting that streak until the very last kill is exactly the kind of clutch, nerve-wracking gameplay that makes nuclear streaks worth chasing in the first place.
If constantly restarting streaks after an unlucky death is burning you out, that's another spot where it pays to buy cheap Black Ops 2 Bot Lobbies at mmoexp, save your sanity, and enjoy the real endgame instead of grinding currency the slow way. Best for: solo players who don't always have a squad to lean on but still want a shot at the campfire-worthy nuclear streak story.
Quick Tips for Running the Chicom CQB Yourself
· Prioritize Quickdraw over Stock on this specific SMG — the snap-to-target speed matters more than raw hip-fire accuracy here.
· Stick to burst mode over Select Fire unless you're specifically hunting for full-auto spray — the TTK tradeoff isn't worth it.
· Use Hardline aggressively if you're chasing streaks; faster Vsat access means faster snowballing toward a nuke.
· Solo nuke runs demand patience — camp smart, predict rotations, and don't force risky pushes once you're above a 20 kill streak.
Who Gets the Most Value Out of This Build
For underdog-weapon enthusiasts, this guide proves the Chicom CQB is far more capable than its reputation suggests. For streak-chasers, it lays out two distinct, proven paths to a nuclear streak — one aggressive, one methodical solo grind. For newer players still learning attachment theory, the Quickdraw-over-Stock logic here is a transferable lesson for other SMGs too. Whatever your playstyle, the throughline is simple: even a widely-criticized weapon can carry a lobby when the build actually respects how it plays.