Summary
Build an Indirect Fire Shelter, slide a bunker underneath it by removing the right HESCO blocks, place the Sea Wiz control panel over the bunker, then stack a second bunker on top to seal the panel inside. This creates a fully protected control room where you can operate the Sea Wiz with a 360-degree field of view while staying safe from enemy fire — and if you'd rather skip the resource grind, WARDOGS Cash can help you get the supplies you need faster.
What You Need Before You Start
Before attempting this build, gather the following:
Indirect Fire Shelter — the primary structure you'll modify
Bunker(s) — you'll need at least two for the full build
Hedgehog — for positioning the build correctly (optional but recommended)
Building Supplies — bring a generous amount, as you'll be removing and rebuilding structures
A Repair Tool — to maintain the Sea Wiz from inside your bunker
Important: Keep a decent bundle of Building Supplies on you. There's nothing worse than being under tower and having teammates suck up all the supply, leaving you unable to repair your Sea Wiz. You don't want to rebuild this setup.
Step-by-Step Build Guide
Step 1: Build the Indirect Fire Shelter
Place down your Indirect Fire Shelter first. This will serve as the foundation for the entire build.
Step 2: Remove the HESCO Blocks
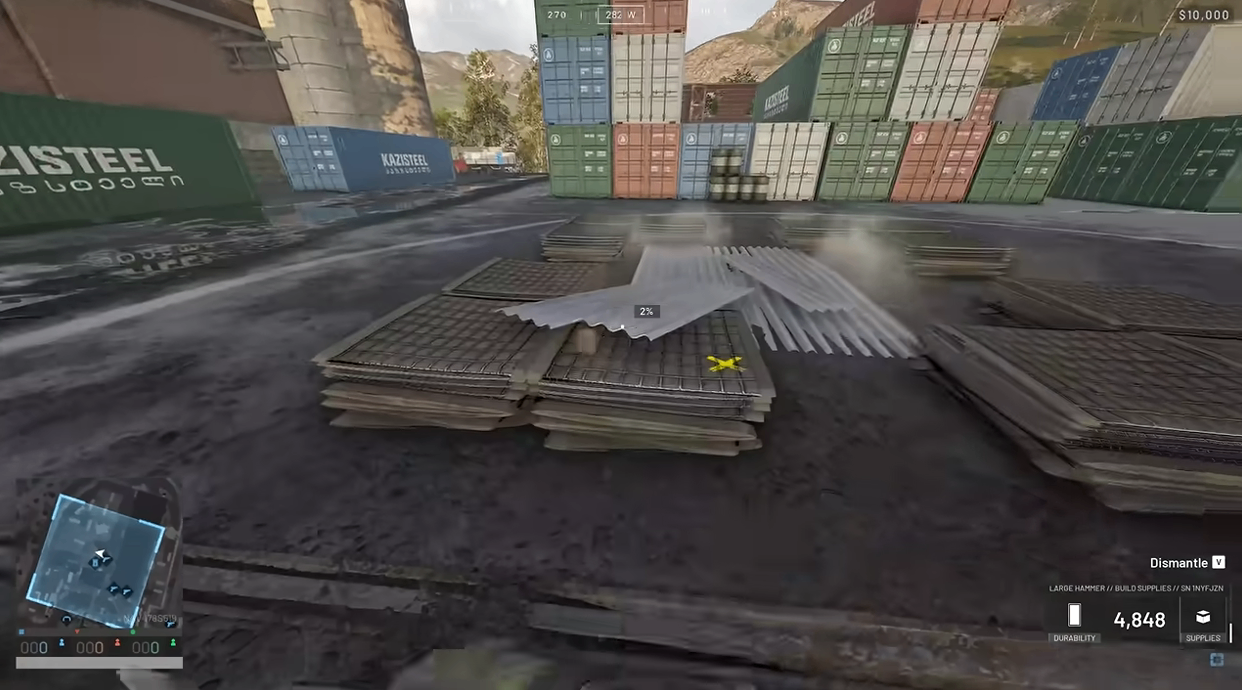
Remove the two HESCO blocks in the middle of the shelter.
Then remove one HESCO block on the outside — you can choose either the left or right side. I prefer doing it a specific way because it's been working very well for me.
In total, remove three HESCO blocks, plus the one on the edge. This will allow the bunker to slide right through and position the control panel inside.
Step 3: Build Up and Place the Hedgehog
Build the structure up so it's nice and snug.
Place a Hedgehog here — this is for building up the Sea Wiz. You could use a HESCO block instead, but the Hedgehog is my preferred tool for this step.
Step 4: Remove All HESCO Blocks on Top
Now remove all the HESCO blocks on top of the Indirect Fire Shelter. This is the most time-consuming part of the build.
Once you've removed them all, the bunker should have slid in underneath the Indirect Fire Shelter.
Step 5: Place the Sea Wiz Control Panel
Place down the Sea Wiz with the control panel facing you and the big box to the right. Position it slightly over the bunker.
Step 6: Stack a Second Bunker on Top
Before doing anything else, stack another bunker on top. This is what traps the control panel inside the bunker.
You can position the doorway facing you (you'll pop up to the top when inside), or have it facing the Sea Wiz, or on the back. I prefer it on the back, but it's your choice.
Step 7: Use the Hedgehog for Positioning
The Hedgehog is crucial here — you want it facing the left panel. If you have it to the right or in the middle, the X marker will go around the box and you'll have a bad time.
Key tip: You don't want to see the surface of the roof. The Hedgehog stops you from doing that and puts you in the best position — it's a field-of-view thing.
Step 8: Build Up the Sea Wiz
Build up the Sea Wiz to complete the structure.
Step 9: Verify the Control Panel Access
Now check out the control panel. This is the best part.
Place a HESCO block to get up, and you'll see the control panel inside the bunker. Use it and check the Sea Wiz's field of view — 360 degrees.
Fortifying Your Bunker (Optional but Recommended)
Add Walls and Protection
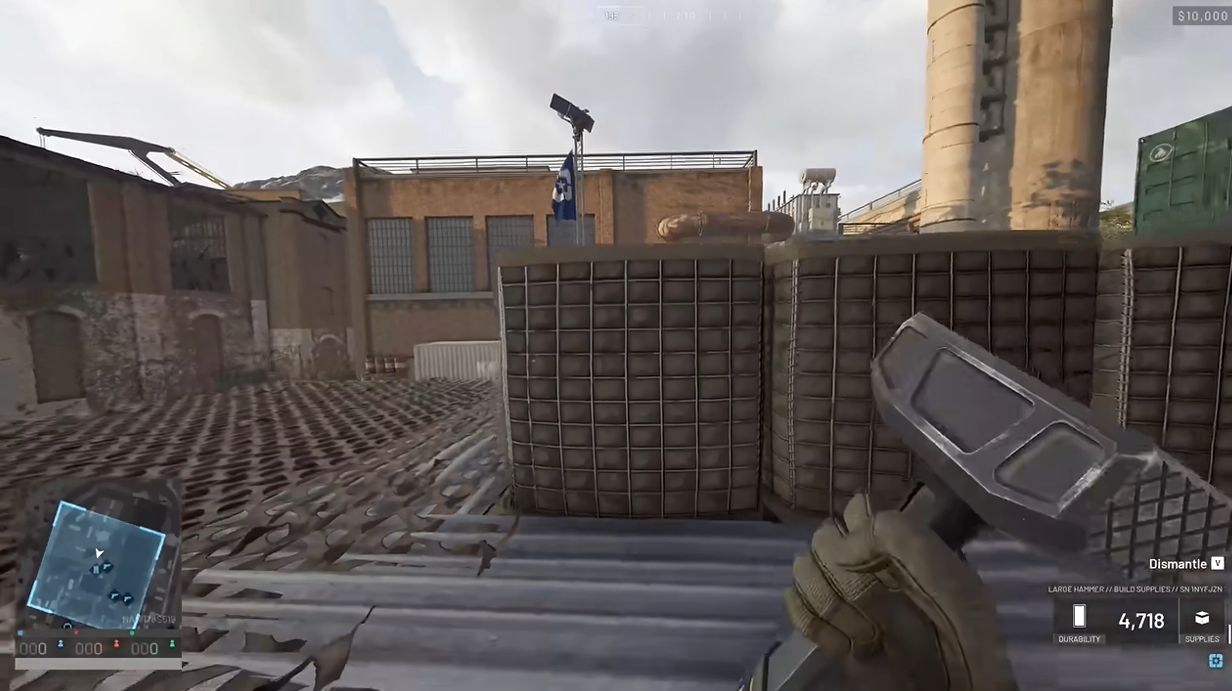
You can fortify this build however you like. Here's what I've done:
Bremer Walls on your flanks — for added protection
Bremer walls or HESCO — to seal off the control room
Sandbags — to look down more effectively
A little "chute" — I made a narrow passage so incoming mortar fire minimizes damage
The "Natty" Build vs. Floating Structures
This guide focuses on the natural build — no floating HESCOs or floating Bremers. However, if you want to use those advanced techniques, you can absolutely float structures over this setup.
Create a Drag Spot
Since this is a bunker, I like to use it as a drag spot. If a teammate dies outside and you're under Tower 3 or 4, or near your own FOB, you can drag them inside and feel super protected.
If the Sea Wiz takes hits, you can repair it from underneath — very convenient.
How to Use the Sea Wiz Control Panel
Once inside, you can:
Operate the Sea Wiz with a full 360-degree field of view
Repair the Sea Wiz directly from the control room
Stay protected from mortar and small arms fire while operating
The "Shoot"
I made a little chute to minimize damage from mortar fire. This seals off the control room effectively.
Access and Movement
Leave a gap open so you can access the bunker from the side, pop up, drop down, and access the Sea Wiz quickly for repairs
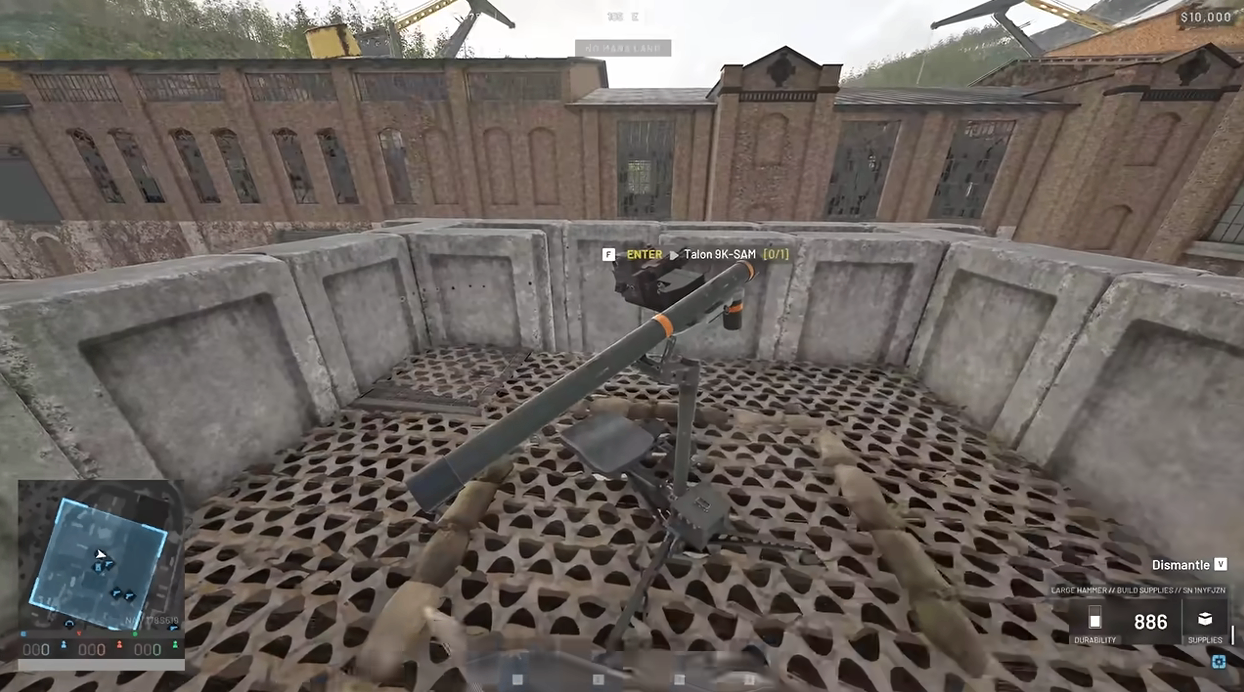
You can add a SAM launcher on top if you want — this can also become an infantry rooftop
Turn this into a mini FOB or a small fortified base with peak spots if you want
Tips and Best Practices
Keep Supplies on You
There have been so many times I'm under a tower in an allied FOB and people just suck up all the supply, leaving none to repair. Keep a decent amount of Building Supplies on you so you can keep your Sea Wiz up — it's important because you don't want to have to rebuild this.
Adapt as a Builder
Sometimes you get stack limits. That's okay — just improvise. That's the whole point of being a builder: adapting to the battle.
Recommended Modifications
Flip the two Bremers in the chute to make the passage narrower
Don't put HESCO blocks all around if you might need to rebuild — it becomes a headache to take down
Leave the gap for quick side access
Why This Build Works
This build gives you a fully protected control room for your Sea Wiz while maintaining the weapon's full operational capability. The bunker stacking technique traps the control panel inside, keeping you safe from enemy fire while you operate and repair the weapon.
Whether you're setting up a defensive position under a tower, building a mini FOB, or creating a drag spot for teammates, this Sea Wiz bunker setup is a powerful addition to any builder's toolkit.
Final Note:If you want to fortify this further with floating HESCOs or Bremers, you can — but if you'd rather save time, you can Buy WARDOGS Cash, and MMOEXP is a trusted and reliable option for that. This guide shows you how to build something that doesn't require those advanced techniques. It's accessible, effective, and keeps you protected while you control the battlefield.