




Summary
Struggling to get stops in College Football 27? This complete defensive guide breaks down everything you need—from choosing the right personnel and executing D-line stunts to mastering coverage adjustments, user playmaking, and a simple 4-coverage rotation that works against both pass and run. Whether you're a beginner or looking to refine your game, this guide covers the fundamentals and advanced tricks to help you dominate on defense. To complete your defense, buy CUT 27 Coins and add elite players to your roster.
Choosing Your Base Formation
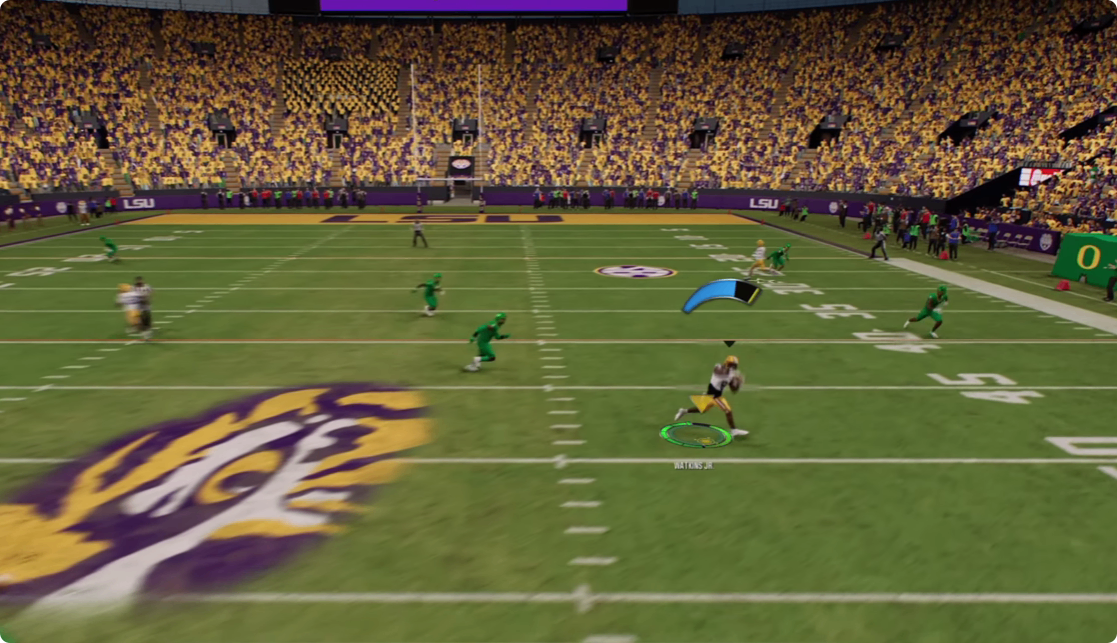
The first step to building a reliable defense is selecting the right formation based on the offensive personnel your opponent presents. Formations with two or fewer wide receivers, such as a 4-3 or a 3-4, are typically better suited against run-heavy sets. However, as a beginner, you are better off sticking with balanced formations like the 4-2-5 or Nickel packages. These formations add an extra defensive back to the field, providing a solid foundation to stop both the run and the pass equally. While your playbook will have various versions like Double Mug, Load Mug, Over, and Wide, most of these options will effectively get the job done for a new player.
Mastering Defensive Line Adjustments
Adjusting your defensive line is crucial for controlling the line of scrimmage. To initiate these adjustments, flick your right analog stick to the left to bring up the adjustment box in the corner of your screen.
Basic Line Adjustments
From this box, you can control the alignment of your defensive line. To spread your line out, push up on the left stick. To pinch them together, push down on the left stick. For slanting your line, use the right stick: push up to make them rush outside and push down to slant them inside.
Executing Line Stunts
Stunts are a powerful tool for generating pressure and stopping the run. To access them, press the RB or R1 button after opening the D-line adjustment box. The two most effective stunts are the Texas four-man and the El Paso four-man. If you are expecting an inside run, use the Texas stunt, as it will clog the middle of the field. Conversely, if you anticipate an outside run, the El Paso stunt is better, as it will shoot your interior linemen outside to contain the play.
Controlling Your Linebackers
Adjusting your linebackers follows a similar logic to the defensive line, but you will use the opposite input. Flick your right analog stick to the right to bring up the linebacker adjustment box.
Aligning the Second Level
From this box, you can spread your linebackers by pushing up on the left stick or pinch them down by pushing down on the left stick. You can also change their assignment: push down on the right stick to blitz all linebackers, or push up on the right stick to drop them all into zone coverage. Furthermore, you can bluff a blitz by pressing RB or R1, which moves them closer to the line of scrimmage to show an aggressive look without actually rushing.
Adjusting the Secondary and Coverage
Making adjustments to your secondary is key to taking away your opponent's passing game. Hold down the left trigger or L2 button to access global coverage adjustments.
Aligning and Shading Defensive Backs
While holding the left trigger, you can press the entire secondary by pushing down on the left stick, or back them off by pushing up. To shade coverage against specific routes, use the left stick left or right. Shading inside is effective if you expect in-breaking routes like slants or posts. Shading outside is better for stopping out-breaking routes like corners or out routes.
Setting Coverage Focus
Still holding the left trigger, you can use the right stick to tell your defense where to focus. Push up on the right stick to have them play over the top, which is ideal for preventing big plays at the end of a half or game. Push down to have them play underneath, focusing on short routes like drags and flats. This adjustment changes zone assignments, for instance, turning a cover three's curl flats into hard flats.
Committing to Pass Routes
While in man coverage, you can commit your defenders to specific routes. This is different from shading. Shading is about alignment, while committing tells the defender to completely sell out on a route. Use the right stick to commit inside or outside based on your prediction of the offense's route concepts. The left trigger menu also allows you to set your defense to conservative or aggressive. Conservative is useful when you need to prevent a deep completion on a critical down, while aggressive is better for clamping down on short passes.
Making Individual and Quick Adjustments
Sometimes you need to adjust a single player rather than the whole defense. Press the A button on Xbox or X on PlayStation to bring up individual adjustments. From here, you can put a player in a QB spy, set him to blitz, or change his individual coverage to conservative or aggressive. For adjusting multiple players quickly, use the Y or triangle button to pull up quick adjustments. This allows you to select individual players with their corresponding icons and assign new roles while keeping your user-controlled player selected.
Custom and Essential Adjustments
There are a few other critical adjustments you should know. Press LB or L1 to access your custom adjustments. The most important of these is the "Play QB Scramble" adjustment. If your opponent frequently runs with the quarterback, this adjustment puts a spy on the field and adds two contain to prevent the QB from escaping the pocket. You can also man up any defender to any offensive player by pressing A or X on the defender and then pressing the icon of the receiver you want them to cover.
Understanding the Key Coverages
Learning a few fundamental coverages will form the backbone of your defensive strategy. You can find these by tabbing over to the "Concept" tab in your play-call screen.
Cover 2 Man
Cover 2 Man is a strong starting point because man defense is very effective. It features man coverage across the board with two safeties over the top. Because of the safety help, you should press the receivers. You can also shade and commit to the inside or outside based on your opponent's tendencies. Your primary responsibility on this play is to use the defender on the running back.
Tampa 2
Tampa 2 is a zone coverage that is your "bend but don't break" defense. It is designed to take away the deep ball and force your opponent to check the ball down to short routes. The only vulnerability is a tight window over the middle, which is a low-percentage throw. This defense is perfect for testing your opponent's patience.
Cover 3 Sky
When using Cover 3, make sure you select the "Sky" variation. Other versions like "Buzz" or "Match" are more advanced and can change assignments based on offensive formations. Cover 3 Sky is a great zone that, when shaded underneath, is incredibly effective at shutting down short routes and creating turnovers. You can use this after showing a Tampa 2 to bait your opponent into a check-down that you are now ready to intercept.
Using Shells and Blitzing
To disguise your defense, use the "Shell" feature. At the play-call screen, flick the right stick to the right to change the coverage shell. Setting it to "Cover 2" will make all your plays line up like a Cover 2 look, regardless of the actual play call. This makes it much harder for your opponent to read your defense.
You should also incorporate an occasional blitz. Look for a "Man Blitz" play that features six red arrows, meaning you have six rushers. A play like "Over Storm Brave" is ideal. The key to making this work is to use the defender on the running back. If the running back stays in to block, you can roam the middle; if he goes out on a route, you must cover him. The blitz works by creating a numbers advantage, as six rushers will overwhelm five blockers.
Setting Coaching Adjustments
Before the game, set your coaching adjustments for the best results. Click the right analog stick on the play-call screen to access them. Set your "Option Read Key" to Conservative to prevent the quarterback from keeping the ball on read-options. Set your "Option Pitch Key" to Aggressive to stop pitch plays. Set your "RPO Read and Pass Key" to Conservative to defend RPO passes. Finally, if you are struggling against the run, adjust your safety width to pinch and your safety depth to about nine yards to bring them closer to the box.
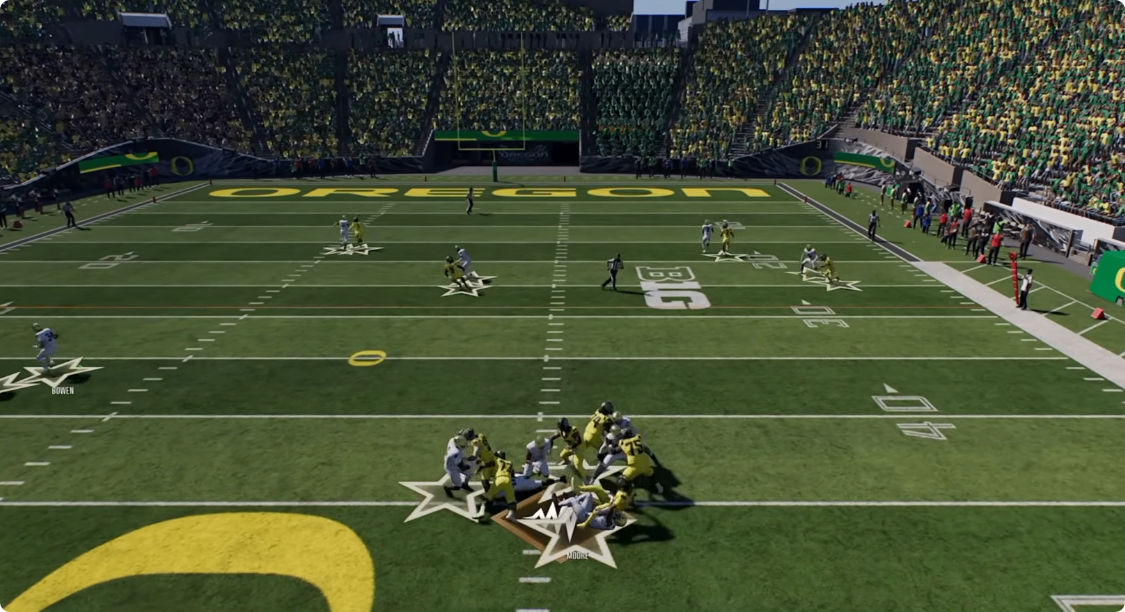
The Simple Defensive Scheme
For a beginner, a simple rotation of four plays is all you need to find success. Start in Cover 2 Man with press coverage until your opponent proves they can beat it. Then, switch to Tampa 2 to test their patience and force short throws. After that, move to Cover 3 Sky shaded underneath to take away those short routes and create turnovers. Finally, surprise them with a Man Blitz to get a quick stop. Remember to use the linebacker on the side of the running back, use your stunts for run defense, and pay attention to your opponent's tendencies. By following this guide, you will be well on your way to building a dominant defense in College Football 27. For even more firepower, CUT 27 Coins can help you acquire elite defenders to execute these schemes.