
Summary
This Control Resonant guide explains the Aberrant weapon system, covering primary, secondary forms and combo finishers. Strike, Glaive and Cleave serve different combat needs, while secondary weapons provide stun and armor-breaking effects. Various finishers deliver damage, crowd control or status debuffs. Gamers can respec builds with limited reset items and test loadouts in the arena. Those wanting a head start may buy Control Resonant Account to skip tedious early grind and craft powerful combat setups quickly.
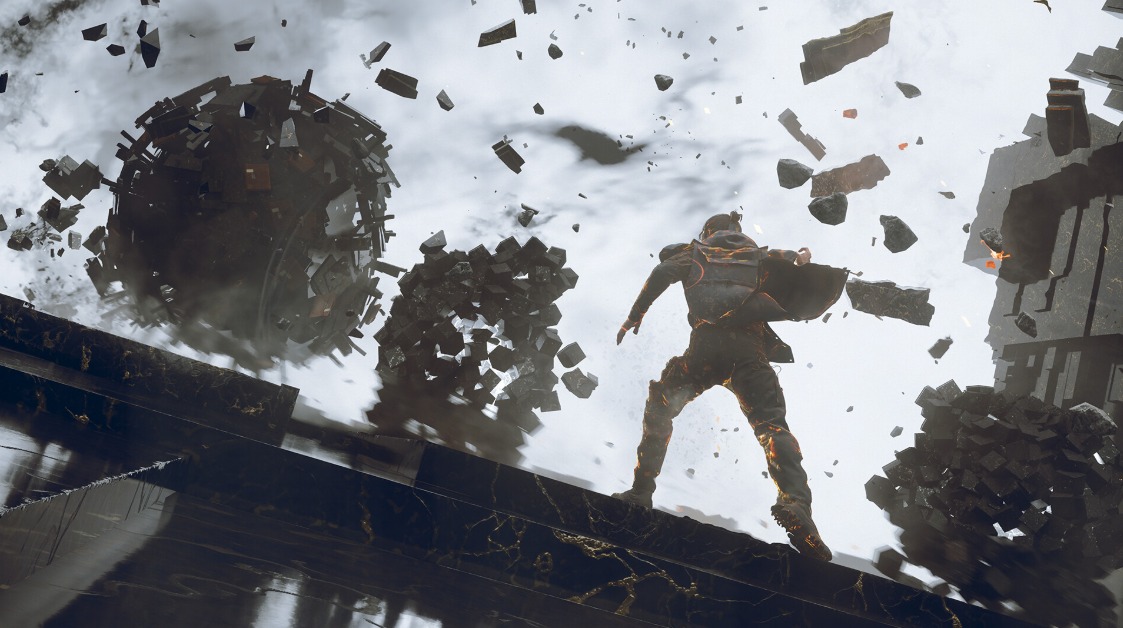
Control Resonant marks a bold shift from its predecessor. Instead of third-person shooting with a Service Weapon, players now control Dylan and rely on melee combat powered by a shapeshifting sidearm called the Aberrant. Familiar abilities like levitation and telekinesis remain, yet the overall feel is radically different. Early progression decisions matter a great deal, and the first major choice is your starting weapon.
Because the skill trees in Control Resonant are tightly interconnected, simply listing the basic stats of each option is not enough. Later upgrades reshape how every weapon plays. Understanding the three layers-primary forms, secondary forms, and combo finishers-is essential for building an effective loadout.
Primary Forms: Your Light Attack Foundation
Primary forms control light attacks (Square on PlayStation, X on Xbox). There are three options available at the start.
Strike delivers the fastest attacks and emphasizes critical hits. It sacrifices wide area coverage in favor of rapid single-target damage, letting you finish one enemy quickly before moving to the next. Its skill tree focuses on increasing that focused pressure.
Glaive takes the opposite approach. It swings in a broad arc that hits multiple enemies at once and clears space around Dylan. The trade-off is reduced speed and lower critical-hit potential. This form shines when you need crowd control.
Cleave sits between the two. It is faster than Glaive and deals more raw damage than Strike. It also gains bonus damage when striking enemies from behind. After a dodge, Cleave can lift opponents into the air-an early mechanical distinction that opens vertical combat options.
Each primary form has its own skill tree. Early nodes often modify post-dodge attacks, so reviewing those paths is worthwhile. You can unlock additional primary forms later using Living Shards, but only one can be equipped at a time. Swapping requires visiting your loadout menu between fights; mid-battle changes are locked.
Players looking for a smooth entry into Control Resonant Account progression often experiment with these forms early to discover personal preferences.
Secondary Forms: Heavy Attacks and Stun Potential
Shortly after leaving the Oldest House and entering Manhattan, a second choice appears: the secondary form (Triangle on PlayStation, Y on Xbox). All three secondary forms can be charged to inflict stun damage, referred to in-game as falter.
Crush functions like a large hammer. It delivers the highest initial falter damage, making executions easier to set up. It deals blunt damage that breaks armor effectively but is weaker against mold-type enemies.
Drill attacks in a straight line. It lacks strong area control yet can be held after contact to continue dealing damage. This form specializes in sharp damage, which is especially effective against Hiss shields.
Extend is a sectional staff that covers a wide area. Its charged attack rewards precise timing with extra damage. It deals neutral raw damage without specific strengths or weaknesses against particular enemy types.
Secondary forms also have skill trees, though smaller than those of the primaries. Early upgrades include lifting enemies with Crush's third attack, a full 360-degree swing for Extend, and an extended reach for Drill. All three eventually unlock switch attacks that let you transition from a primary combo into a special secondary move instead of a standard finisher.

Combo Finishers: The Capstone of Your Combo
Once Aberrant Strength reaches 15, combo finishers become available (provided you have the necessary resources). Aberrant Strength increases each time you invest in a weapon upgrade. Finishers activate when you complete a light-attack combo and continue pressing the light-attack button. They differ significantly in damage, falter output, and utility, and each has a linear skill progression that adds effects rather than branching paths.
The primary form you choose affects how quickly you reach a finisher. A full Strike combo reaches the finisher roughly a second faster than a full Glaive combo.
Concussive Beat Down deals solid damage and excellent falter if every hit lands. Later upgrades increase damage and falter, improve effectiveness against airborne targets, and add follow-up blasts. It suits aggressive, bulldozing playstyles.
Uppercut Surge launches enemies into the lifted state (distinct from ordinary airborne status and marked by an orange indicator). Upgrades improve falter, restore power, and can lift nearby enemies as well. Hitting lifted targets restores extra power, creating strong synergy with other abilities.
Wide Edge is a high-damage single swing that knocks enemies away. Its upgrades scale with the number of enemies hit by the preceding primary combo, boosting critical chance and falter. Glaive pairs especially well with this finisher. Additional nodes can grant health recovery and instant falter effects.
Spin Edge is a multi-hit variant of Wide Edge. Landing all three hits produces higher total damage and substantially more falter. Upgrades focus on power recovery, consecutive-hit bonuses, and the ability to apply an empowered status that strengthens combat abilities. The final upgrade even allows indefinite spinning.
Split Pivot sends a small spinning blade forward. Initial damage and falter are modest, but early upgrades grant high critical chance and apply weakened and burning statuses. These effects combine powerfully with other tools. Pairing it with a charged Drill attack that also applies weakened can open fights with immediate status advantages.
Split Orbit functions as an arc-based version of Split Pivot. It starts weaker but gains duration, spin speed, damage, and falter through upgrades. It provides consistent passive area damage around Dylan.
Both Split Pivot and Split Orbit require an extra button press after the standard three-hit combo to fully activate.
Respeccing and Experimentation
Weapon trees can be reset using a finite resource called a reset item. These drop from certain Resonance encounters early in the story or can be purchased from vendors. A day-one update made them more affordable, yet the same items are also required for combat ability and talent respecs, so careful management is advised.
After using a reset item, you can enter the arena to test the new loadout freely. If the changes do not feel right, another respec is possible without consuming an additional item-until you leave the gap area. Once you exit, the choices lock in and the spent reset item is not refunded.
Many players who decide to buy Control Resonant Account access find that early experimentation in the arena helps avoid costly mistakes later.

Building a Cohesive Playstyle
The real depth of Control Resonant comes from combining the three layers. Begin by identifying what you enjoy most in combat, then reinforce that preference across primary form, secondary form, and finisher.
A single-target, high-damage approach might pair Strike with Drill and Concussive Beat Down. Players who prefer space control often choose Glaive, Extend, and either Wide Edge or Spin Edge. Matching status effects, damage types, and keywords across the build creates natural synergy.
Alternatively, you can deliberately cover weaknesses. A fast but narrow primary form can be supported by a wide-reaching secondary or a status-heavy finisher. Diversification keeps options open against varied enemy compositions.
Because Living Shards and reset items become available through normal play, nothing is permanent. The system encourages testing different combinations until the moment-to-moment combat feels responsive and satisfying.
Control Resonant rewards thoughtful early choices without locking players into a single path forever. By understanding primary forms, secondary forms, and combo finishers-and by taking advantage of the arena for safe experimentation-you can craft a loadout that matches your preferred rhythm of combat. The tools are there; the control is yours.