Summary:
Diablo 4 players looking to farm Diablo efficiently can save a huge amount of time by learning the dungeon's fixed layout patterns. This guide explains how to navigate every level, find the correct exits, defeat Diablo, Diablo 4 Items, and build an efficient Terror Splinter farming loop.

Why Diablo Dungeon Navigation Matters
The Diablo dungeon can feel confusing at first, especially when several paths look similar. However, the dungeon is not necessarily longer than other major boss runs. The biggest problem is usually navigation rather than combat difficulty.
Once you recognize a few important map patterns, you can move through the dungeon much faster. The key is to avoid unnecessary corners, identify important structures, and understand where each objective normally appears.
With practice, a complete run can take only a few minutes, making Diablo a realistic farming target for players who want to collect Terror Splinters efficiently.
Level 1: Finding the Butcher
The first section is relatively straightforward once you know what to look for.
Start by searching for a large open room. From this area, you will usually see several possible exits. The most important rule is to choose the route that continues in a straight line.
Avoid paths that immediately introduce multiple corners or sharp turns. If one route bends repeatedly while another continues directly forward, the straight route is generally the one you want.
The Butcher area can be reached by following this simple layout pattern. Instead of exploring every branch, use the large open room as your reference point and quickly eliminate routes containing unnecessary corners.
This simple trick can significantly reduce the time spent wandering around the first level.
Level 2: Finding Blood Raven
The Blood Raven section requires slightly more exploration.
Rather than following a single obvious straight path, try to move toward the far side of the map. The objective is generally positioned toward one of the distant exits, so moving across the map instead of repeatedly checking nearby branches is usually more efficient.
Look for the exit that takes you toward the opposite side of the dungeon. After learning the general layout, this section becomes much easier to recognize.
The main goal is to maintain momentum. Spending too much time checking every corridor is one of the easiest ways to turn a fast boss run into a slow one.
Level 3: The Summoner Level
The Summoner level is often considered the hardest section to navigate.
The most useful landmark is a large square or diamond-shaped rock formation. The Summoner is located inside this distinctive structure.
When entering the level, try moving diagonally across the map rather than randomly following corridors. You are looking for the large formation that stands out from the surrounding terrain.
The Summoner's location can often be identified by two lines or corridors that converge toward the structure. Once you recognize this pattern, the level becomes considerably easier.
The formation can appear toward different sides of the map, so focus on identifying the shape rather than memorizing one specific direction.
Level 4: Finding the Four Levers
The final section before Diablo contains four important levers.
These levers are generally positioned relatively early in the level. A common pattern is to find two levers close together, followed by two additional levers elsewhere.
One of the biggest mistakes is accidentally heading toward the Diablo portal too early.
The portal route is often associated with a particularly long straight corridor. If you find yourself traveling in the same direction for an unusually long distance, stop and reconsider your route.
Instead of continuing toward the distant exit, turn around and search the other branches for the remaining lever locations.
Another useful trick is to look for the distinctive straight walls surrounding the lever rooms. These rooms often have recognizable geometric shapes, allowing you to identify them even when approaching from another direction.
How to Find Diablo Quickly
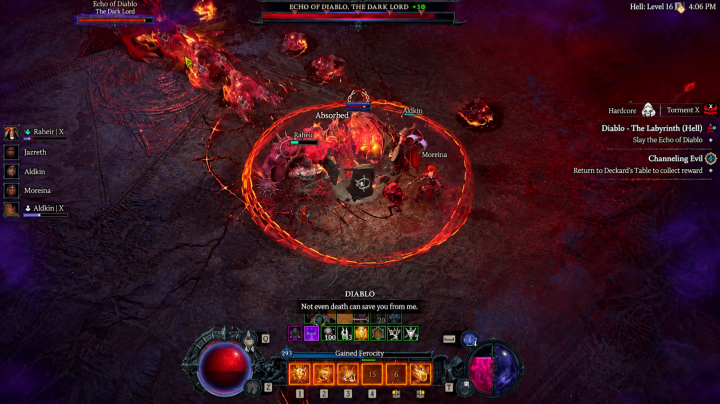
After activating the required levers, you can finally reach Diablo.
The fight itself depends heavily on your build and damage output. Damage-over-time builds may have a more difficult time completing the encounter in a single phase because Diablo can cleanse certain effects around the middle of the fight.
For ranged builds, positioning is especially important. Pay attention to portal locations and prepare your attacks as soon as the next wave appears.
If your damage is high enough, the second phase can be extremely short. Players with strong builds should focus on maintaining damage uptime instead of unnecessarily moving around the arena.
Why Farm Diablo?
The main reason to farm Diablo is the Terror Splinter farming loop.
Players who want to progress toward Uber Tristram-style content need to collect the required materials from multiple bosses. The important point is that you should not assume one boss will consistently provide another boss's Splinter.
The practical farming strategy is therefore to target each boss individually.
There can also be alternative sources, including seasonal activities and certain Hell Tide ambushes, where random Splinters may appear. However, targeted boss farming remains an important part of the overall loop.
Terror Splinter Farming Strategy
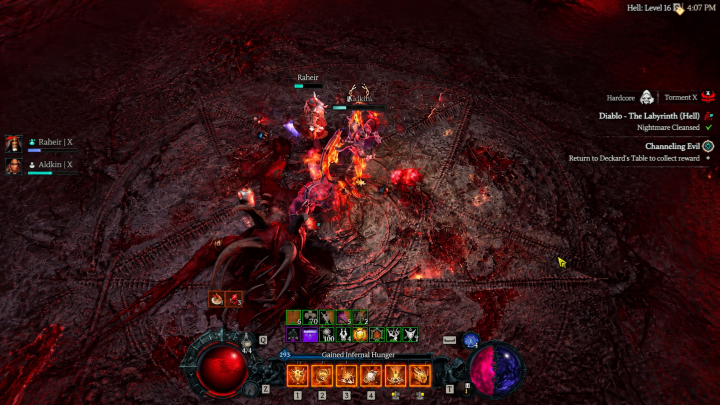
One important mechanic is that you cannot hold multiple copies of the same Splinter. Because of this, once you obtain one Splinter, it is generally better to move on and farm the other required materials.
Otherwise, you may encounter another copy that cannot be collected.
Drop rates are heavily affected by RNG. Some players may get a Splinter quickly, while others can experience extremely long unlucky streaks. A rough expectation of around 30 runs per boss can make the farming process feel more predictable, but individual results can vary substantially.
If a run takes approximately three minutes including loading time, 30 runs would represent around 90 minutes of farming for one target Splinter.
The Complete Farming Loop
The overall loop is simple:
Farm Diablo for the required Splinter.
Farm the other major bosses for their Splinters.
Collect the required number of materials.
Convert the materials into the necessary progression items.
Use them for the desired Uber Tristram-style encounter.
The process can require several hours depending on your luck, but learning the dungeon layout dramatically reduces wasted time.
Final Tips for Faster Diablo Runs
The most important improvement is learning the map patterns rather than memorizing every possible route.
For the Butcher level, prioritize straight paths from large open rooms. For Blood Raven, push toward the far side of the map. For the Summoner, search for the large square or diamond-shaped formation. For the lever section, cheap Diablo 4 Items, find the early lever rooms and avoid blindly following the longest corridor.
With these patterns memorized, Diablo runs become much more consistent.
The biggest advantage comes from eliminating unnecessary exploration. A five-minute run can become several runs in the same amount of time once you understand where to go. For players farming Terror Splinters, that efficiency can make a major difference over hundreds of boss kills.