




Summary: Upgrading your weapons is the single fastest way to increase your offensive power in Elden Ring. Unlike standard role-playing games where stats primarily dictate your combat efficiency, weapon upgrade tiers scale your raw base damage and stat scaling (Affinity) significantly harder during the early-to-mid game. However, running blind through the Lands Between to scavenge individual stones from cave walls will quickly stunt your progression.
Having enough Elden Ring Runes to purchase upgrade materials can also make it much easier to keep multiple weapons ready for different builds.
The ultimate mid-game strategy for veteran players is unlocking the ability to purchase an infinite supply of upgrade ores directly at your hub.
If you are typing "where to find upgrade materials in Elden Ring" or "how to get infinite Smithing Stones" into Google, this comprehensive Full Map Core Upgrade Materials Location Guide will ensure you secure every single Miner's Bell Bearing to unlock unlimited purchasing freedom.
The Core Mechanic: Bell Bearings & Infinite Inventory
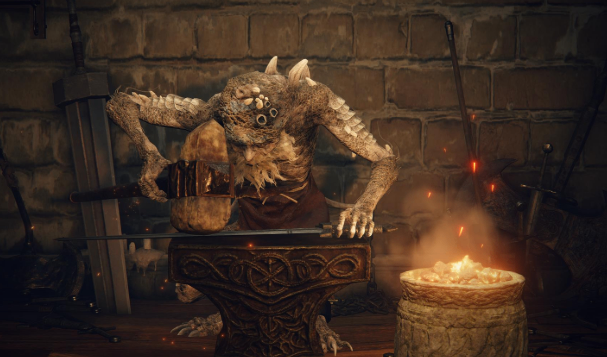
By exploring legacy dungeons, clearing dangerous mine shafts, and defeating specific optional field bosses, you will acquire key items called Bell Bearings.
The Action: Take these items back to the Roundtable Hold.
The Vendor: Offer them to the Twin Maiden Husks merchant.
The Reward: Their shop stock updates permanently, allowing you to purchase infinite quantities of upgrade stones using your collected Runes.
Standard Weapons: Infinite Smithing Stones (Levels 1-8)
Standard armaments (such as the Uchigatana or Longsword) require standard Smithing Stones and max out at a tier of +25. To buy infinite quantities of levels 1 through 8, you must harvest the four primary Smithing-Stone Miner's Bell Bearings.
1. Smithing-Stone Miner's Bell Bearing [1] (Unlocks Tiers 1 & 2)
Upgrade Capability: Unlocks standard weapon upgrades up to +6.
Map Location: Located in Liurnia of the Lakes. Ride to the northeastern cliff face of the lake bed to find the Raya Lucaria Crystal Tunnel.
The Unlock: Navigate down to the absolute bottom of the mine shaft and defeat the Crystalian dungeon boss.
2. Smithing-Stone Miner's Bell Bearing [2] (Unlocks Tiers 3 & 4)
Upgrade Capability: Unlocks standard weapon upgrades up to +12.
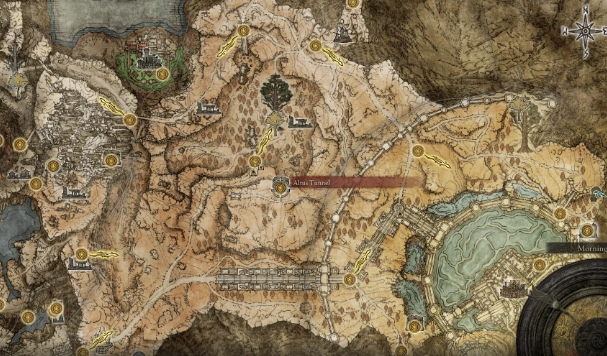
Map Location: Located in the Altus Plateau. Enter the Sealed Tunnel, found in the capital city's outer moat system on the eastern side.
The Unlock: Hit the very first wall next to the Site of Grace to reveal a hidden illusory wall. Head past the pits into the main excavation chamber to open a treasure chest containing the bearing. You do not need to fight the boss.
3. Smithing-Stone Miner's Bell Bearing [3] (Unlocks Tiers 5 & 6)
Upgrade Capability: Unlocks standard weapon upgrades up to +18.
Map Location: Located in the Mountaintops of the Giants. Travel to the Zamor Ruins, positioned right at the entry point of the snowy mountain region.
The Unlock: Explore the stone ruins to locate an underground stone staircase. Open the heavy iron door to reveal a treasure chest holding the item.
4. Smithing-Stone Miner's Bell Bearing [4] (Unlocks Tiers 7 & 8)
Upgrade Capability: Unlocks standard weapon upgrades up to +24.
Map Location: Located in the late-game legacy dungeon, Crumbling Farum Azula.
The Unlock: Advance through the primary story path until you enter the mandatory Godskin Duo boss arena in the dragon temple chamber. Defeating this duo automatically awards you the final standard bearing.
Legendary Weapons: Infinite Somber Smithing Stones (Levels 1-9)
Unique gear (boss weapons and legendary armaments like the Blasphemous Blade or Moonveil) require Somber Smithing Stones and max out at +10. Because these weapons require far fewer total stones to reach high tiers, locating these five Somberstone Miner's Bell Bearings is highly critical. Players who are also looking to expand their equipment choices can consider cheap Elden Ring Items when planning different weapon and build setups:
Somberstone Bell Bearing [1] (Tiers 1 & 2): Defeat the Fallingstar Beast boss resting at the bottom of the Sellia Crystal Tunnel in central Caelid.
Somberstone Bell Bearing [2] (Tiers 3 & 4): Defeat the Crystalian Duo boss at the end of the Altus Tunnel mining dungeon in the Altus Plateau.
Somberstone Bell Bearing [3] (Tiers 5 & 6): Found in the Mountaintops of the Giants. Head to the First Church of Marika near the frozen lake. The item sits on a corpse slumped over a snowbank directly outside the church walls.
Somberstone Bell Bearing [4] (Tiers 7 & 8): Found in Crumbling Farum Azula. Look for a corpse draped over a stone ledge right next to the Tempest-Facing Balcony Site of Grace.
Somberstone Bell Bearing [5] (Tier 9): Found in the deepest sections of Crumbling Farum Azula. Right before the lift platform leading down toward the Dragonlord arena, enter the adjacent small temple ruins. A corpse surrounded by beastmen holds the final buying trigger.
Critical Endgame Trap: The Ancient Dragon Limits
While this collection guide allows you to achieve absolute financial freedom with base upgrade stones, the final tier max-out items cannot be purchased infinitely.
Standard Final Stone: Ancient Dragon Smithing Stone (Brings weapon to +25).
Somber Final Stone: Somber Ancient Dragon Smithing Stone (Brings weapon to +10).
The Catch: These items are strictly limited per playthrough (only 13 standard and 8 somber ancient stones exist per single game cycle). Save these precious endgame assets strictly for your absolute favorite graduation weapons, as you will be forced to start New Game Plus (NG+) to acquire more.
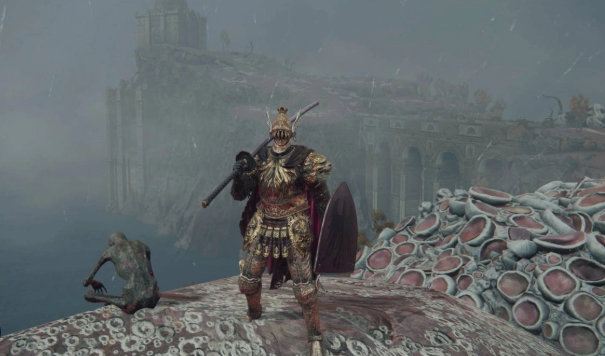
The Universal Weapon Upgrade Progression Loop
To optimize any new build efficiently, stick to this operational sequence when testing a new weapon setup:
Check your world map for small dark circles outlined in red-these denote mining tunnels where you can strip mine early-tier upgrade ores for free.
Hunt down the Miner's Bell Bearings sequentially as you push your global exploration boundaries.
Surrender all bearings to the Twin Maiden Husks to instantly clear their purchase locks.
Farm large pools of runes (such as the Mohgwyn Palace crow farming setup) to buy upgrade materials in massive batches, launching any weapon from level 1 to level 24 in under two minutes!