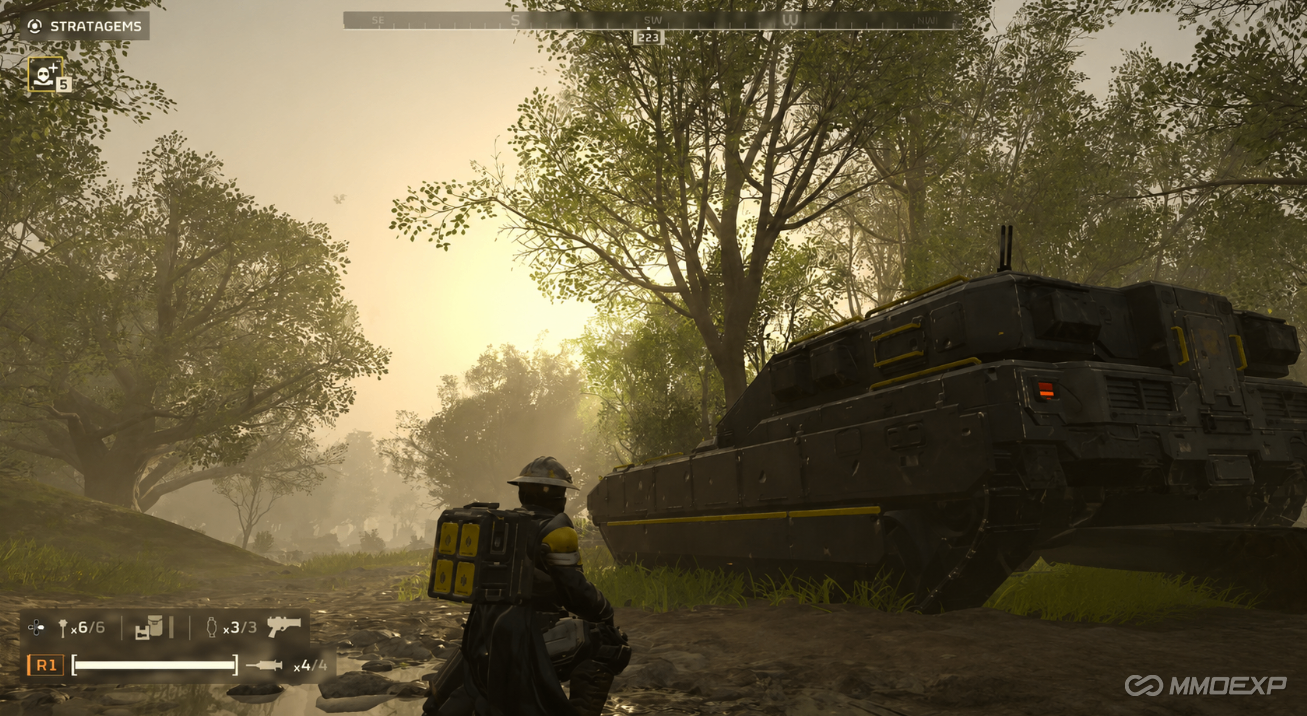
Brothers and sisters of managed democracy, the Bastion tank in Helldivers 2 is not just another vehicle-it is a mobile weapons platform that rewards disciplined control, situational awareness, and coordinated crew roles. If you treat it like a standard ground vehicle, you will die fast, and you will quickly realize the value of properly preparing your loadout and deciding whether to buy Helldivers 2 Items before deployment. If you treat it like a miniature armored squad with tracks, you will dominate entire engagements.
This guide breaks down how to operate the Bastion effectively, from controller layout to battlefield doctrine.
Core Controls and Input Logic (Controller-Focused)
On standard PlayStation-style controls, the Bastion follows a familiar driving schema, but with tactical layers:
· R2: Accelerate / forward movement
· L2: Brake / reverse input (contextual if auto-reverse is enabled)
· L1 / R1: Gear shifting (manual transmission mode)
· Square: Handbrake (critical control tool)
· Circle: Seat switching (driver ↔ gunner positions)
The most important early decision is whether to enable auto-reverse behavior. With it enabled, braking automatically transitions the tank into reverse logic when stationary, simplifying movement under pressure. Manual users gain more precision but must actively manage gear states.
In practical terms: beginners should use auto-reverse. Advanced crews may prefer manual transmission for fine terrain control and speed optimization.
Crew Structure and Combat Roles
The Bastion is designed around multi-seat coordination. Each position is functionally distinct:
Driver (Front Seat)
The driver controls mobility, positioning, and survival. This role dictates battlefield tempo. A good driver keeps armor angled, avoids overexposure, and constantly repositions to prevent flanking threats.
Main Gunner (Rear Combat Seat)
The gunner operates the primary 120mm cannon and secondary heavy machine gun. The cannon delivers high-impact anti-structure and anti-heavy damage, capable of deleting fortified targets in one or two shots. Ammunition is limited, so every shot must be deliberate.
The heavy machine gun provides sustained suppression against infantry, making it ideal for clearing swarms and supporting movement.
Side Seats (Support Slots)
These positions allow players to lean out, fire personal weapons, and deploy stratagems while remaining partially protected. However, visibility is restricted and exposure increases when leaning out, especially during movement.
Movement, Gears, and Terrain Control
The Bastion uses a three-tier mobility system:
· First Gear: Maximum torque, low speed, high stability
· Second Gear: Balanced mobility for general travel
· Drive Mode: Maximum speed for rapid repositioning
First gear is essential for steep terrain or precision maneuvering. Drive mode is best for crossing open terrain or repositioning between objectives.
A critical advanced technique is brake-assisted turning. By applying L2 while moving, you reduce speed without fully stopping, allowing tighter directional control and smoother transitions.
The Handbrake: Your Most Important Survival Tool
The square button activates the handbrake, and it is non-negotiable in high-level play.
Unlike standard braking, the handbrake:
· Instantly locks vehicle movement
· Prevents passive rolling on slopes
· Enables immediate stationary defense posture
· Stabilizes firing platforms for gunners
If you fail to engage the handbrake, the tank can slowly drift, especially on inclines, causing positional failure or accidental exposure.
Rule of thumb: if you are not actively moving, your handbrake should be engaged.
Combat Behavior and Target Priority
The Bastion excels at anti-heavy engagements and area denial. Its cannon can destroy armored units and fortified structures, while its machine gun handles infantry suppression.
Primary threats include:
· Heavy armored enemies (Chargers, Titans, equivalent faction elites)
· Enemy tanks and artillery units
· High-damage structure weapons
The key tactical principle is simple: do not brawl in close range unless necessary. The Bastion performs best when it maintains mid-range standoff positioning, deleting priority targets before they close distance.
Mobility Doctrine and Terrain Interaction
The tank’s tracks interact dynamically with terrain. Uneven contact can cause unintended rotation or drift, especially when one tread loses ground contact.
Environmental rules:
· Small enemies and light obstacles are crushable at moderate speed
· Most vegetation and light structures can be destroyed by contact or cannon fire
· Large static geometry may require rerouting or angle adjustment
A useful technique is the controlled pivot: stop, engage handbrake, and rotate in place to reorient quickly under pressure.
Final Operational Principles
Mastering the Bastion in Helldivers 2 is less about raw driving skill and more about discipline under chaos. The best crews follow three principles:
· Never move without intent
· Never stop without securing position
· Never fire without prioritizing threats
The Bastion is not a casual vehicle-it is a battlefield anchor. Used correctly, it can break enemy formations, hold objectives under siege, and, when combined with cheap Helldivers 2 Items, turn entire engagements into controlled demolition exercises in the name of Super Earth.