If you're tackling Paradox Junction in Call of Duty Black Ops 7 and want to unlock the powerful wonder weapon fast, this guide is worth saving. The core route is clear: alternate between Destroyed Nuketown and Past Nuketown, collect all 4 Blundergat parts, complete the upgrade through special conditions, and finally claim the stronger Thundergat. Below, I’ll break down every step in the clearest, most practical way so you can follow along without confusion. If you'd rather skip the grind entirely, you can buy Call of Duty Black Ops 7 Bot Lobbies to expedite your progress, but for those doing it manually, here’s the full walkthrough.
1. Understanding the Flow: Why Blundergat Comes First
The order matters:
· Collect 4 Blundergat parts
· Build it in Destroyed Nuketown
· Use Tormented Zombies and Tormented Mimics for upgrading
· Finally, switch between Past and Destroyed Nuketown to transform it into the Thundergat
This isn't just "pick up a gun"—it's a full map-interaction chain. Once you know the layout, it's not complicated.
2. How to Get All 4 Blundergat Parts
Part 1 – Yellow Cyst (Soul Feeding)
In Destroyed Nuketown, look for yellow cysts scattered around the map. Only one makes a distinct sound—that's your target.
· Find the cyst that's making noise
· Kill zombies near it
· The cyst absorbs their souls
· Once full, it bursts and drops Part 1
· Pro tip: Clear nearby zombies first, and do this early to plan your route.
Part 2 – Chemical Vial + Mannequin
This one takes a few steps:
· Go to the yellow house upstairs in Destroyed Nuketown, interact with the chemistry setup → get SO3 vial
· Take it to the greenhouse across the street, enter the kitchen, interact with the sink → acid appears → fill the vial
· Back in Destroyed Nuketown, find the mannequin that's making a sound
· Use the teleporter to go to Past Nuketown, find the same mannequin, and interact – the acid pours on its head
· You get 3 tries to find the right one. If you miss, return to Destroyed Nuketown to refill acid. After success, go back to Destroyed Nuketown – the part drops where the mannequin was.
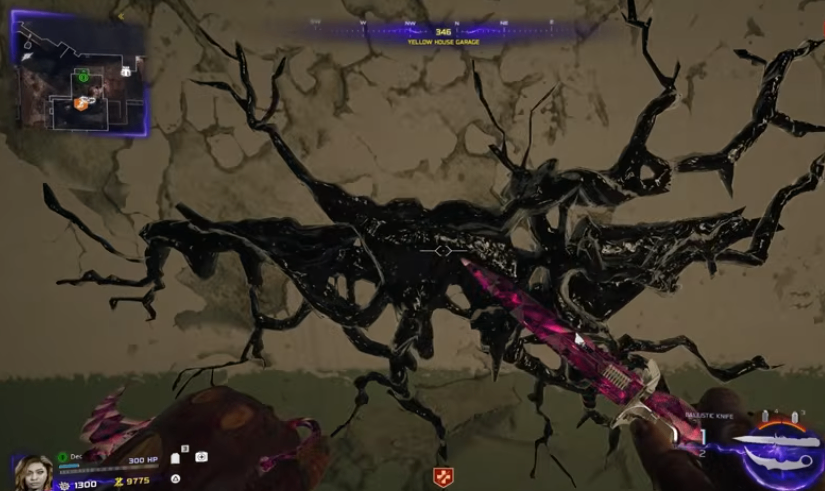
Part 3 – Black Slime + Grenade Wall-Break
Same logic: locate in the destroyed version, act in the past version.
· In Destroyed Nuketown, find the black slime spot that makes noise
· Teleport to Past Nuketown, go to the same location
· Throw a grenade at the wall there – it breaks open
· Return to Destroyed Nuketown, check the same spot inside the wall – Part 3 is there
· Key: Past Nuketown gives no visual hint—memorize the spot from the destroyed version.
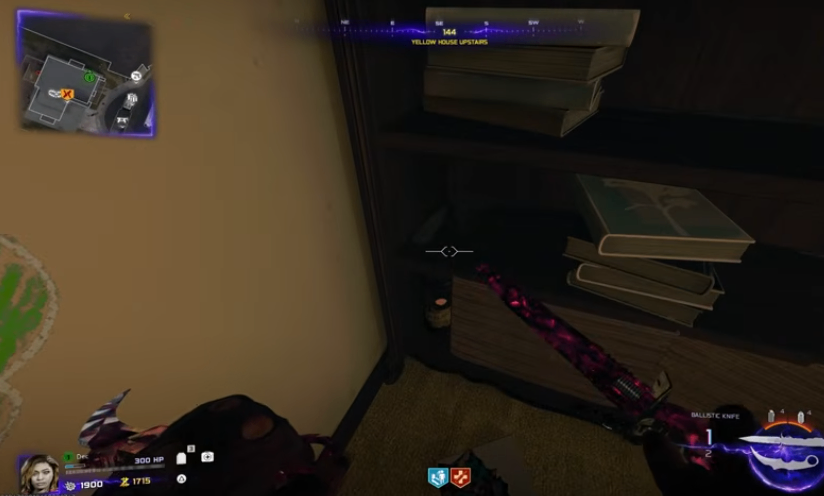
Part 4 – Easiest One
· Go to Past Nuketown
· Upstairs in the yellow house, near the window – pick up Part 4 from the bottom shelf
3. Build the Blundergat in Destroyed Nuketown
With all 4 parts:
· Return to Destroyed Nuketown
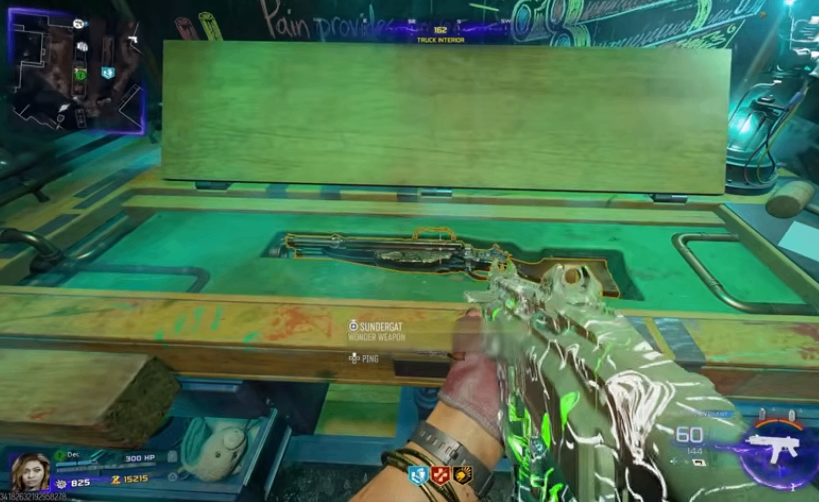
· Head to the trailer in the middle of the map – find the Blundergat workbench
· Melee the workbench first – then the interact prompt appears
· Insert all 4 parts – Blundergat is yours
4. Upgrade Path: Blundergat → Thundergat
Now comes the real power-up. You'll feed enemy souls into the workbench.
Step 1 – Find a Tormented Zombie
After a few rounds in Destroyed Nuketown, a Tormented Zombie spawns – usually:
· Inside a fire tornado in a garden, or
· Near the street beside Pack-a-Punch
· Approach it – it drops out of the tornado. Lure it all the way to the Blundergat workbench.
Caution: Other zombies will kill it quickly. Do this at the end of a round for a clean path.
Step 2 – Kill It with the Blundergat
· Once at the workbench, kill the Tormented Zombie with the Blundergat
· If done right, its soul is injected into the bench
· Repeat this twice (total 2 Tormented Zombie kills)
Step 3 – The Third Enemy Becomes a Tormented Mimic
On the third time, the enemy changes to a Tormented Mimic – same process:
· Lure it to the bench
· Kill it with the Blundergat
· It's tougher, but the method is identical.
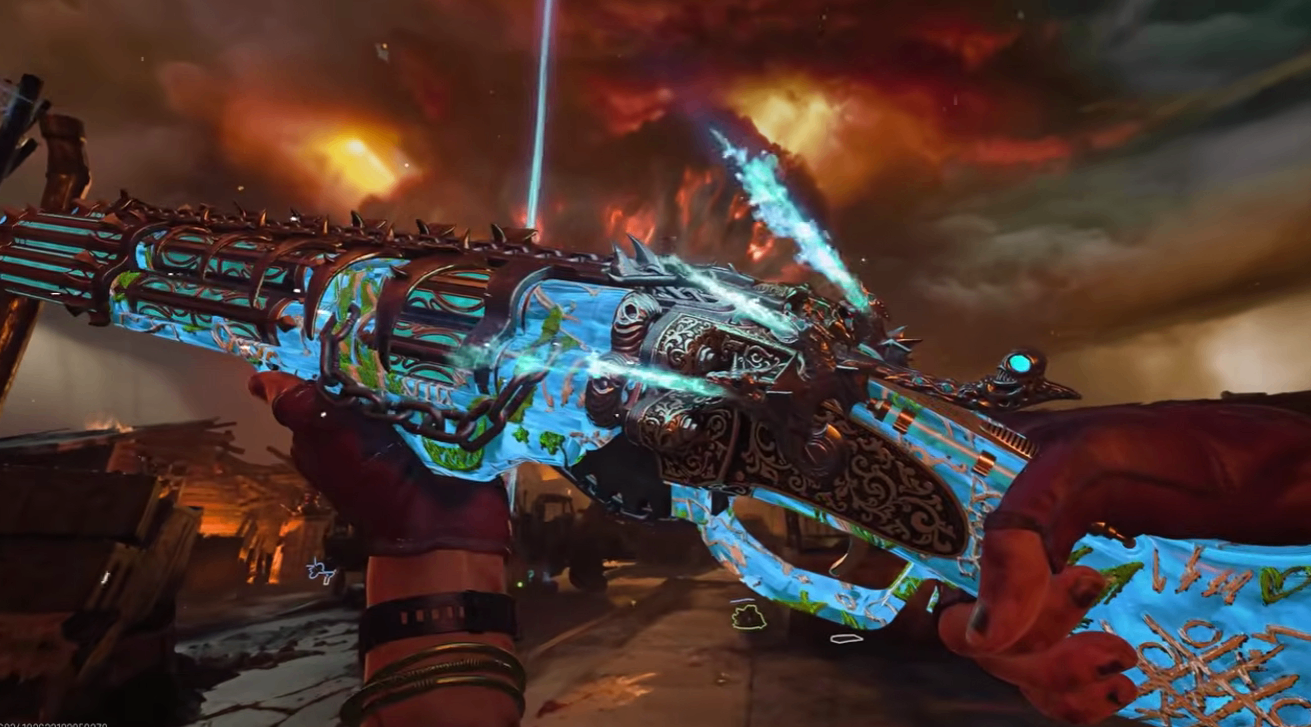
5. Final Transformation: Blundergat → Thundergat
After all soul injections:
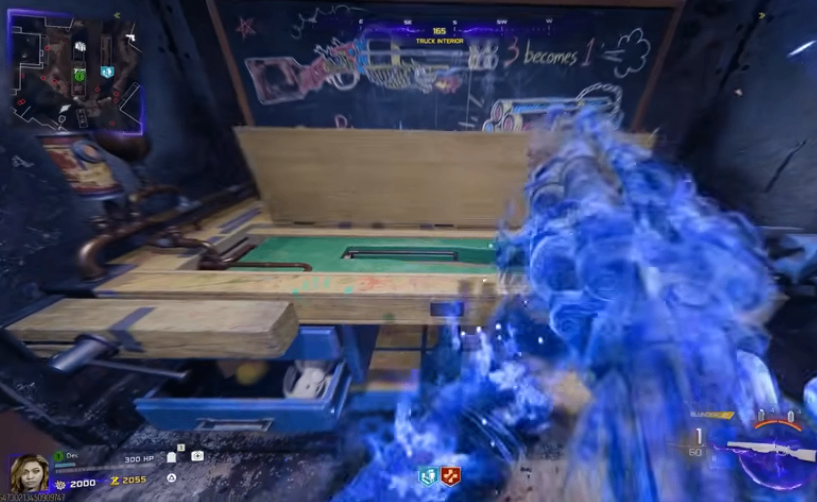
· Go to Past Nuketown
· Find the workbench – melee it first, then place your Blundergat inside
· Return to Destroyed Nuketown
· Melee the same workbench again – now it holds the Thundergat
· That's the final reward – and the whole reason you're here.
6. Speedrun Summary – Smartest Execution Order
· Do part collection first – prioritize targets with clear sound cues
· Use Destroyed Nuketown for exploration and crafting
· Use Past Nuketown for positioning and final pickups
· Handle Tormented enemies at the end – clear the area before luring
· Memorize spot locations between both versions – that's the real skill
· Follow this rhythm, and the whole run becomes smooth and fast.
7. Final Thoughts
This Paradox Junction wonder weapon quest isn't hard – it's just information-heavy with many steps. Once you understand the map correspondence between Destroyed and Past Nuketown, plus the cyst, mannequin, slime, and workbench upgrade flow, everything clicks. If you want to survive high rounds in Call of Duty Black Ops 7, the Thundergat is absolutely worth unlocking first. Stick to this guide, and you'll shorten the entire process to its minimum time – walking away with one of the strongest weapons in the game. For those who prefer an even faster route, you can buy CoD BO7 Bot Lobbies to skip the setup grind, but if you're doing it legitimately, these steps will get you there as efficiently as possible.