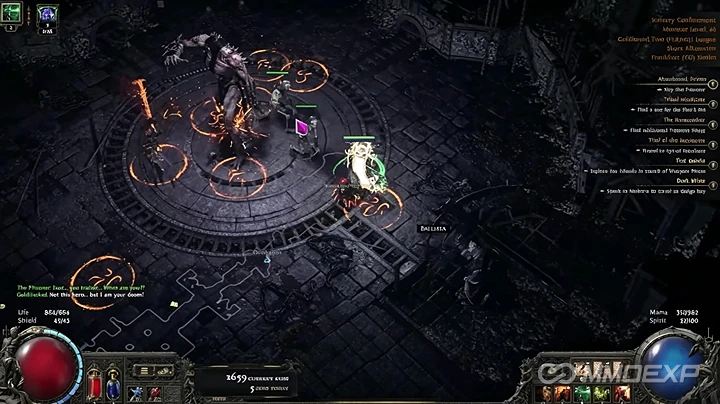
Summary
Reaching your Ascendancy in Path of Exile 2 0.5 becomes much more difficult when you cannot rely on dropped equipment or crafting materials. In a gold-locked challenge, progression depends entirely on vendor purchases, boss rewards, Ritual rewards, and careful gold management. This guide explains the practical route to secure your Ascendancy, strengthen your build, and prepare for later bosses such as Arbiter of Ash and Arbiter of Divinity.

Step 1: Accept the Gear Restrictions Early
The biggest obstacle is the lack of normal item progression. Since dropped equipment, flasks, and crafting currency are unavailable, every upgrade must come from:
Vendor inventories
Boss quest rewards
Ritual rewards
Gold purchases
This changes your priorities immediately. Rather than farming random maps for equipment, spend time collecting gold and checking vendors after level-ups and zone resets.
Avoid wasting gold on temporary upgrades. Save it for meaningful improvements such as:
+1 or +2 Minion Scepters
Minion helmets
Shields with block chance
Resistance gear when approaching difficult bosses
Step 2: Farm Gold Before Pushing the Campaign
Several campaign areas provide significantly better gold income than others. The guide specifically highlights farming around Kaom after reaching the treasure area, allowing enough gold to purchase important vendor upgrades.
Instead of rushing every quest:
Farm gold until meaningful vendor upgrades appear.
Refresh vendors regularly.
Purchase only items that noticeably improve survivability or damage.
This approach provides much steadier progression than forcing difficult encounters with weak equipment.
Step 3: Complete the Trial and Unlock Your Ascendancy
One of the largest power spikes comes after obtaining the Trial of the Sekhemas and completing the Ascendancy.
The selected Ascendancy grants scaling damage that improves naturally with character levels, making it especially valuable when equipment upgrades are limited.
Before attempting the Trial:
Upgrade your weapon first.
Improve resistances where possible.
Bring sufficient mana recovery.
Learn the encounter mechanics instead of relying on raw damage.
A successful Ascendancy dramatically improves boss damage without requiring additional loot.
Step 4: Farm Support Gems Efficiently
After ascending, the next priority is farming support gems.
The strategy focuses on repeatedly defeating the Diviner to earn additional support gem rewards. Since dropped gems are unavailable, this becomes the primary source of build progression.
Useful support choices mentioned include:
Brutality
Controlled Destruction
Bidding
Testing interactions is important. For example, Controlled Destruction was confirmed to increase the damage of certain minion spell abilities even though the interaction is not immediately obvious.
Choose supports that directly improve your primary damage skill instead of spreading upgrades across multiple abilities.