Weekend Drop -
















Summary:
Path of Exile 3.29 has introduced powerful new passive options that significantly improve the Winter Orb Elementalist. This guide covers Day 1 progression, the new damage keystone, leveling strategy, crit transition, gear recommendations, POE currency, and endgame upgrades to help you dominate the new league efficiently.
Why Winter Orb Elementalist Is One of the Best League Starters in PoE 3.29
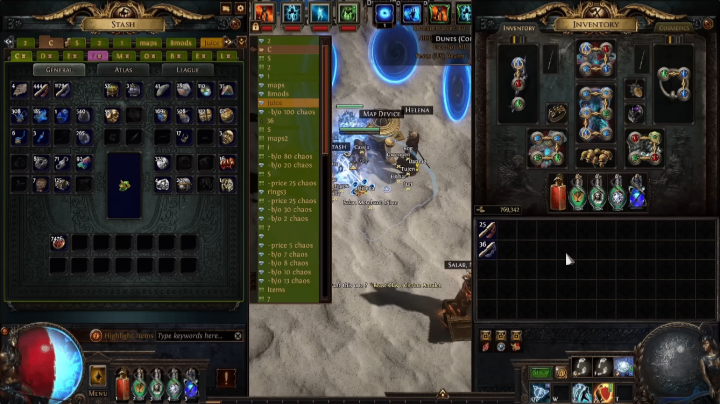
The launch of Path of Exile 3.29 has already revealed several standout builds, and the Winter Orb Elementalist is quickly becoming one of the strongest league starters. With incredible campaign damage, smooth mapping, and an easy transition into endgame content, the build offers nearly everything players want from a fresh league character.
One experienced player reported an extremely successful Day 1, clearing difficult content while obtaining valuable uniques such as Hand of Thought and even a Progenesis from a Valdo's Box. While Progenesis isn't required for the build, the lucky drop provided additional survivability during heavily juiced Tier 16 maps before eventually being sold to fund later upgrades.
More importantly, the build itself required very few changes from previous versions, making it accessible for both veterans and newcomers.
Step 1: Take the New Keystone as Soon as Possible
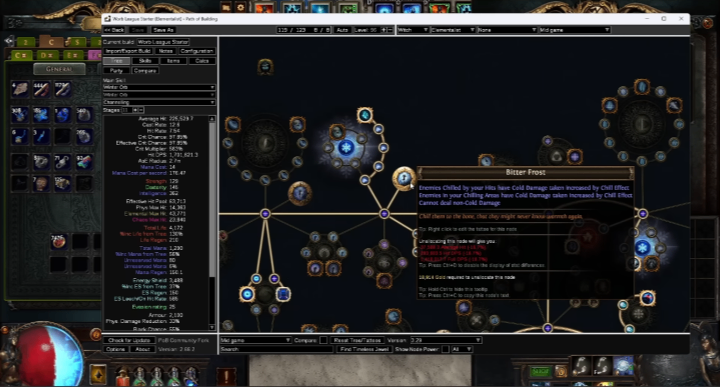
The biggest improvement in PoE 3.29 comes from the newly introduced passive keystone.
For Winter Orb Elementalist, this node is essentially mandatory throughout almost the entire progression.
The reason is simple:
Enemies take increased damage based on your Chill effect.
This bonus stacks alongside Shock.
The result is roughly 20–25% more total DPS, according to Path of Building calculations.
Unlike many conditional damage nodes, there is virtually no downside for pure cold builds.
Since Winter Orb deals almost entirely cold damage, players should allocate this passive immediately after switching to Winter Orb during leveling (around Level 33-34).
Only extremely unusual weapon setups with added Lightning Damage to Spells would reduce its effectiveness.
For nearly every Winter Orb player, this passive is simply free damage.
Step 2: Enjoy One of the Smoothest Campaign Experiences
One of the highlights of the build is just how comfortable the campaign feels.
According to early league testing:
Story bosses die almost instantly.
Mapping begins with excellent damage.
Defensive layers remain solid despite inexpensive gear.
Overall progression feels similar to some of the strongest pre-nerf league starters.
Players reported clearing campaign bosses without difficulty while maintaining excellent movement speed and comfortable clear.
Even difficult bosses such as Maven invitations were completed smoothly thanks to the build's naturally high damage output.
For players looking to finish the campaign quickly and enter Atlas progression early, Winter Orb Elementalist performs exceptionally well.
Step 3: Use Affordable Gear Before Investing
One reason this build is so popular is that it functions extremely well on inexpensive gear.
Some recommended early upgrades include:
Beginner Critical Boots
Cheap boots with:
Spell Critical Strike Chance
Cooldown Recovery
Movement Speed
These provide excellent value immediately after transitioning into critical strikes before being replaced by higher-end crafted gear.
Death's Rush Ring
Death's Rush is another optional upgrade focused primarily on mapping.
Its benefits include:
Adrenaline
Increased movement speed
Faster cast speed
Increased damage
Physical Damage Reduction
Life gained on kill
While excellent for map farming, it contributes very little against bosses.
Players focused on boss rushing can safely skip this ring in favor of stronger offensive options.
Step 4: Know Exactly When to Swap Into Critical Strike
Perhaps the most frequently asked question is:
"When should I switch to crit?"
The recommended answer is much earlier than many players expect.
Rather than waiting until the character is fully complete, the ideal transition occurs around:
Level 80
Level 81
Level 82
Waiting until Level 94 wastes a tremendous amount of potential damage.
Instead, begin transitioning once you have acquired most of the important critical strike clusters.
During the respec, remove several temporary investments such as:
Extra life nodes
Jewel sockets
Early spell damage wheels
Optional AoE clusters
These points are then redirected into critical strike chance and multiplier.
Overall, the transition requires roughly:
25–30 passive refunds
This is easily covered through:
Regret Orbs
Gold
Natural campaign respec points
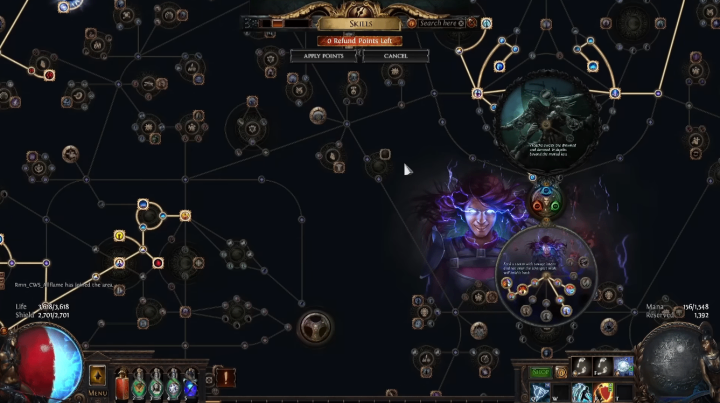
The tree itself changes very little.
Instead of traveling downward like the leveling tree, players simply begin pathing upward toward the major critical strike clusters.
The result is a significant increase in damage without dramatically altering the playstyle.
Step 5: Understand the Automation Setup
Another common source of confusion involves the Automation support gem.
Many players assume it automatically casts Frostbite.
It does not.
Instead, the correct setup looks like this:
Automation → Steelskin
This provides two major benefits:
Automatic Steelskin activation
Automatic Arcane Surge uptime
Since Steelskin triggers automatically, Arcane Surge is also refreshed regularly without requiring manual input.
Frostbite remains manually cast because Automation cannot support it.
Although Frostbite may appear linked in the same socket group, it is only placed there because of available socket space—not because Automation interacts with it.
Understanding this interaction prevents many players from accidentally using an ineffective setup.
Step 6: Upgrade to the Mystic Refractor Wand
One of the strongest early investments is the Mystic Refractor unique wand.
Initially, prices may seem high:
Two-projectile version
Three-projectile version
Several Divine Orb investment
However, its power easily justifies the early cost.
Compared to similarly priced rare wands, Mystic Refractor delivers outstanding damage and remains Best-in-Slot until players eventually transition into a Power Charge stacking setup.
If budget is limited, purchasing the two-projectile version is perfectly acceptable before upgrading later.
Players should also remember that its value will naturally decline over time.
Since it is only a Tier 3 Unique, increased league supply will dramatically reduce prices within the first week.
This makes waiting a perfectly reasonable option if currency is tight.
Step 7: Plan Your Endgame Transition
Once sufficient currency has been accumulated, players can begin preparing for the next evolution of the build.
The eventual goal is transitioning into a Power Charge Stacker, which offers substantially higher damage scaling.
Typical progression includes:
Selling temporary uniques
Purchasing upgraded boots
Replacing leveling equipment
Investing into higher-end weapons
Optimizing jewels
Maximizing critical strike multiplier
Because the league economy evolves quickly, many temporary upgrades become increasingly affordable after only a few days.
Players who avoid overspending during Day 1 often reach stronger endgame gear more efficiently.
Final Thoughts
The Winter Orb Elementalist has proven itself to be one of the strongest and smoothest league starters in Path of Exile 3.29. The new keystone provides an enormous damage increase with virtually no downside, making it a must-have for every cold-based version of the build.
Combined with effortless campaign progression, inexpensive early gearing, a straightforward critical strike transition around Level 80, and powerful endgame scaling into a Power Charge Stacker buy Path of exile currency, the build offers outstanding performance from the first hour of the league all the way into high-tier Atlas content.
Whether you're racing through Day 1, farming juiced Tier 16 maps, or preparing for pinnacle bosses, Winter Orb Elementalist delivers exceptional speed, survivability, and damage. If you're searching for a reliable PoE 3.29 league starter capable of scaling into one of the strongest endgame builds, this setup is an excellent choice.