Summary
In Path of Exile 2, the Gemling Legionnaire is the strongest — arguably the only correct — ascendancy for Twister, because its Advanced Thaumaturgy node makes gem quality simultaneously provide Whirling Slash attack speed, Twister projectile speed, and Barrage's chance to not consume frenzy charges, turning Twister into a full-screen meat grinder. This build is genuinely expensive, so if you're short on Divine and Exalted Orbs, you can buy Path of Exile 2 Currency to fund the core uniques and high-end gear. This guide breaks down the build's underlying logic, core gear, operation loop, and why you shouldn't copy those "expensive but slow" versions.
1. Core Mechanics: Why Gemling Legionnaire Is the Only Answer
1.1 Advanced Thaumaturgy: The Foundation of Everything
Gemling Legionnaire's ascendancy node "Advanced Thaumaturgy" has a unique effect: all gem quality provides additional effects to socketed skills.
Specifically for this build's three key skills:
Skill | Quality Bonus | Why It Matters |
Whirling Slash | Additional attack speed | You move faster and trigger Twister more often |
Twister | Additional projectile speed | Projectile speed directly converts to damage frequency |
Barrage | Chance to not consume frenzy charges | Keeps you at max frenzy charges almost permanently, maximizing Twister repeats |
Simply put: others stacking quality get a single bonus. You stacking quality get attack speed, projectile speed, and frenzy charge sustain all at once.
1.2 Twister's Damage Logic
Twister is a delayed damage skill. Each tornado periodically deals damage to enemies in range over its duration, at roughly 0.66-second intervals. This means:
Faster projectile speed = tornado moves faster, covers more area, hits more frequently
Longer duration = more tornadoes active simultaneously
More frenzy charges = more Barrage repeats, more tornadoes released
Gemling's ascendancy amplifies the first two variables simultaneously, while Barrage's quality effect solves the third.
1.3 The Correct Way to Generate Frenzy Charges
This is the most commonly copied-wrong part of the build. Many players use Combat Frenzy to generate frenzy charges — gaining a charge when freezing, shocking, or electrocuting an enemy, with a cooldown.
Combat Frenzy is garbage in single-target boss fights. Its internal cooldown makes it nearly impossible to maintain during boss encounters, and triggering it requires heavy investment in elemental ailments across your tree and gear.
The correct method is: Armour Break + Resonance.
Here's how it works:
Use the Armour Break III support gem
Fully breaking an enemy's armour has a 20% chance to grant an endurance charge
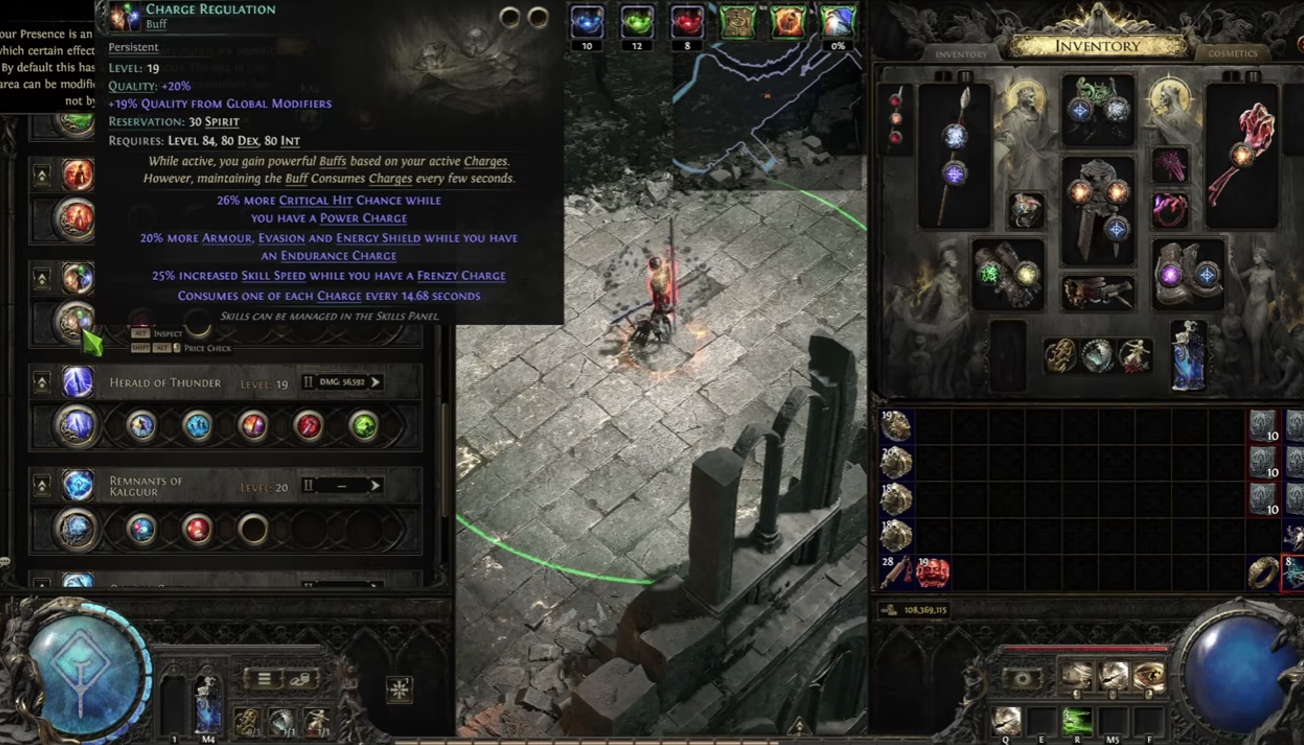
Through the Resonance keystone, endurance charges convert into frenzy charges
Gemling's ascendancy and "chance to not remove charges" modifiers on gear keep you at max frenzy charges almost permanently
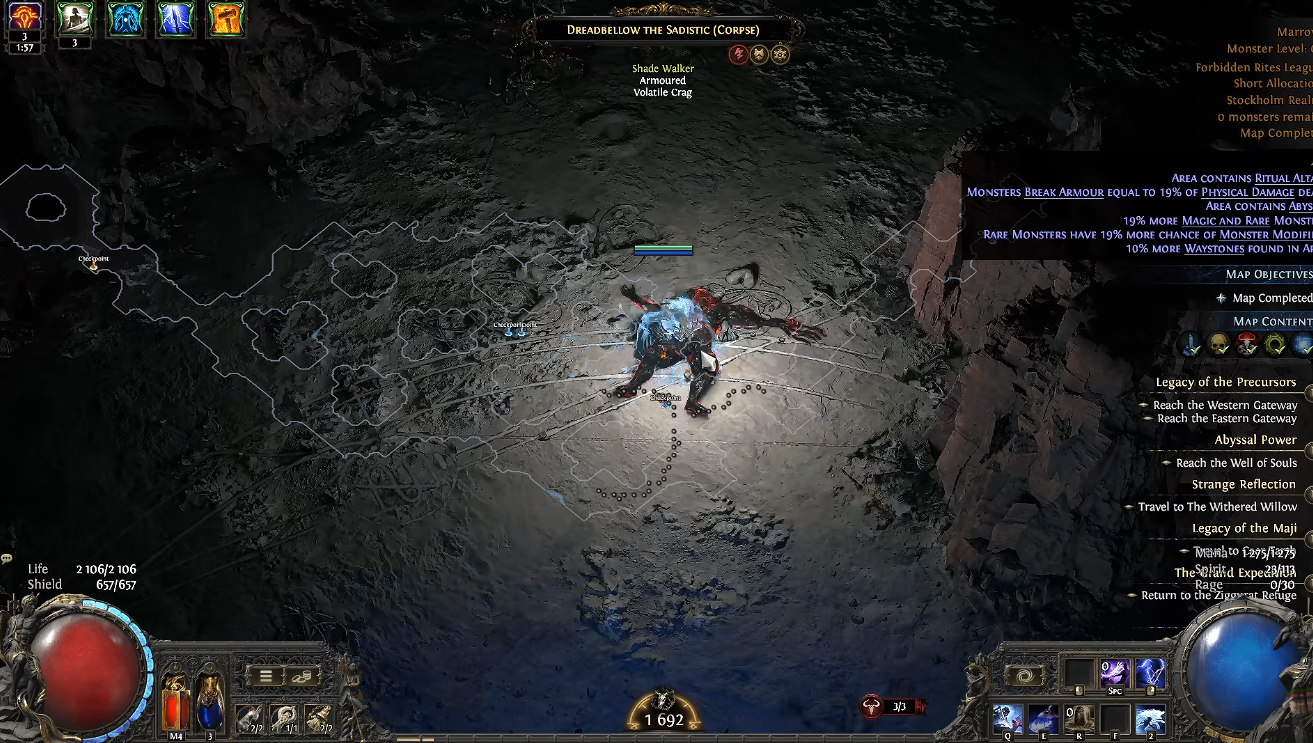
Every monster in the game has armour, even without an armour icon. As long as you're killing in a map, frenzy charges generate continuously.
2. Gear Selection: Spend Your Currency Where It Counts
2.1 Weapon: Spear
Core modifiers: High attack speed, crit chance, physical damage
Budget option: High attack speed spear base (e.g., Sky Sliver)
Endgame option: Exalted/Divine spear with crit chance, roughly 15-20 Divine Orbs
If chasing maximum speed: A spear with "gain frenzy charge on hit" from corruption or enchant can completely remove the need for Eternal Rage
Don't dump your entire budget into "+X to Twister levels." Twister's damage comes more from projectile speed and repeat count than from skill level itself.
2.2 Ring: The Taming
This is one of the build's most core uniques. The Taming makes Twister always count as being boosted by ignited, shocked, and chilled ground, directly providing 150% damage as extra elemental damage.
Buy the finished item directly, or buy the three pieces and craft it yourself — usually cheaper than buying the finished ring.
2.3 Body Armour: Prioritize Energy Shield
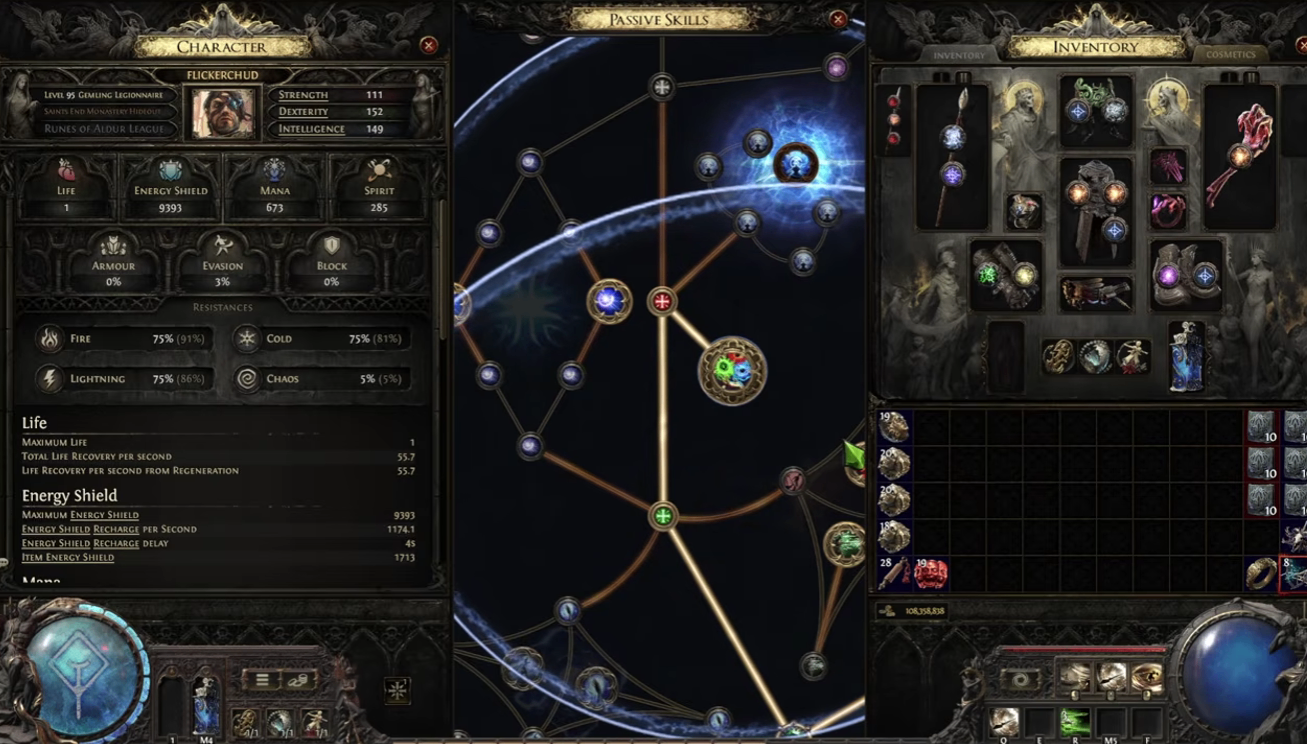
Do not go hybrid. Pure Energy Shield + Chaos Inoculation (CI) is the superior choice.
The reason is simple: you almost never take damage in a Twister build. You're moving constantly, tornadoes kill from a distance, and you rarely enter melee range. Stacking evasion/armour has low returns, but Energy Shield's maximum hit taken is tangible.
Key points:
You don't need Spirit on your chest, which lets you use Loreweave or other functional body armour
Life regeneration modifiers matter to offset Berserk's life drain