Summary
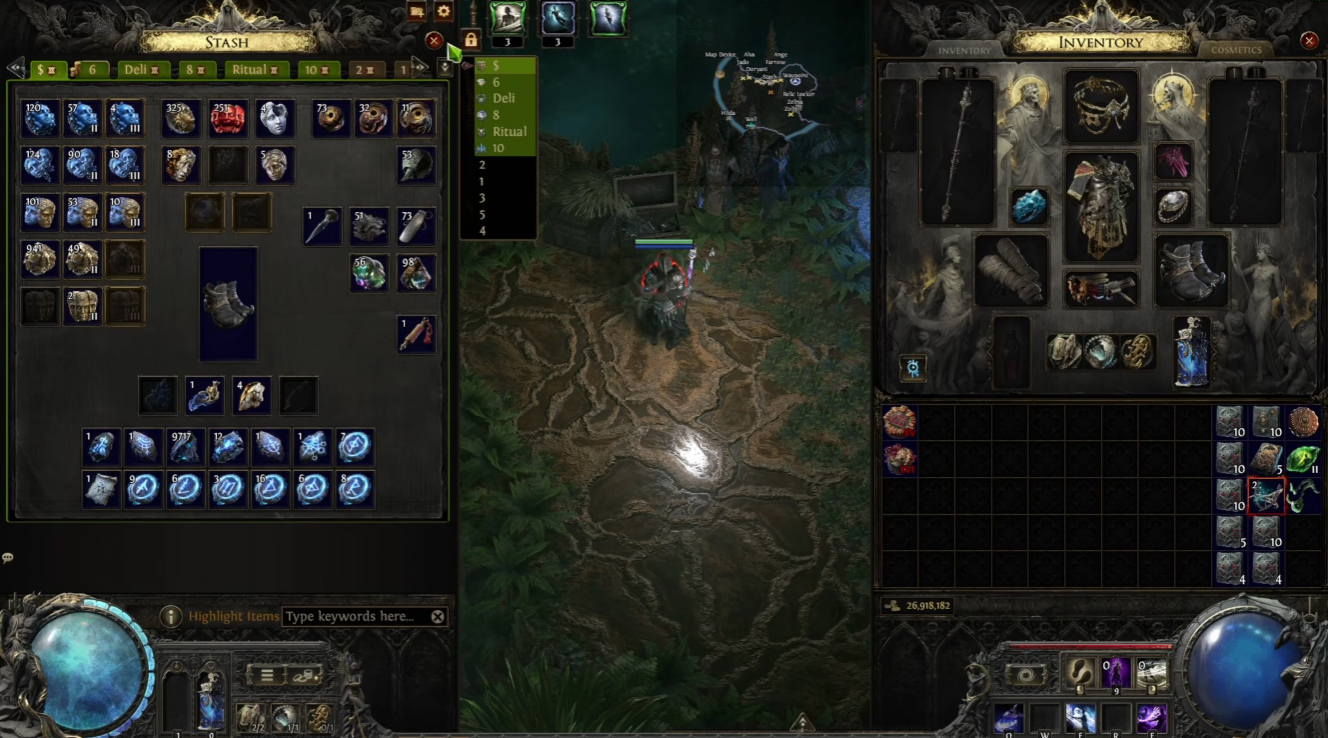
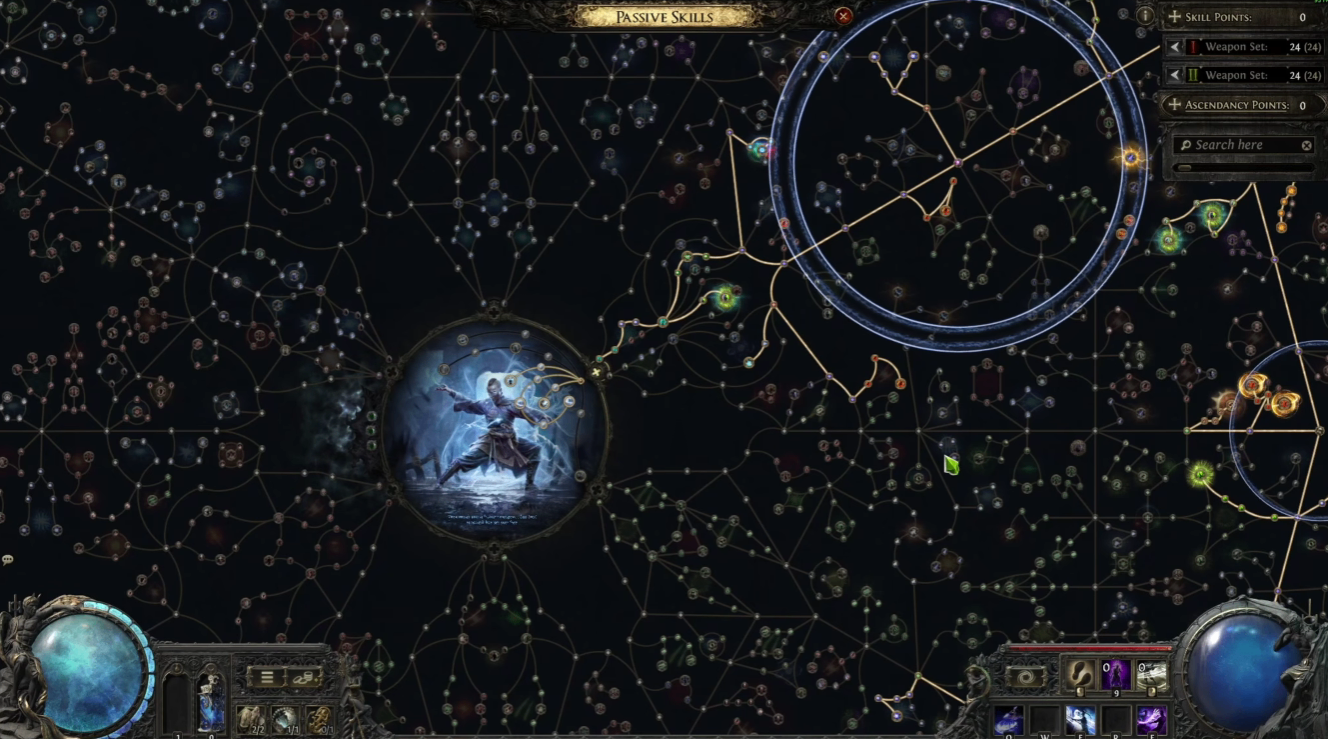
This refined level 97 Martial Artist build centers on Whirling Assault power charge generation paired with Flicker Strike burst damage, delivering exceptional survivability alongside massive single-target and area-of-effect output. Fully capped elemental and chaos immunities make the character stable for high-difficulty content such as 200% delirium maps and endgame boss fights. This breakdown covers core combat mechanics, complete gem link setups, mandatory gear mods, passive jewel priorities, and practical mapping strategies, while also highlighting how efficiently players can manage their POE2 Currency when upgrading this powerful endgame setup.
Core Build Mechanics & Defensive Profile
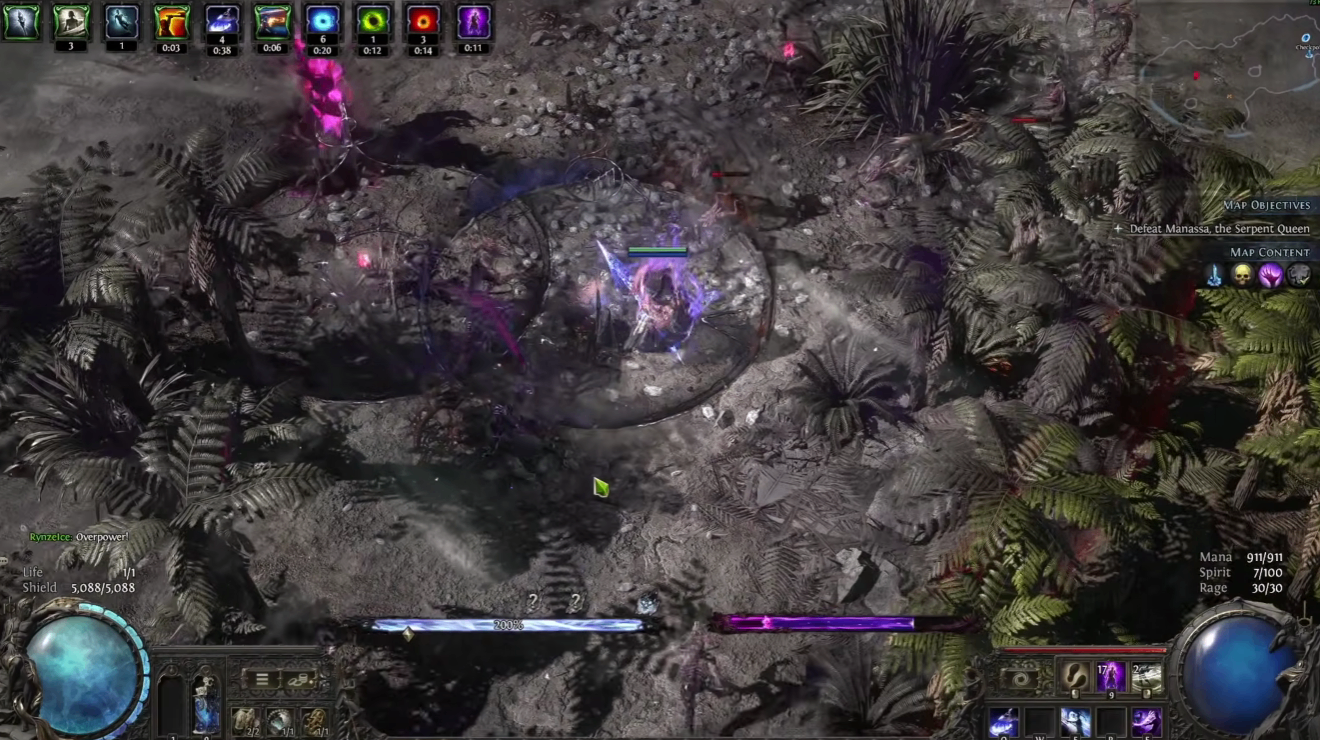
At level 97, this Martial Artist setup hits complete elemental resistance caps with full immunity to chaos damage, bleed, and ignite effects. Base armor and damage reduction sit at 46% each, paired with 71% baseline evasion that jumps to 74% while Rite of Passage is active, rendering the character extremely tanky for melee playstyles.
The build’s core loop relies on Whirling Assault to generate combo points, which are then converted into power charges through Charge Perfusion, Illumination and Added Time support interactions. Every attack, including Herald of Ice and Flicker Strike, builds combos thanks to the Martial Master ascendancy node. Consuming stacks through Whirling Assault instantly grants power charges to fuel all burst skills. Eternal Rage on the amulet maintains permanent rage, removing reliance on rage generation from spinning attacks.
Offensive output splits neatly into two roles. Whirling Assault and Herald of Ice handle fast AoE mapping clears, while Lacerate serves as the dedicated single-target boss damage skill, used primarily in Simulacrum and max delirium encounters. Flicker Strike peaks at around one million hideout DPS, with burst output climbing to roughly 25 million under full Fury Ninja buff conditions.
Full Skill Gem Link Breakdown
Whirling Assault (Main Clear & Charge Generator)
Linked with Culmination 2, Ele Chimes, Charge Infusion 2, Hold the Attunement and Vaal Siege. This link is the foundation of the charge loop, steadily building combos for consistent power charge uptime.
Herald of Ice (Mass Ice Explosion Clears)
Support gems include Magnified Area 2, Armor Explosion, Armor Break 3 and Uul-Netol’s Melting. Physical damage added via glove modifiers triggers large ice explosions that shatter chilled crowds. Two dangerous map modifiers counter this build: elevated elemental thresholds and increased monster elemental resistances. Players offset these by stacking extra spirit or running Blasphemy Elemental Weakness / Overwhelming Presence to lower enemy resistance caps. The glove mod that adds extra physical damage to all attacks, paired with Monster Solidification’s 8% bonus physical damage, enables reliable chain explosion procs.
Flicker Strike (Burst Mobility Damage)
Links feature Hidden One, Concentrated Area, Elemental Armament, Rare Forge and Rocket’s Flow. Rare Forge consumes sustained rage for a permanent 35% damage multiplier, a massive boost to flicker burst potential.
Defensive & Utility Skill Links
Tempest Shield spawns bell constructs during party expedition farming for supplementary damage. Wind Dancer carries Magnified Area 2, Freeze, Elemental Armament 2, Blind 2 and Cool Attunement, dealing around 200k reflected DPS to attackers while buffed. Mark of Suffering provides layered debuffs including freeze, charge application and elemental weakness for group fights. Mantra of Destruction extends buff duration while boosting critical damage and mobility for sustained charge generation.