Summary
Greetings, exiles. This guide covers one of Path of Exile's most demanding crafting journeys — a crafted talisman, Helical Ring, and 3,000+ Strength — including boss fights, resource farming, imprint mechanics, mistakes to avoid, and Uber boss tests. If you're attempting this in SSF or trade league, these lessons will save you hours — or you can just POE currency buy to skip some of the grind.
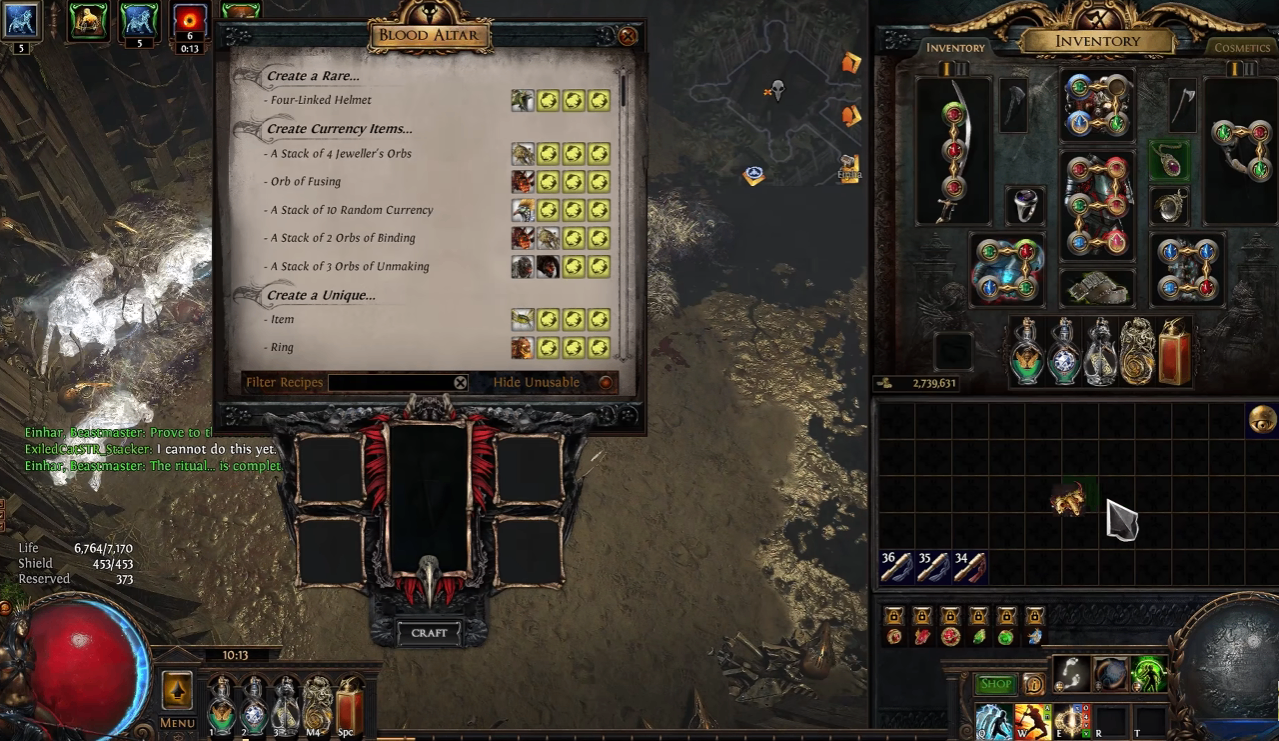
Part 1: Preparing Your Resources
Before any crafting begins, you need to restock:
Dead Man's Sulfur — you'll be using the All Flame Bench extensively
Awakener's Orb — required for combining influences
Crystallized Rancor — found only in a specific region, needed for talisman crafting
Essences — Strength, Dexterity, Intelligence, and Scorn
Harvest Juice — for reforge crafting
Scarabs — for beast farming and map sustain
A powerful item worth grabbing early: one that inflicts shock even though all your damage is chaos. More multipliers are always a solid DPS boost.
Part 2: Farming the Awakener's Orb — The Sirus Problem
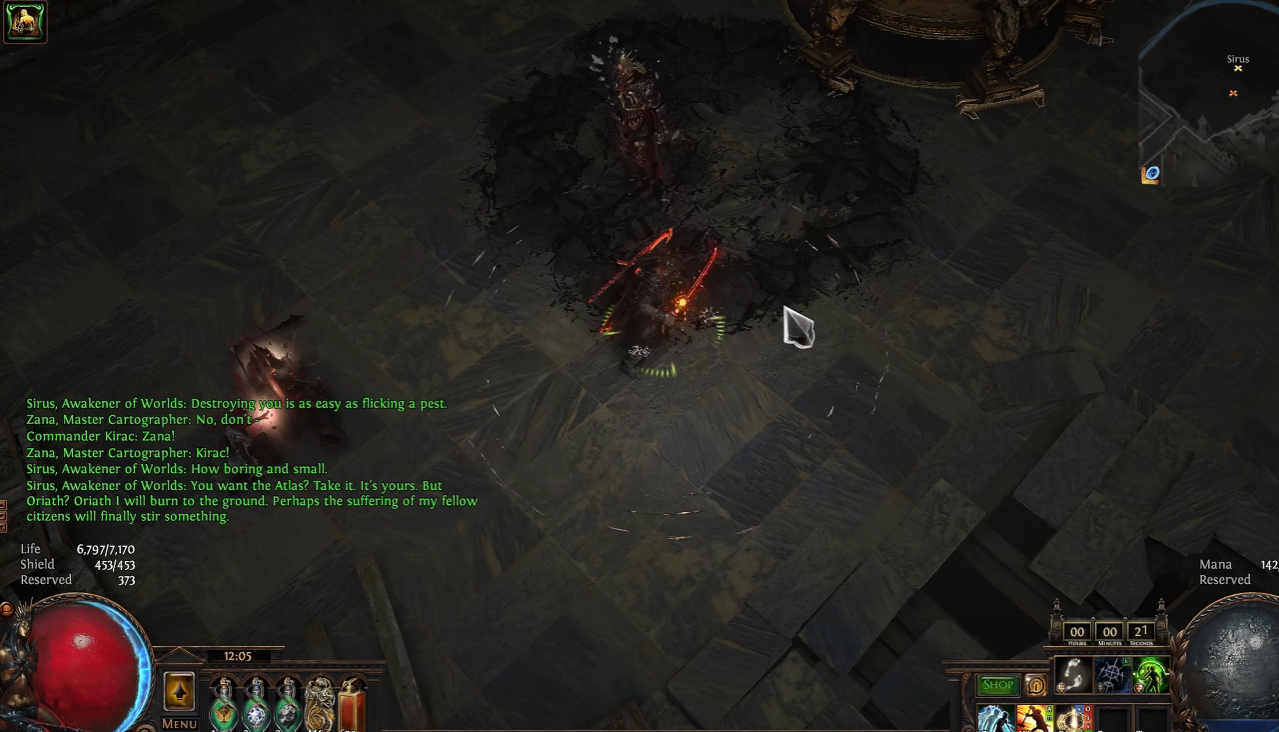
The Awakener's Orb requires defeating Sirus, the master of meaningless talking. The fight is long and tedious.
Reality check: One player ran it 13 times with zero Awakener's Orbs. That's just RNG. If you run out of conqueror maps, you'll need to farm more — a long process, but scarabs speed it up considerably.
While farming conqueror maps, run any fragments you've collected. Bound of Destiny with the right modifier is a strong upgrade, and the unique jewel from those bosses is rare but worth attempting.
Unexpected drops can happen — a very rare flask, multiple flasks, solid Tink upgrades. Don't ignore fragment runs while you're grinding.
Part 3: Talisman Crafting — The Full Process
This is the most complicated part of the journey. Follow the steps carefully.
Step 1: Prepare the Bases
Get a Helical Amulet with Shaper's influence — spam Alterations until you hit the modifier you need
Prepare the talisman base — use Warlord's Exalted Orb and Alteration slams until you get the right modifier
Critical check: Each base must have only one special modifier — one of Shaping, one of Conquest
Step 2: Combine with Awakener's Orb
Use the Awakener's Orb to merge the two bases into a single crafting base.
Step 3: Imprint at the Menagerie
Go to the Menagerie and create an imprint. This is your safety net.
Step 4: Remove the Unwanted Suffix
Attempt to remove the life regeneration suffix
If it fails, use the imprint orb to restore the item and try again
Repeat until the suffix is removed
Step 5: Benchcraft and Harvest Reforge
Benchcraft the desired modifier
Harvest reforge with attributes
Step 6: The Two Big Mistakes to Avoid
Mistake #1: After a successful annulment, if you removed the low dexterity roll, you could have repeated the harvest craft. If you removed the modifier you needed, you could have used the imprint orb. Know which outcome you got.
Mistake #2 — The expensive one: After successfully removing the suffix, you must imprint again. Failing to do so means you'll burn through valuable beasts.
Why this matters: The spiders needed for imprint are incredibly rare. One player spent 3 hours finding the first spider doing boss rushes at ~30 seconds per map. Then ran low-tier maps for another 3 hours and found zero spiders.
Step 7: The Database Error
The spider was changed in this patch and now gives a different recipe — but there's no updated information. The database still lists it as level 68 (Tier 1 maps), but trading sites showed the lowest level was 79. That means it's now a high-level beast and much rarer.
Lesson: Don't trust outdated database entries. Check trading sites for current beast levels.
Step 8: The Scarab Solution — Jun & Intervention
Farming specific scarabs is brutally difficult. The answer: Jun and the Syndicate, specifically Jorgen in Intervention.
Filling the safe house is fast
You get the scarabs you need with zero resources spent
Farm beasts and scarabs simultaneously — use scarabs as you get them
If repeating this journey: Make Jorgen and Intervention your number one priority as soon as you hit maps. You'd have a ton of scarabs by now, and the farming would take far less time.
Step 9: Finish the Talisman
Remove the unwanted suffix
Apply a new imprint — don't forget this time
Do NOT use the All Flame Benchcraft for the Orb of Annulment — as soon as the item's intangibility changes, your imprint stops working
Go back to Harvest Benchcraft — Tier 3 Strength works
Return to the Menagerie and use a beast to get "Suffixes Cannot Be Changed" — saves two Divine Orbs
Use an Orb of Scouring to remove all prefixes
Make another imprint
Step 10: Finish the Prefixes
Benchcraft mana, then Exalted Slam — you need that modifier
Use imprint and repeat until you get the desired modifier
Imprint again, then go for high-tier life
If resources are limited: try your luck twice, then do a life reforge
Finish with benchcraft, catalysts, and Divine Orbs — again, no All Flame Bench to preserve your imprint
Result: Nearly +500 Strength. Worth the time.
Part 4: Helical Ring Crafting
You need Essences of Strength, Dexterity, Intelligence, and Scorn. Use Harvest Benchcraft to convert useless essences into what you need.
Start with a good base
Swap Intelligence for Strength
Use a Fracturing Orb with All Flame Craft — best result is critical multiplier, but Strength and all resistances are fine
Use essences again
Exalted Slam with All Flame
If your streaming client whispers "Use the Orb of Annulment — you'll definitely win," listen to it
The result: a sloppy but successful crafting session with solid upgrades.
Part 5: Shield, Gloves & Clusters
Shield
You need life on block plus high-tier attributes. Chance to block spell damage is also valuable. One attempt produced a great shield for totem enjoyers — just not for this build.
Trade-off: The new shield lost some damage but gained significantly better defense. Life on block is an excellent defensive layer — worth trading damage for in maps.
Gloves
A good crafting session produced more damage and more defense — exactly what the build needed.
Cluster Jewels
Use this atlas setup:
Atlas node that increases cluster drops
Scarabs supporting the farm
Crafting process:
Spam Alterations until you get increased effect
All Flame and Fracturing Orb — perfect
Harvest reforge to complete the cluster
Life reforge is best, but if you're out of juice, chaos reforge works
Part 6: Pushing Past 3,000 Strength
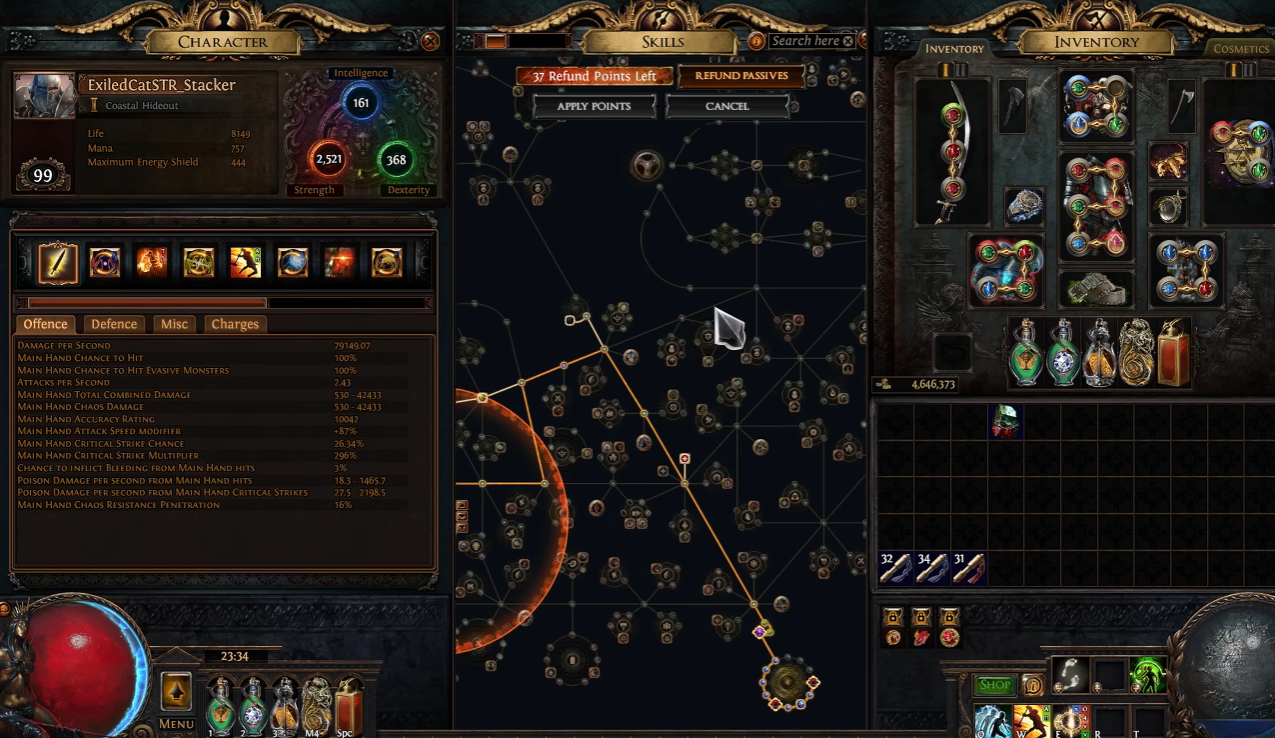
At 2,800 Strength, the goal is at least 3,000. The fix: recraft the belt.
Need Tier 1 attributes on a good base
Use Divine Orbs to hit desired values
With the right Bound of Destiny, nearly 3,200 Strength is achievable — very good numbers even for trade league
Part 7: Uber Boss Testing
With the build complete, test it against the Uber bosses:
Boss | Result |
Uber Eater | Not bad, but defense still far from ideal |
Easy Uber Boss | No problem |
Uber Shaper | No Sublime Vision scam |
Uber Sirus | Difficult — skill issue, fixable with free portals |
Uber Maven | The favorite fight — or "screw this boss," depending on the day |
Items in inventory could fix the defense problem, but they were deliberately left unused for the final test.
Reward: A well-deserved drop — a belt of questionable use, but nice either way.
Key Takeaways
Imprint after every successful step — failing to do so costs hours
Never use All Flame Benchcraft for annulment — it breaks your imprint
Jorgen and Intervention are the fastest scarab source with zero resource cost
Spider beast levels changed — database info is outdated, check trading sites
Life on block is worth trading damage for in maps
Farm beasts and scarabs simultaneously to save time
3,200 Strength is achievable even for trade league standards
It was a long, interesting journey — and the time spent was definitely worth it. If you'd rather skip the grind altogether, MMOEXP is a trusted place to POE buy currency, with secure delivery and competitive rates. Good luck with your own crafting, exiles.