





Summary
In SAND: Raiders of Sophie, your trampler is everything. It's your home base, your storage, your weapon platform, and your lifeline. Playing solo means every single responsibility falls on you—driving, gunning, repairing, and looting all at once. This guide covers a practical solo starter build that offers more defense than the default Grumpy Walker, requires only tier one components, and teaches you how to survive and profit in the desert without needing to spend real money on cheap SAND: Raiders of Sophie Crown, though the option exists if you want to skip the early grind.
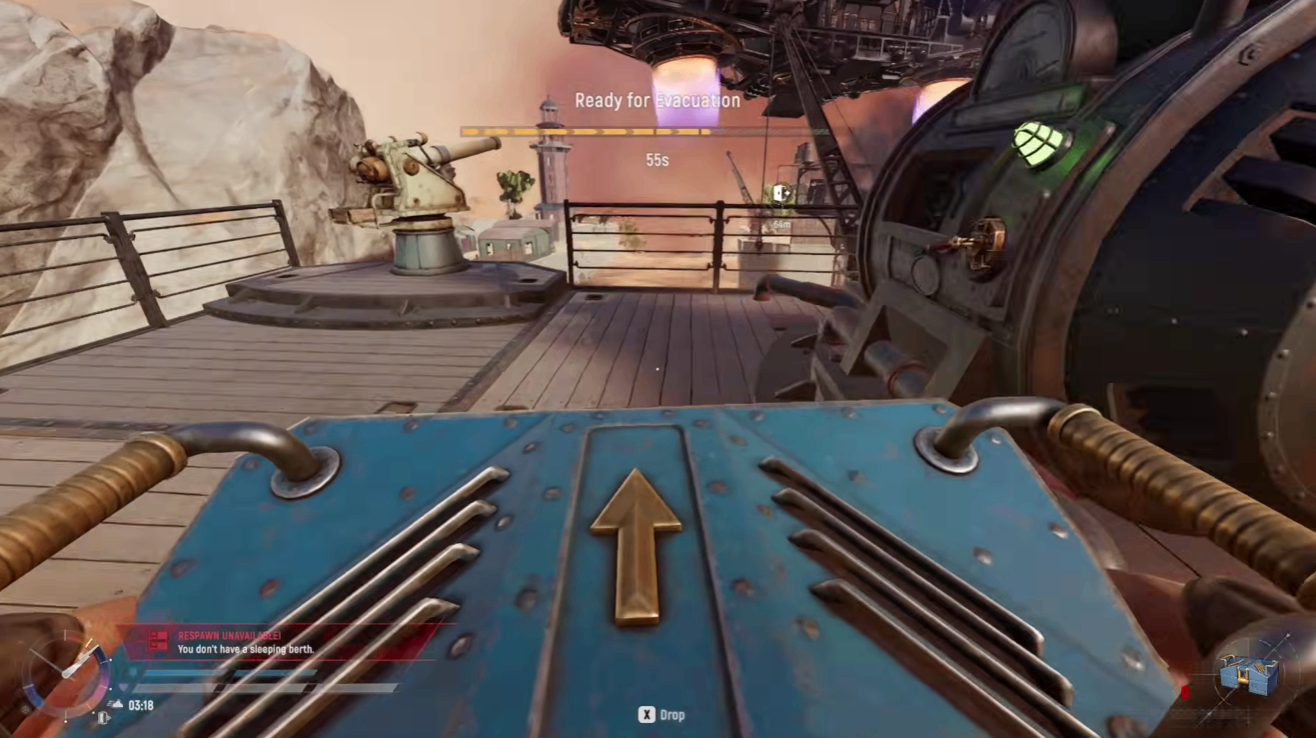
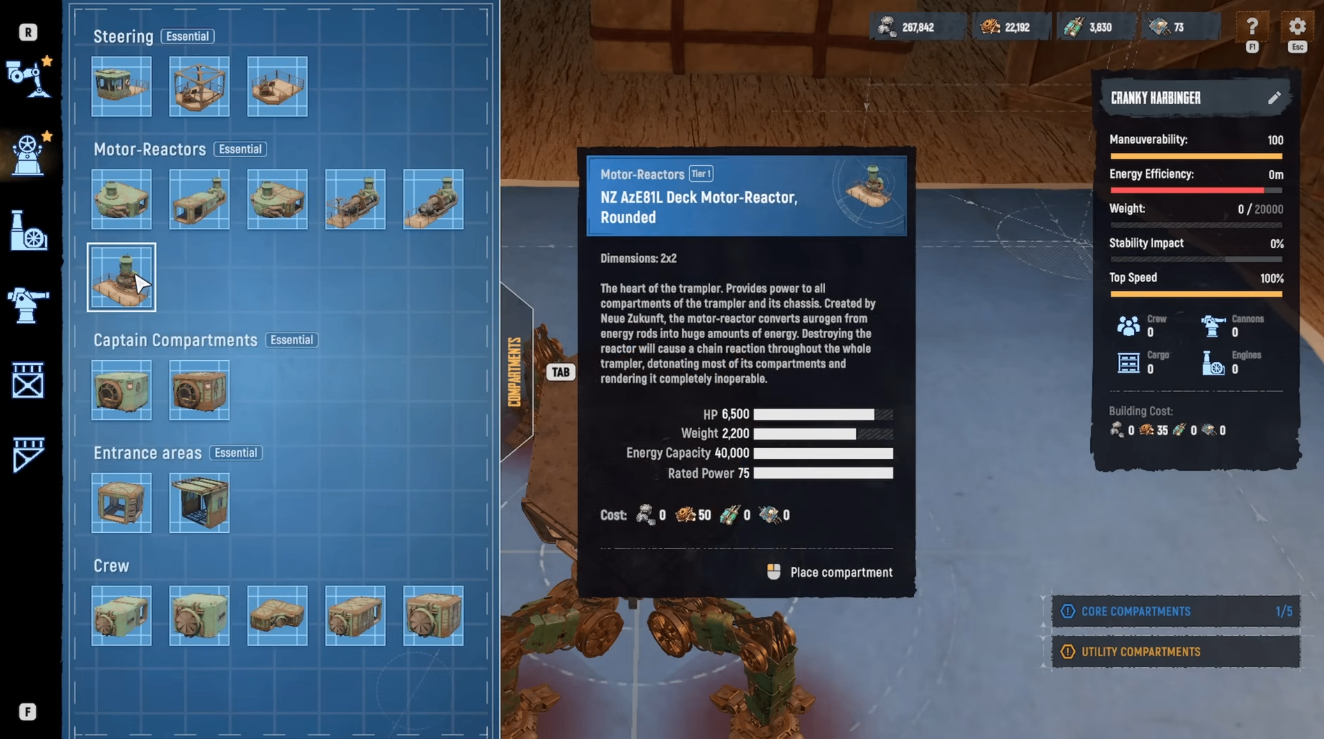
The Build: Front-Facing Solo Trampler
The default Grumpy Walker preset has its reactor exposed from multiple angles, making it a sitting duck for experienced players . This build fixes that by orienting everything forward and layering defenses around your critical systems.
Chassis and Layout
Start with the 2x4 small chassis (the "long" one). Orient your trampler facing forward—you'll spend most fights pointed at the enemy, so everything should be arranged to protect your reactor from that direction.
Reactor Placement: Place your tier one reactor on the back of the chassis. Since reactors are two stories tall, you need to protect both floors. The Grumpy default leaves the reactor vulnerable from 360 degrees—you can do much better .
Defensive Layering
Crew Cabins: Place three crew cabins around the reactor as armor. These act as sacrificial layers—enemy shells must destroy these storage compartments before they can damage your reactor. Each storage compartment costs around 64 C4 to blow up, buying you precious time.
Captain's Compartment Protection: Place your captain's cabin next to the reactor, then block it with a storage box in front. Anyone trying to steal your trampler has to destroy the storage box first, then use C4 on the cabin door. This gives you time to fight back.
Top Deck Coverage: Add a cargo deck light on top with a ladder. Use cargo compartments on the upper deck to prevent enemies from boarding from above, and to provide a quick depot point when looting.
Wheel and Cannons
Place your steering wheel on the third floor, along with your turrets. This keeps them out of the line of fire—enemy shells generally fly high and might miss your controls entirely. Use frame turret decks for the extra 1,000 HP they provide.
For cannons, a single worn 40mm works well for solos, as you can stay on it longer and maintain sustained fire. If using rusty cannons, consider running two rusty 40mm on the front so you can swap between them while one cools down. The 40mm is the most versatile starter cannon—it fires continuously, has decent range, and only overheats if you hold the trigger down, so fire in short controlled bursts .
No Railings: Use standard decks without railings to make moving through your ship easier.
Optional: Crow's Nest
The Grozny nest (crow's nest) is optional. It costs 50 mechanical parts to unlock through the tech tree—skip it if you don't have the parts.
Total Cost
This build costs around 685 Crowns and 30 Steel, only about 200 mechanical parts more than the default Grumpy builds . There's no reason not to run it once you have the components.
Pre-Expedition Setup
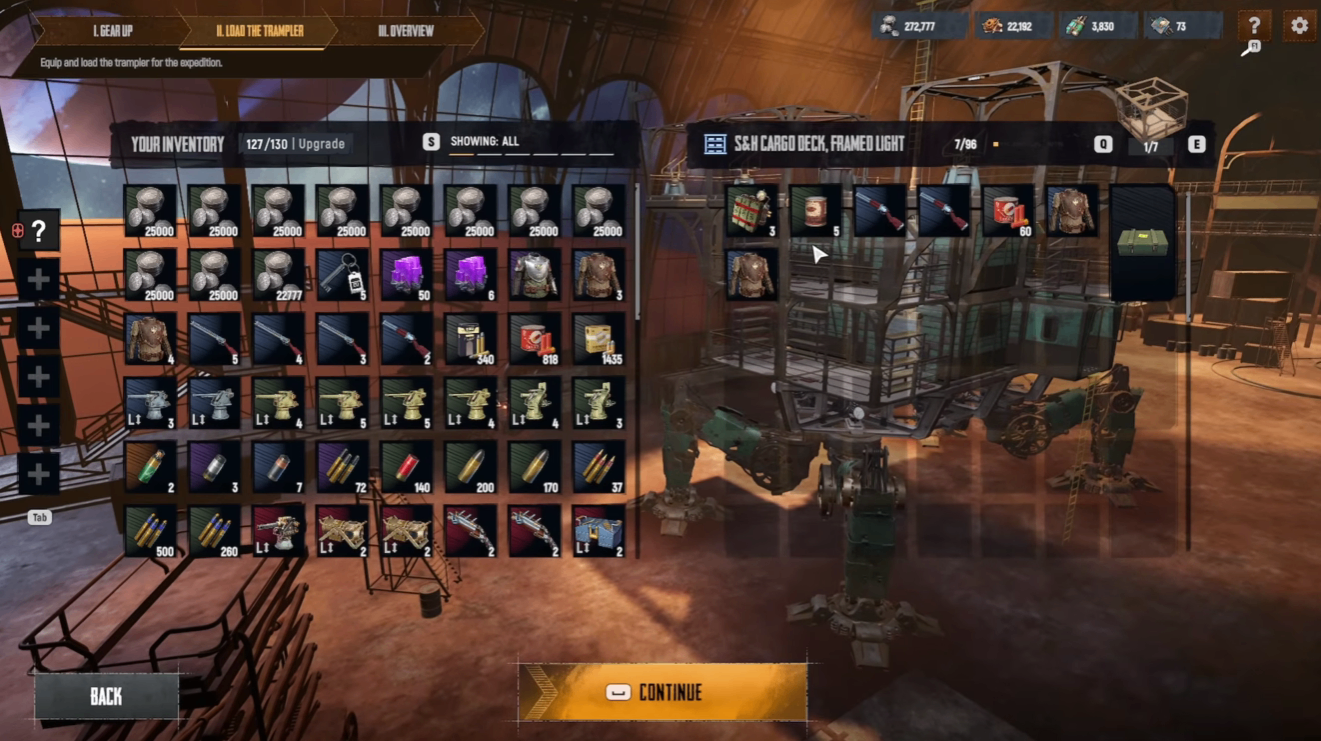
Before each run, you need to set up your trampler properly—nothing spawns loaded in SAND. Everything you pack arrives in green boxes and must be equipped manually .
Critical First Steps
1. Set Your Spawn Bed: The most important step. Open the crew compartment UI and set your spawn bed to a crew cabin—not your captain's compartment. If you leave it in the captain's quarters, you'll be trapped inside. You must do this every time you spawn .
2. Load Your Weapons: Transfer whole ammo stacks directly into your cannons using the tab key (don't load shells one by one). Then mount the loaded cannons by holding F on the turret slot. Do the same for your personal guns—a revolver for close range and a rifle for picking off distant enemies is a solid combo .
3. Stock the Fridge: Spread 5 food into every crew compartment and storage box. Food determines your respawn speed—stocked compartments mean fast respawns (under a minute), while empty ones leave you waiting . Food also heals you in a pinch.
4. Slot a Fuel Rod: Place an energy rod in the engine so you can move.
The Loot Loop: Forts and Small POIs
For solos, the most efficient way to make money is looting forts and military boats in Voyage mode. Avoid cities—they take 15+ minutes to clear and attract too much attention .
Looting a Fort
1. Enter the Fort: Blast open the red gate with a timed explosive or your trampler cannon. Clear the enemies inside .
2. Loot the Courtyard: Grab everything you can find. Forts are packed with Food Crates (look for the white cow icon) that drop Thread, Rare Crates, Energy Rods, and crafting materials .
3. Climb to the Top: This is where the best loot is. Check the upper levels for the Fort Key, which usually spawns on top of barrels or boxes—this unlocks the storage room downstairs. Also look for a Forest Storage Key on top of boxes to open extra rooms .
4. Find the Contract Platform: The contract platform lets you turn unwanted loot into Crowns—and you get double the normal sale price. Put everything you don't want into one box, place it on the platform, wait about a minute, and collect your payout. You can only do one contract per fort visit .
5. Loot the Storage Room: Take the Fort Key downstairs, unlock the room, and grab the rare crates inside.
6. Clear the Basement: Blow open red doors with grenades to access additional loot rooms. These often contain experimentals and other high-value items.
Survival Rules for Solo Players
Engine Off When Stopped
A running engine kicks out thick black smoke that other players can spot from miles off, and it burns fuel even when parked. Whenever you stop to loot, switch the engine off—it hides you and saves fuel .
Scan Constantly
Raise your binoculars regularly to scan the horizon. Spotting that tell-tale smoke before trouble reaches you is your best defense .
Loot Into Boxes, Then Rack Them
Your character's inventory is tiny. Always grab an empty green box, carry it to the loot, and let items pour directly into it. Crucially: loot only counts if it's on the racks inside your trampler. Anything left loose on the floor when you extract is gone forever . Fill boxes, rack them, extract them—that's the loop.
Loot Fast
The longer you spend looting, the more likely you are to be raided. When you finish a fort, back up and move to the next objective. If you're getting good loot, you can go one grid away and come back to the same fort after it respawns.
Know When to Extract
As a solo, your goal is consistent extraction. If you have a full box of good loot and a clear extraction path, take it. Don't chase every fight.
PvP Combat Priorities
When you do get into a fight, follow this target priority :
1. Legs First: Cripple their mobility. A slow trampler can't flank, can't escape, and becomes a predictable target.
2. Cannons Next: Take out their weapons. Even if they're stuck, they can still punish you if their guns are working.
3. Reactor Last: Destroy the reactor to disable the trampler and stop the enemy respawning. But the captain is still alive—you have to put them down too .
4. Kill the Captain: A dead captain can't steal your ship or run for extraction.
Boarding and Stealing
Once you've weakened an enemy, the boldest play is to push your trampler into theirs, breach into their captain's cabin, and interact with the terminal on the table. This hands you their ship and all their cargo—and instantly denies them the ability to respawn .
Time bombs are brilliant here for blowing open doors, wheels, or cannons . And don't forget to grab the black box from every wrecked reactor—it's worth a tidy sum .
Defend Your Own Ship
Your build's defenses buy you time. When an enemy starts shooting your storage compartments, you have a few extra shots before they hit your reactor. Use that time to:
Hop on the shotgun turret (70mm) to kill the enemy crew up close
Use the 40mm to pressure their reactor
Repair constantly—attrition wins these brawls
Final Thoughts
This build and strategy took me from struggling with default tramplers to pulling over 280,000 Crowns, 25,000 mechanical parts, and 4,300+ stored resources. The key is consistency—play Voyage to learn, extract often, and never stop moving. And if you're looking to accelerate your progression, MMOEXP offers SAND: Raiders of Sophie Crown to help you upgrade your trampler and gear without the grind.


