Summary
The Vorax league mechanic can be one of the most rewarding—and most volatile—farming strategies in Torchlight: Infinite. Whether you're looking to maximize your returns or simply considering whether to buy Torchlight: Infinite FE to skip the grind, understanding how the mechanic works is essential before committing your resources. This guide covers everything you need to know: when to start farming, which compasses to use, how to fish for cards, and how to master the mini-game.
Part 1: When to Start Farming Vorax?
The most frequently asked question about Vorax is: When should I start farming it?
The Short Answer
Don't farm Vorax before Profound difficulty. Here's why:
Vorax rewards are volatile and inconsistent.
Farming it in lower tiers (TM7, TM8) can be rewarding at times, but the inconsistency makes it frustrating.
Since Vorax is already RNG-dependent, you want to commit to it with expensive compasses and card fishing—which only makes sense at higher difficulty levels.
Recommendation: Focus on other league mechanics while building up to Profound. Once you're in Profound, Vorax becomes worth the investment.
Part 2: Is Vorax Worth Running Without Shelly?
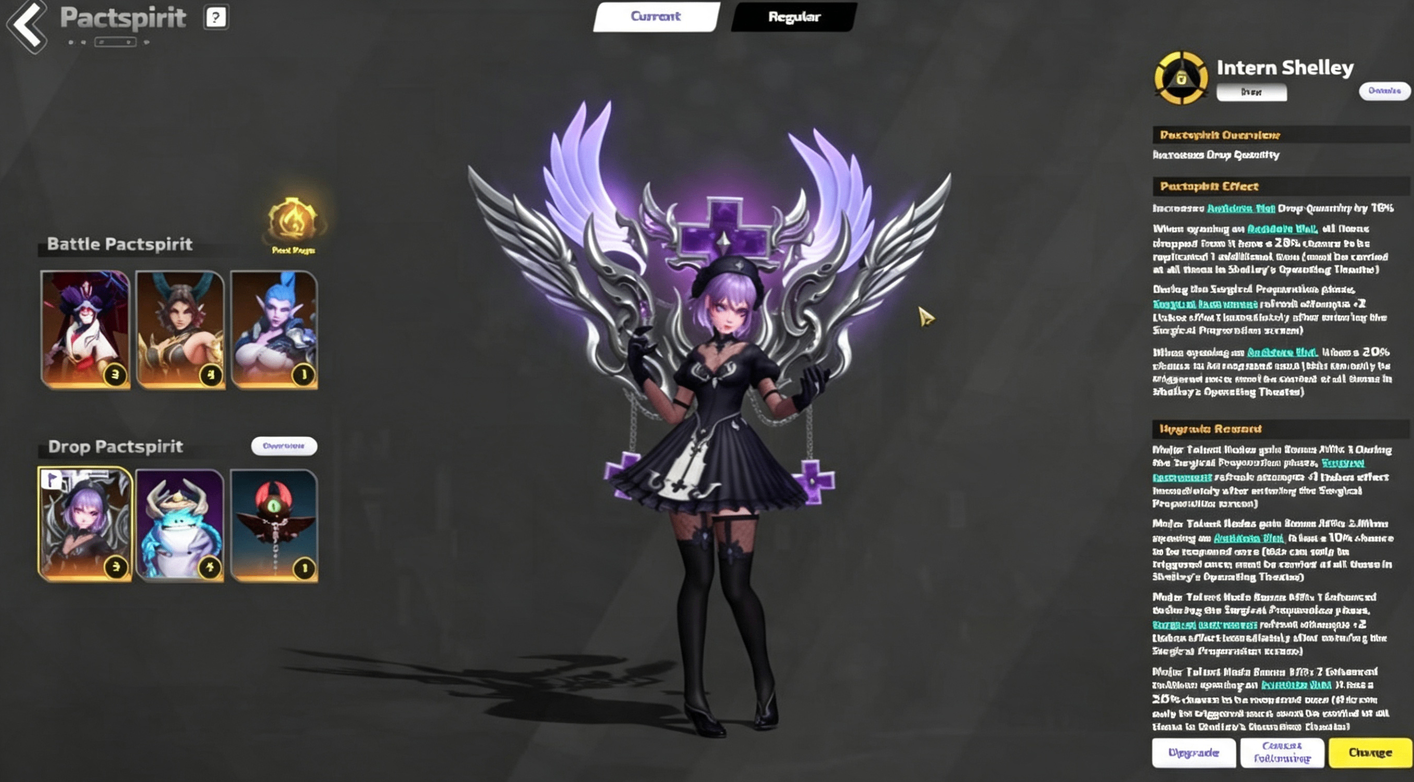
Another common question: Is it worth running Vorax without the Shelly pet?
The Answer
Yes, it's still worth running without Shelly—but it's harder.
Here's why Shelly makes a difference:
At level 2 and level 4, Shelly provides two reroll chances for surgical instruments.
These rerolls give you more opportunities to find cards that suit your playstyle.
Without Shelly, you depend much more on luck.
If you're a free-to-play player running Vorax in Profound, it's probably worth it. However, it can become extremely frustrating to build up a good run with expensive compasses, only to get unlucky in the mini-game and walk away with nothing.
Part 3: Is Vorax Rewarding?
Yes, but it's volatile.
Examples from Real Runs
Run Type | Reward Value (FE) |
Jackpot Run | 15,000+ FE |
Decent Run | 300–600 FE |
Mediocre Run | ~1,000 FE (currency + crafting pieces) |
Bad Run | ~80 FE |
The Volatility Problem
One compass costs around 32 FE, and you need multiple per run.
A bad run can leave you with 80 FE—a net loss.
A jackpot run can drop 15,000 FE worth of items.
You need a sample size of 15–20 hours to determine whether Vorax is profitable for you. If you're running it correctly, you'll likely come out ahead—but the variance is extreme.
Bottom Line: Vorax is rewarding, but not for everyone. If you can't handle the RNG swings, this mechanic may not be for you.
Part 4: How to Make Vorax Rewarding – Compasses and Card Fishing
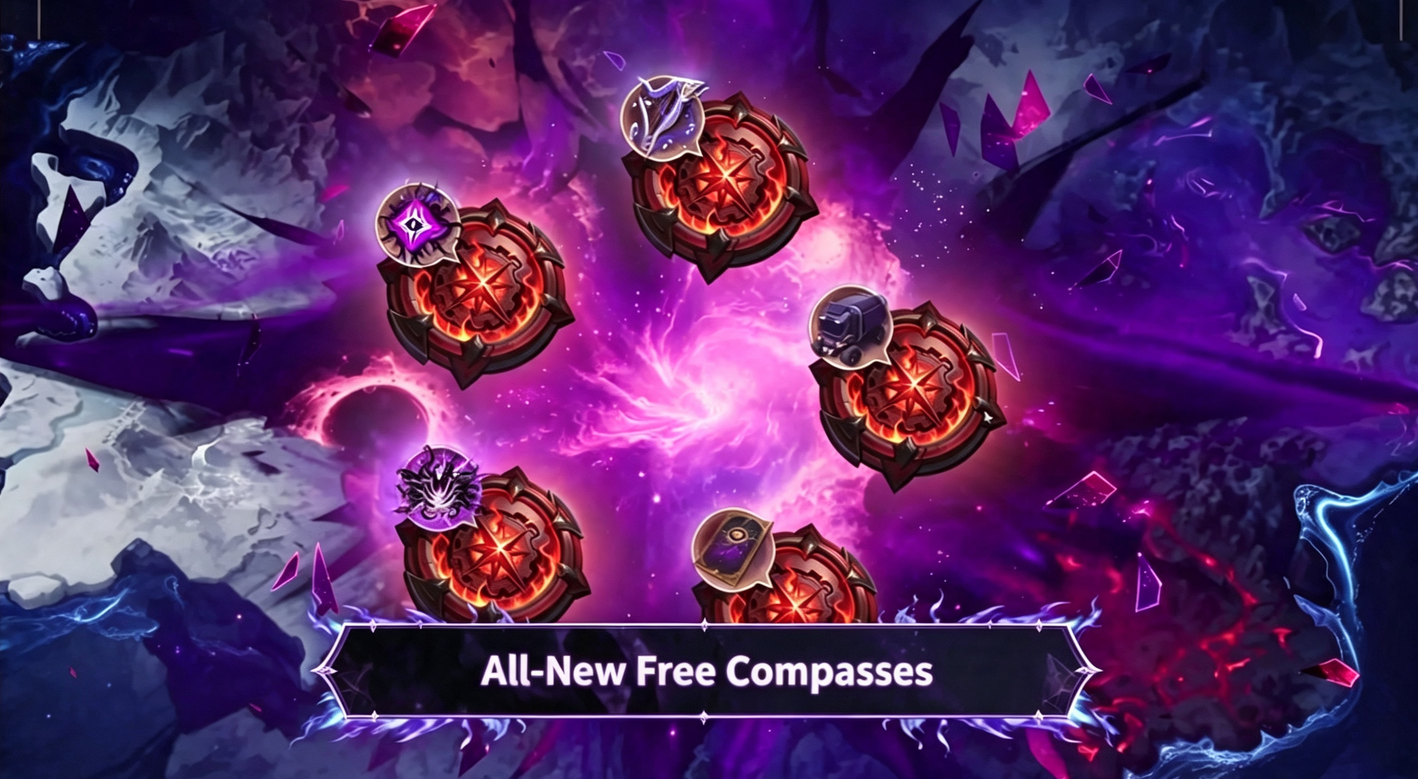
Types of Vorax Compasses
Compass Type | Effect |
White (Default) | Guarantees at least one Vorax creature in your map |
Purple | Adds more drop quantity for scavengers spawning in the theater at the end |
Golden | Each golden surgical protocol at the end adds additional drop quantity per Vorax monster slain. Makes maps and theater fights much harder |
My Approach: Purple vs. Golden
I strongly prefer golden compasses for two reasons:
Higher ceiling—when you hit a jackpot, you want it to be massive.
Consistent farming—you're always running with maximum quantity.
That said, there's a viable purple + card fishing strategy:
Run purple compasses (cheaper).
Fish for high-value cards like Insane Vorax, Appalling Vorax, or similar.
Once you've found 2–3 good cards in different regions, switch to golden compasses for your juiced runs.
Card Fishing Strategy
This is the most important part of juicing Vorax.
Step-by-step:
Target key cards: Look for cards that add drop quantity per monster slain.
Find 2–3 good entries: Don't enter the first good card you see. Wait until you have at least two in separate regions.
Calculate your monster pool: Each map spawns 1–3 Vorax creatures (average ~2). A card offers 4 runs, so you'll collect roughly 8–12 Vorax monsters per full game.
Enter at the sweet spot: Start your juiced run when your Vorax count is 0, 12, 24, or 36. This ensures the card affects the entire monster pool.
The Void Shot Setup
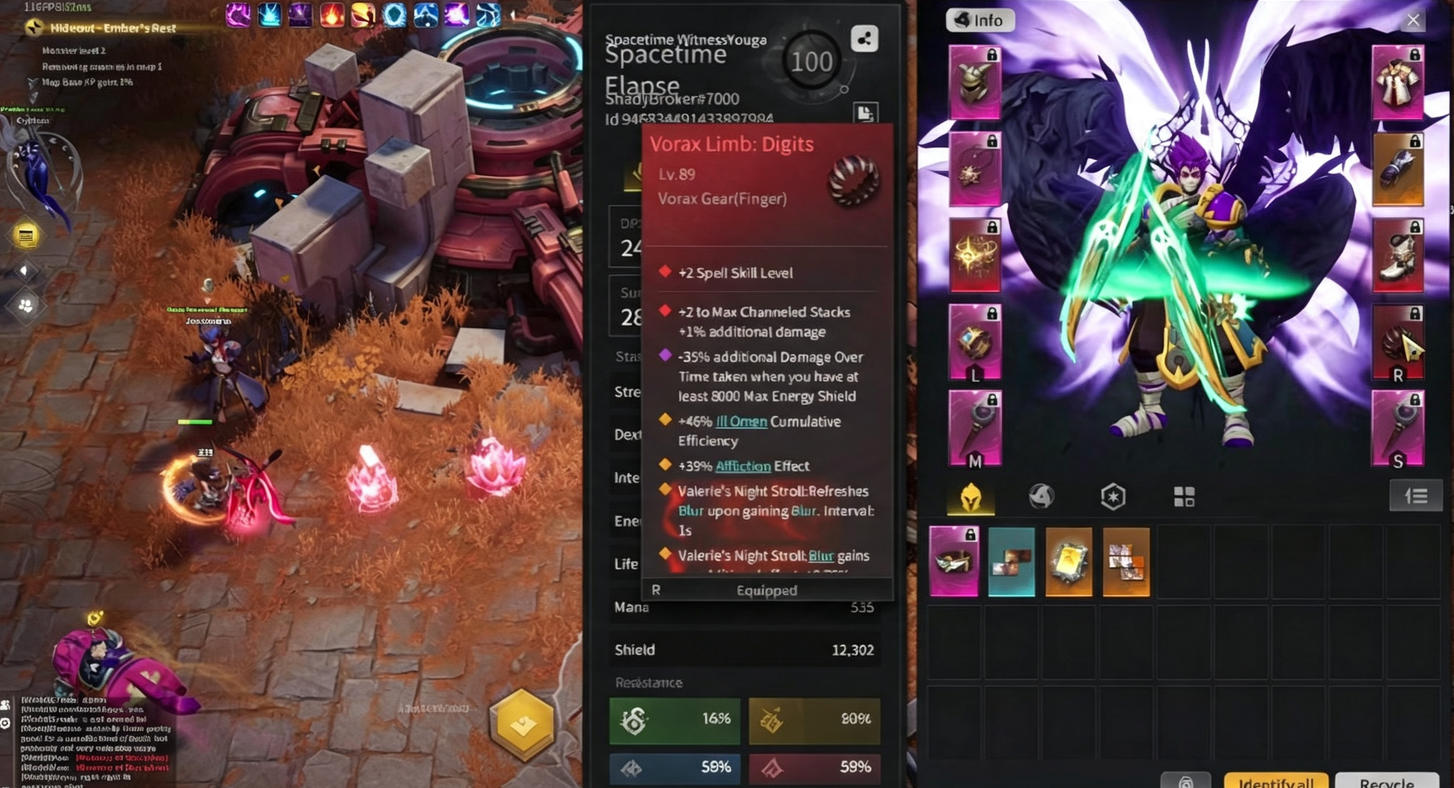
Recommended Investment: 27 points in the Vorax tree.
Mandatory Nodes: Most nodes are essential for quantity.
Optional Node: The one that shows Vorax creatures on the overlay—quality of life, not essential.
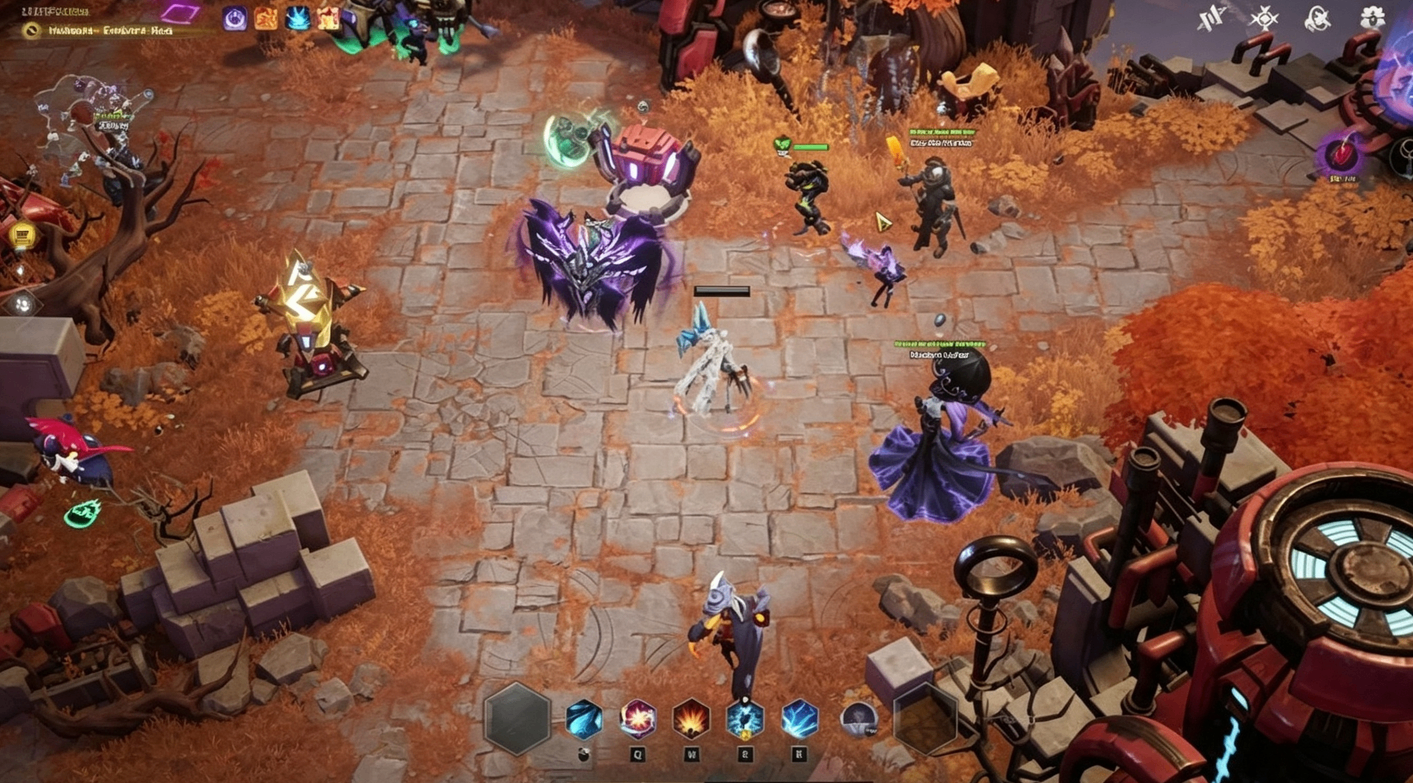
Compatible Strategies: Arcana (if you have the pet), Beacon, or Deep Space Beacon.
Part 5: The Mini-Game – How to Maximize Ultimate Activity
The Goal
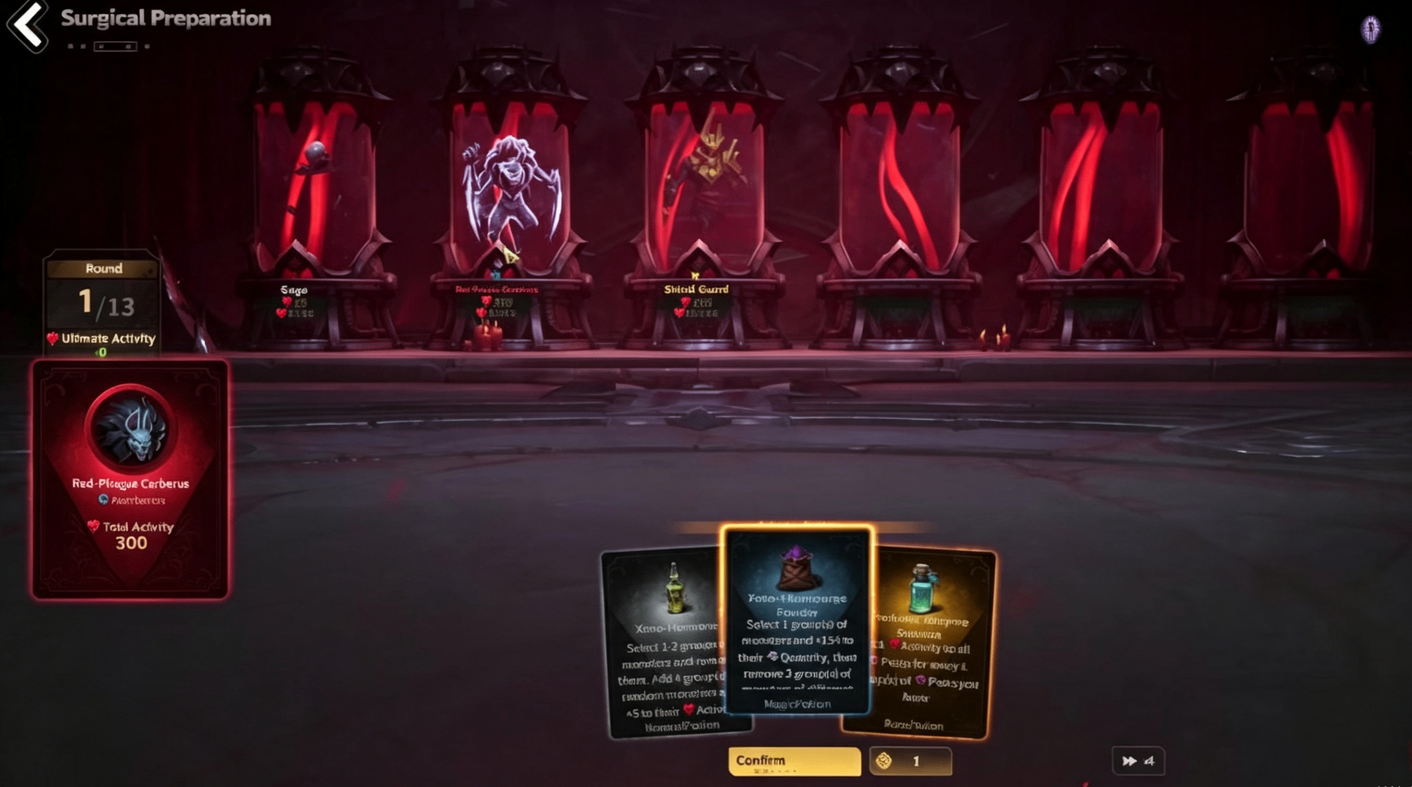
You want to reach a Rainbow Tank—the highest possible tier. Around 400,000 Ultimate Activity yields good rewards. 750,000+ is excellent, and 1 million+ is outstanding.
Understanding the Basics
Ultimate Activity is the sum of all monster groups' contributions. Each monster contributes:
Activity × Quantity
So to maximize rewards, you need to buff both Activity and Quantity.
Rarities Matter
Rarity | Category |
Normal | — |
Magic | — |
Rare | Elite |
Boss | Elite |
Cards that reference "elites" affect both rares and bosses.
My Favorite Starting Card: Pests
Pests are my go-to starting card. Here's why:
"At the end of the round, adds 8 quantity to X groups of random monsters, where X equals the number of Pest groups you currently have."
This means:
If you have 6 Pests, you get 6 × 8 = 48 quantity pulses per round.
It automates quantity scaling—you just need to fill the board with Pests.
The Second-Best Start: Rare Agito
"When you have a rare or boss Agito, 80 activity to one random group of monsters each round."
This automates activity scaling.
You want to leave one rare/boss Agito alone and focus on buffing its quantity.
Important: Don't start with this if you have three Agitos—it's hard to control where the activity lands.
Part 6: The Two-Step Strategy
Step 1: Automate Quantity at the Start
Pick a starting card that gives passive quantity (Pests is perfect for this).
Fill the board with Pests so the quantity automation kicks in every round.
Step 2: Automate Activity Mid-Game
Mid-game, you'll be offered two additional surgical instruments.
Since quantity is already automated, look for cards that automate activity.
The best options:
Scraper: Requires one unit with 275+ quantity, then pulses activity.
Leather Belt: Requires one normal, one magic, and one elite monster. Gives 20 activity per round.
The Rule: Fix one at the start, fix the other throughout the game.
Part 7: Example Runs – Good and Bad
Run 1: The Disaster
In this run:
Started with Pests.
Took every 50/50 chance possible.
Missed almost every mutation.
Had terrible surgical instrument luck—never got activity automation.
Ended with no golden surgical protocols at the end (bad for golden compass).
Reward: ~80–150 FE. A complete bust.
Lesson: Even with the best starting card, bad RNG can ruin your run. This is why Vorax is volatile.
Run 2: The Redemption
In this run:
Started with Pests.
Picked Leather Belt mid-game for activity automation.
Managed to get Scraper online as well.
Reached 1 million Ultimate Activity.
Got Rainbow Tank + 5 Red Tanks.
Shelly proced and doubled rewards.
Reward: ~200–250 FE, plus matchless organ (worth ~60 FE). Decent but not a jackpot.
Lesson: Synergy between starting card and surgical instruments is everything.
Part 8: Should You Abandon Runs?
Many guides recommend abandoning the run once you've reached the tank setup you want (e.g., Rainbow + Red Tanks), because continuing the fight doesn't increase rewards.
I don't abandon runs. Call it superstition, but I play it out. It adds consequence and sometimes—just sometimes—the extra fight pays off.
Part 9: Important Tips
Tip 1: Speed Up Pests
When playing Pests, spamming Confirm speeds up the game significantly. Use this to save time.
Tip 2: Golden Compass Means Golden Cards
When running a golden compass, always choose golden surgical protocols at the end. The compass adds extra drop quantity for each golden card you pick.
Tip 3: Golden Compass = Harder Content
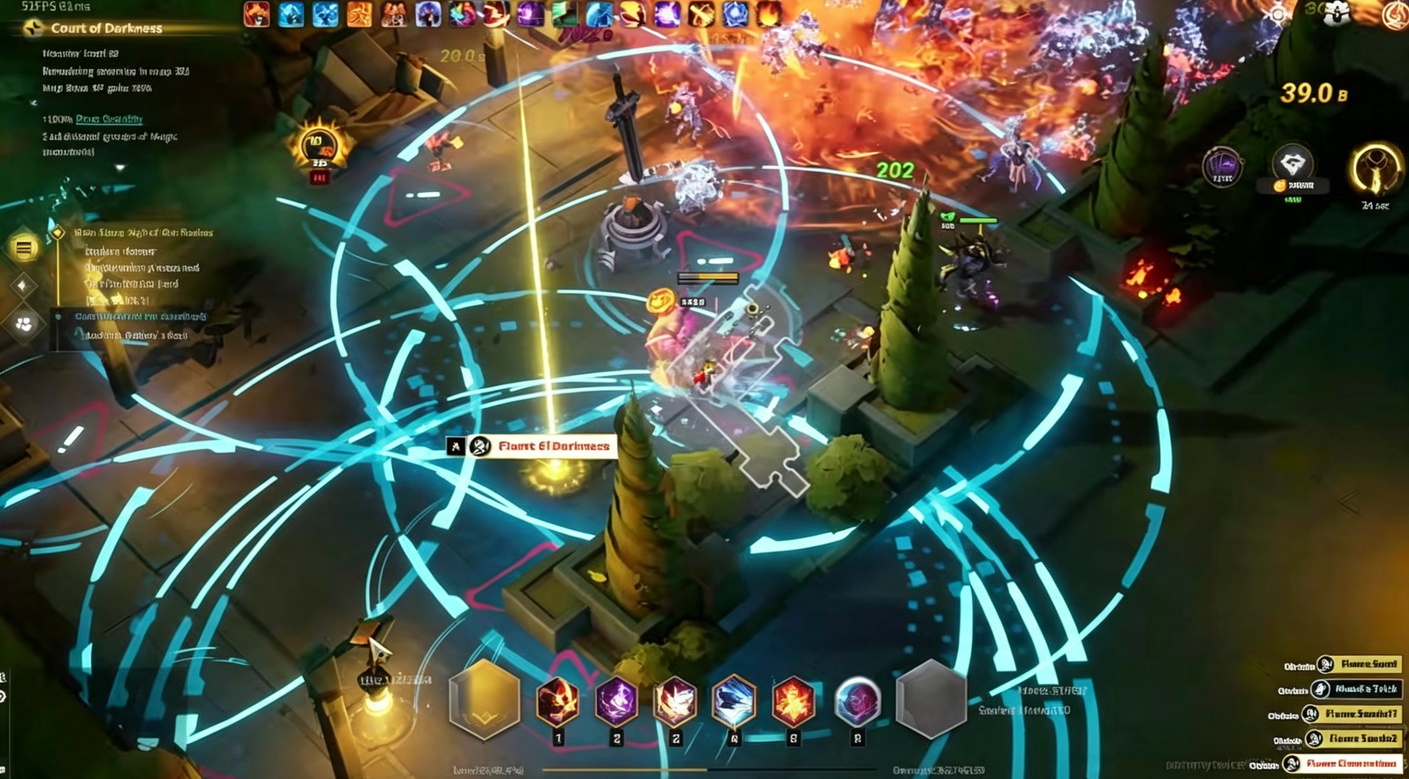
Golden compasses make the game much harder:
Enemies gain significant health and damage.
The theater becomes deadlier with more traps.
You're obligated to choose even more traps because of the golden cards.
Make sure your character is strong enough to handle it.
Tip 4: Don't Commit Too Soon
If you're new to Vorax:
Start with white compasses (no cost).
Play the mini-game a few times to understand it.
Get comfortable before spending FE on purple or golden compasses.
Part 10: What's Next – Deep Space Testing
I'll be releasing a follow-up video (in about a week) on Vorax in Deep Space.
Questions I'll be answering:
Does Deep Space scale rewards significantly?
Is the cost-to-reward ratio better or worse?
Do you need to commit more heavily?
For now, I'm continuing to farm Vorax in Profound until my character is:
Level 100 (so I don't lose XP).
Stronger and tankier.
Ready to handle the increased difficulty of Deep Space.
Final Thoughts
Vorax is one of the most polarizing mechanics in Torchlight: Infinite.
When it's good, it's insane. Jackpots of 15,000+ FE are possible.
When it's bad, it's frustrating. You can lose FE on compasses alone.
My Advice:
Don't farm Vorax before Profound.
Use golden compasses if you want the highest ceiling.
Card fishing is essential—combine cards and compasses for max quantity.
In the mini-game: automate quantity at the start, automate activity mid-game.
Accept that variance is part of the experience.
If you can handle the volatility, Vorax can be one of the most rewarding mechanics in the game. For those who prefer a more consistent approach or want to supplement their earnings, trusted platforms like MMOEXP offer a reliable way to acquire cheap Torchlight: Infinite FE—letting you enjoy the endgame without relying solely on RNG swings.