





Summary
Building a Forward Operating Base (FOB) quickly can make a huge difference in WARDOGS. A common mistake is spending too much time creating a large exterior wall while leaving the FOB itself exposed. By the time the perimeter is finished, enemies may already have reached the base and destroyed or captured it.
This fast FOB build focuses on getting the core position defended as quickly as possible using only supplies available at the FOB. It gives you solid walls, an airlock, a protected firing position, and a SAM turret without requiring a large initial supply investment. To unlock additional building materials and defensive tools for your FOB, buy WARDOGS Dollar and secure the supplies.
Place the FOB First
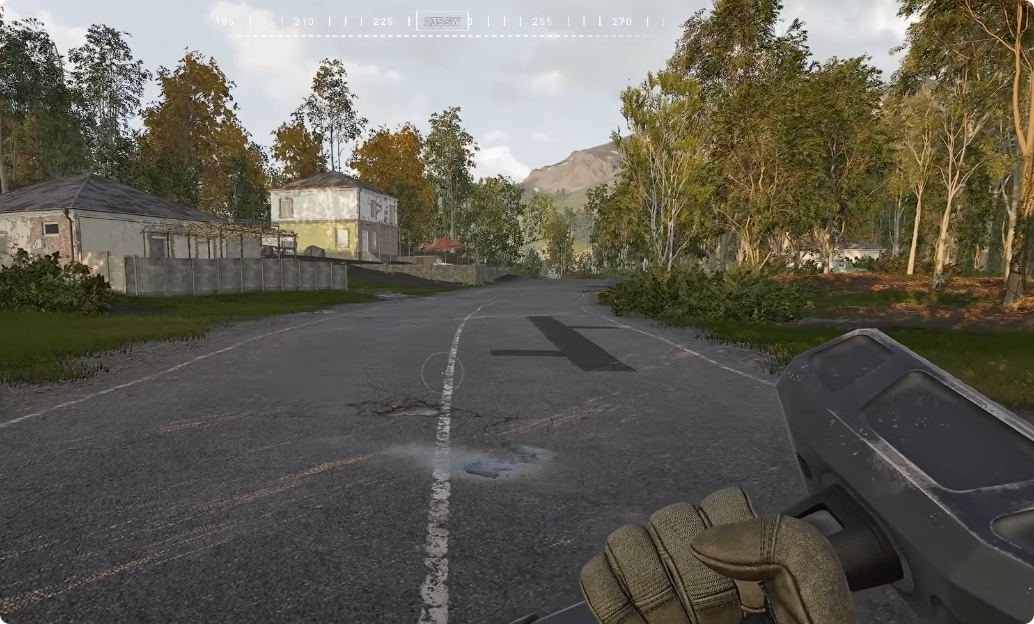
The first step is simple: deploy your FOB in the position you want to defend.
Once it is down, avoid immediately building a massive outer perimeter. The priority is to protect the FOB itself.
The faster you can establish cover around the base, the less time enemies have to rush in and destroy or capture it.
Start With Concrete Walls
Move directly to the Brema walls and begin placing them around the FOB.
Position the walls so they line up with the corners of the base. Build one side first, then repeat the same arrangement on the opposite side. Rotate the pieces as necessary so they sit flat and create a continuous defensive structure.
The goal is to quickly surround the FOB with solid concrete cover.
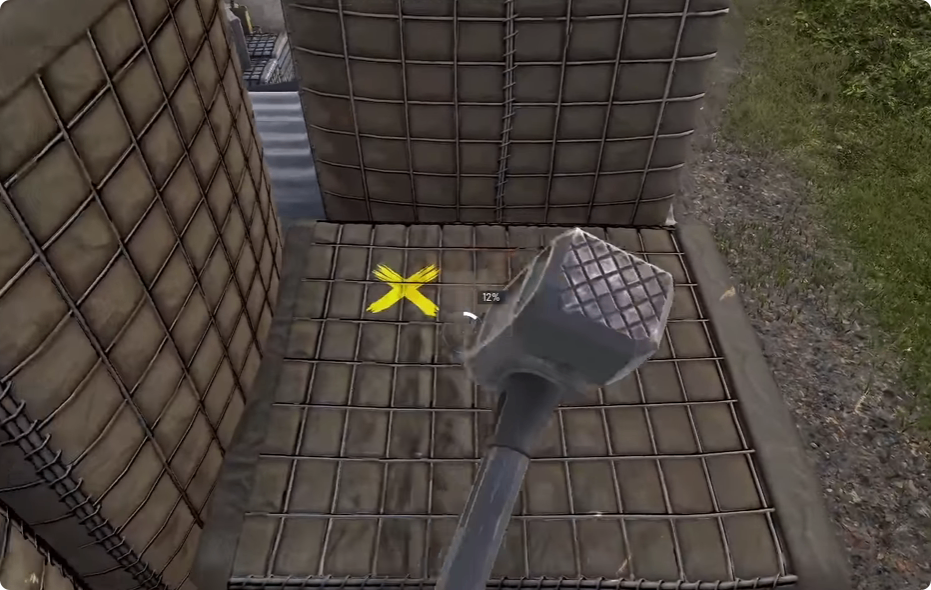
Once the walls are positioned, build them immediately before moving on to the next part of the setup.
Build the Central Bunker
After the main walls are complete, place an indirect fire shelter near the FOB.
This structure is useful because it lets you establish the central defensive position quickly while giving you a foundation for the next part of the build.
Fill the remaining gaps around the structure with additional wall pieces. You can also use large walls to close the open sections around the bunker.
The result should be a compact defensive core rather than a huge base.
Create a Four-Door Airlock
One of the most useful parts of this build is the airlock.
Place four doors around the entrance area to create a small enclosed passage. Make sure each door is rotated correctly before building it. Incorrectly rotated doors can prevent you from moving through the entrance properly.
With the four doors in place, you have a simple airlock that provides an additional layer of protection between the outside and the FOB.
Add a half wall to complete the central structure.
At this point, your FOB should already have:
Concrete walls surrounding the position
A central bunker
A four-door airlock
Additional cover around the entrance
This is enough to give the FOB meaningful protection before you spend time expanding the base.
Add the AA Firing Position
The next step is to create the elevated firing position.
Place two high walls on top of the central structure. These walls create a suitable position for either an AA system or a mortar.
For this particular build, the SAM turret is recommended because it gives the FOB dedicated anti-air protection. However, a mortar is also a viable alternative if your team needs additional indirect fire support.
Choose Between SAM and Mortar
Your choice should depend on what your team needs.
SAM turret:
Use this when protecting the FOB from enemy aircraft is the priority. It gives the position dedicated anti-air capability.
Mortar:
Choose this when your team already has sufficient anti-air coverage and needs additional fire support against ground targets.
The important part is that you can complete the defensive position quickly without building an unnecessarily large base first.
Build the SAM Turret
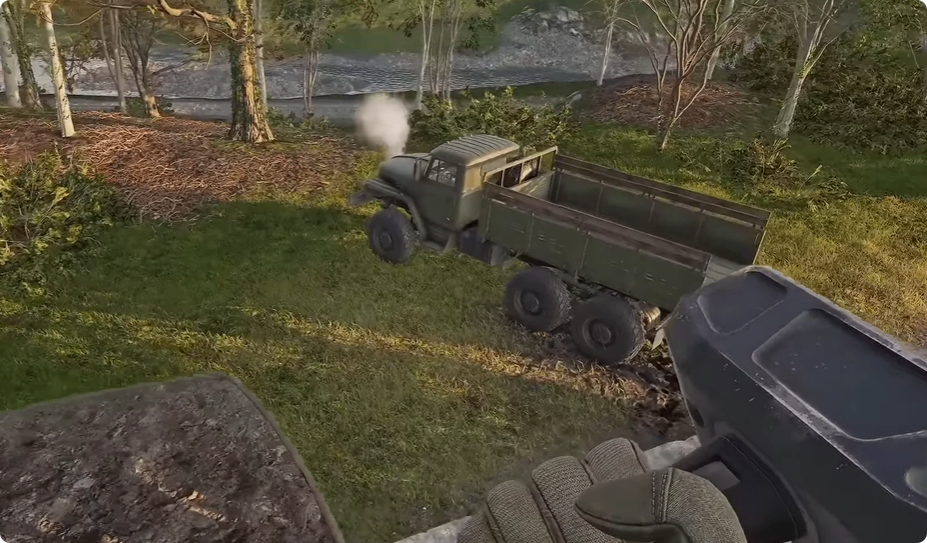
Once the firing position is ready, place the SAM turret on top.
The SAM turret is the final major component of the fast AA build. Build it after the walls, bunker, and airlock are established.
The turret takes significantly longer to construct than most of the earlier pieces, making it the most time-consuming part of the build.
Because of that, you should prioritize the core defenses first rather than delaying the turret while constructing decorative or unnecessary exterior walls.
When the turret is finished, the basic FOB defense is complete.
Bring Extra Ammunition
There is one important weakness to remember: the SAM turret starts with only a small amount of ammunition.
After construction, the turret has just three rockets available. That is not enough for sustained combat.
Bring an ammunition pallet with you when setting up the FOB. Supplying the turret can increase its available ammunition dramatically, turning the newly constructed AA position into a much more useful defensive asset.
Use Your Team to Expand the Base
You do not have to build the entire FOB alone.
Once the core defense is established, a teammate can begin constructing a wider perimeter around it while you finish supplying and maintaining the SAM turret.
This division of labor is much more efficient than having one player spend a long time building a huge exterior wall before the FOB itself is protected.
The basic sequence is:
1. Deploy the FOB.
2. Build the concrete walls.
3. Construct the central bunker.
4. Add the four-door airlock.
5. Build the elevated firing position.
6. Construct the SAM turret.
7. Supply the turret with ammunition.
8. Let teammates expand the outer defenses.
Why This FOB Build Works
The biggest advantage of this setup is speed.
A large perimeter may look impressive, but it does not necessarily protect the most important part of the base during the opening minutes of a match. If enemies reach an exposed FOB while you are still constructing exterior defenses, all that additional work can be lost.
This build takes the opposite approach.
Protect the Core Before Expanding
The FOB, bunker, airlock, and SAM position become the first defensive layer.
Only after those are established should you worry about extending the perimeter.
This gives your team a secure starting point while leaving room to improve the position as more supplies become available.
Turn Supplies Into Support Value
Bringing ammunition to the FOB is also useful beyond the turret itself.
If you supply another player and they subsequently use that ammunition to get a kill, you can receive an assist for the ammunition contribution. This makes supplying teammates a useful way to contribute support while also keeping the FOB operational.
You can also transport supplies to the FOB and replenish the position as the match develops.
Final Tips for the Fast AA FOB
The key to this WARDOGS build is resisting the temptation to overbuild.
Get the FOB protected first. Use the concrete walls to establish the perimeter, create the bunker and airlock, then place the elevated firing position and SAM turret.
Once the core is secure, expand outward with help from your teammates.
If you want an AA-focused FOB that becomes operational quickly, this compact setup provides a practical foundation while keeping the initial construction focused on the defenses that matter most. To expand your defensive options beyond the basics, WARDOGS Dollar can help you unlock additional building supplies.