




Summary
In WARDOGS, the FOB (Forward Operating Base) is the core of your team's push and respawn. But many players make a fatal mistake: they build massive exterior walls first while leaving the FOB itself exposed. The result? Enemies roll right in, kill the builder, destroy or capture the FOB, and you have to start all over again. If you'd rather skip the early grind, you can buy WARDOGS Powerleveling to get up to speed fast. This guide teaches you how to build a complete defensive fortification with anti-air firepower in the shortest time possible—using only the supplies available at the FOB.
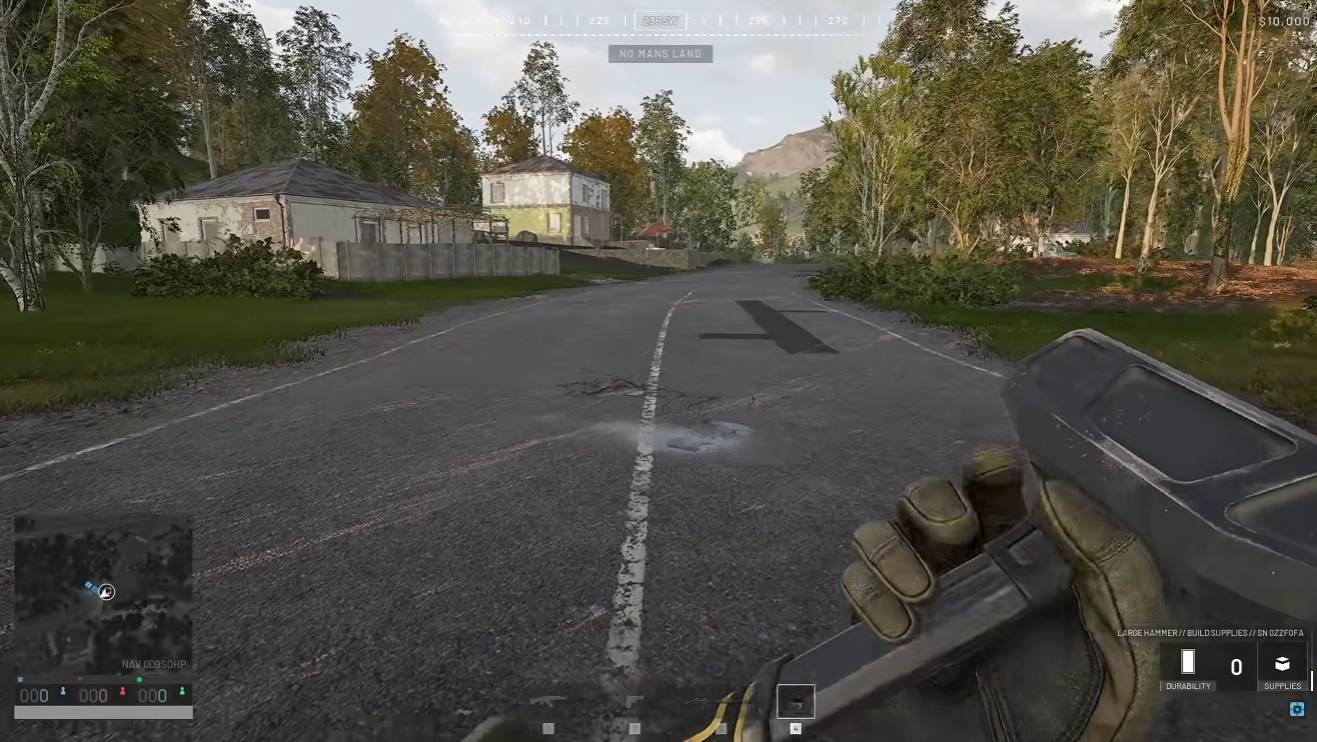
Core Principle: Secure the FOB First, Expand Later
Build priority should always be:
FOB itself is safe → 2. Airlock and internal cover → 3. Firepower position → 4. External expansion
Do not start with huge exterior walls. If the FOB itself isn't defended, exterior walls mean nothing.
Step 1: Quickly Surround the FOB
After placing the FOB, immediately start placing Brema concrete walls.
Key points:
Align the walls at the corners of the FOB to form a surround
Place a section on each side, extending slightly outward, then rotate to keep the wall flat and flush
Repeat the same on the other side, ensuring the FOB is completely encircled by concrete walls
The goal here is to get walls around the FOB as fast as possible, not to achieve perfect symmetry.
Step 2: Place an Indirect Fire Shelter
Place an Indirect Fire Shelter over the FOB.
The value of this shelter is that it lets you place a large number of building pieces quickly while providing overhead protection. It serves as the foundation for deploying AA or mortars on the roof later.
Step 3: Build a Four-Door Airlock
This is one of the most critical parts of the entire build.
Process:
Fill in the gaps around the shelter and place large walls
Cut four doors into the walls to form an airlock structure
Rotate every door—otherwise you won't be able to walk through
The four-door airlock serves one purpose: enemies cannot rush directly into the FOB interior. Each door takes time to pass through, giving you and your teammates a reaction window.
After completing the airlock, place a Half Wall to close any remaining gaps.
At this point, you have: complete walls around the FOB + a four-door airlock.
Step 4: Build a Firepower Position
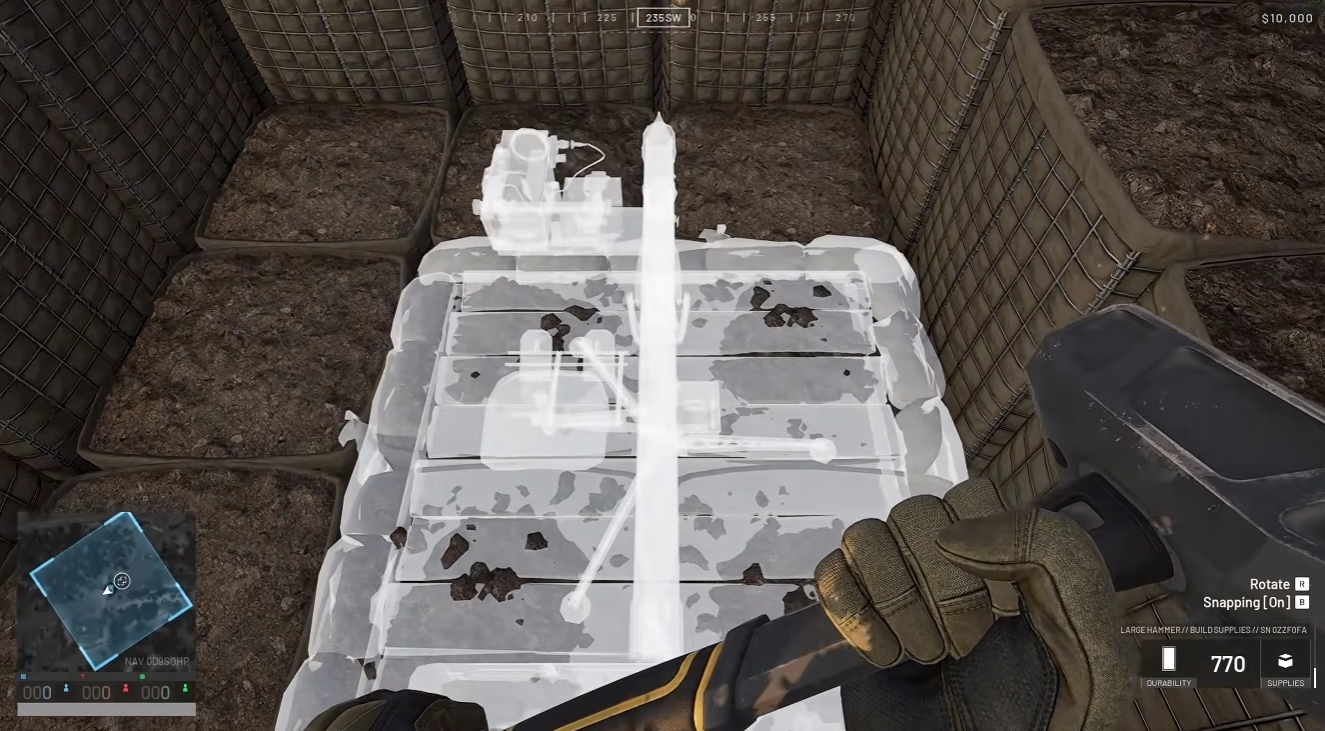
Place two high walls on top of the FOB to form a firing position.
This position can be used to deploy:
AA (Anti-Air) — recommended first choice
Mortar — also strong, depending on your tactical needs
Both are within the FOB's built-in supply limit and require no extra resources.
Step 5: Deploy the SAM Turret
Choose the SAM turret as your rooftop firepower.
Notes:
Building the SAM turret is the most time-consuming part of the entire process—be patient
Due to space limitations, you cannot use the "back into the corner" build technique
Once complete, your FOB has: walls + airlock + shelter + rooftop AA
Critical Reminder: The SAM Turret Only Has Free Ammo
This is the most commonly overlooked issue: the SAM turret starts with only free ammo (about 3 rockets).
If you build a SAM turret or mortar, bring ammo yourself:
Bring one pallet of ammo to refill the SAM turret from 3 rockets to 39 rockets
Bring another pallet of supplies to build the center structure or let teammates expand the perimeter
Why This Is Worth It
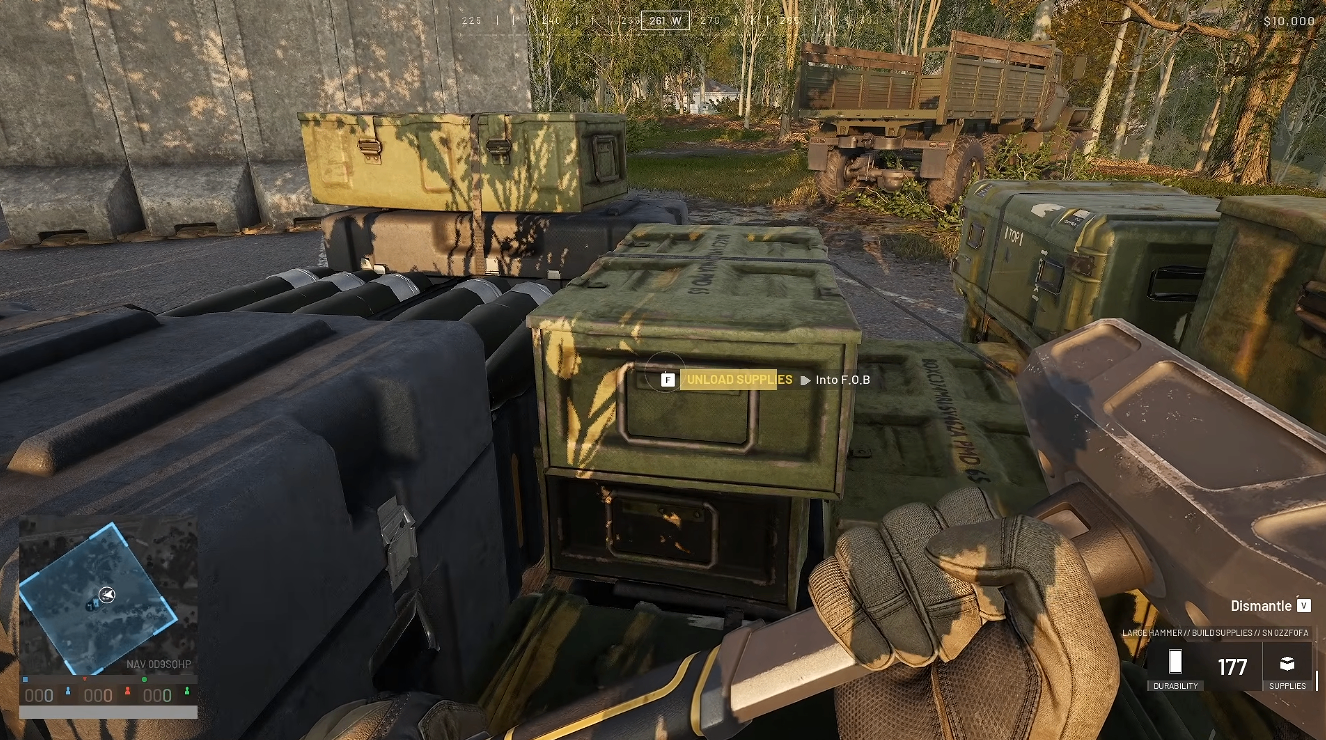
You bring a URL (supply truck) and two pallets of supplies to a FOB in the zone
After donating the pallets to the FOB, you basically make all your money back
You also earn driver XP
If the ammo you donated is used by a teammate to get a kill, you get an assist, building support XP
Team Coordination Tips
When building with teammates:
You handle resupplying the SAM turret
Your teammate can simultaneously expand the outer perimeter, making the entire position safer
After you deliver both pallets, your teammate continues building a wider perimeter
Complete Build Order Summary
Step | Build Item | Purpose |
1 | Brema concrete walls around FOB | Protect the core |
2 | Indirect Fire Shelter | Fast-build platform |
3 | Large walls + four-door airlock | Stop enemies from entering directly |
4 | Half wall to close gaps | Complete the enclosure |
5 | Two high walls forming a firing position | Deploy firepower |
6 | SAM turret or mortar | Rooftop firepower |
7 | Bring ammo to resupply the SAM turret | Ensure sustained combat |
Final Reminder
The core philosophy of this build order is: speed first, protect the FOB first. Exterior walls can wait until the FOB is secure—but if the FOB itself is destroyed or captured, everything you invested before that is wasted.
Follow this order, and you can have a complete FOB with walls, an airlock, and anti-air firepower in the shortest time possible, providing your team with a solid frontline anchor. Bring ammo, coordinate with teammates, and hold the line. And if you want to unlock the gear and levels needed to run this build without the grind, MMOEXP offers WARDOGS Powerleveling for sale, making it a reliable option to fast-track your progression.