This Dark and Darker build is about control, not raw damage. With Merry Maker, Hazel Blade, Death Bloom, Shadow Step, and Dual Strike, it keeps enemies confused, pressured, and unable to respond well.If you enjoy a playstyle that makes opponents feel blind, trapped, and helpless, this is a very annoying build to run, and Dark And Darker Gold fits naturally into the discussion.
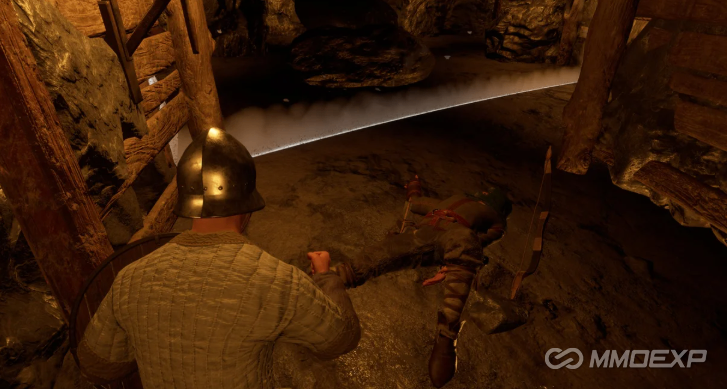
Core idea
The heart of this build is simple:
Disrupt first, kill second.
Instead of trying to burst enemies down instantly, you repeatedly apply debuffs and force them into bad movement and bad decisions. The goal is to make enemies:
lose their sense of direction
waste movement options
panic under pressure
fail to answer your re-engage
Merry Maker-style effects are especially annoying because they can be reapplied over and over, which keeps the enemy under constant mental and mechanical pressure.
Why this build feels so strong
1. Constant debuff reapplication
The biggest strength here is that your pressure does not end after one hit. If you can keep refreshing the status effects, the opponent never gets a clean reset.
2. Movement and spacing make it even worse
When you combine this with double jump, side angles, and quick repositioning, enemies often cannot tell where you are coming from. That makes every debuff feel even more oppressive.
3. It breaks enemy decision-making
Once the target is dazed, confused, or "drunk" in practice, they stop making clean choices:
they turn too late
they retreat too early
they miss punish windows
they waste defensive tools
That is why this setup is so frustrating to face.
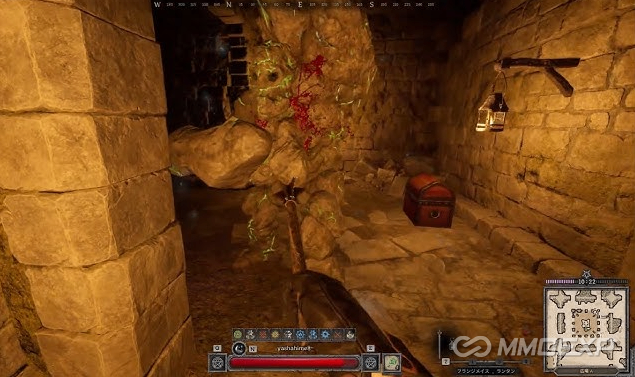
How to play it
1. Do not rush blindly
This is not a pure face-trade build. You should enter fights by finding an angle first, then landing your opener, then continuing the pressure.
2. Hit, reset, and re-engage
A strong pattern is:
land a hit
step out or reposition
re-enter from a new angle
keep the debuff chain going
This keeps the enemy under stress while protecting you from reckless trades.
3. Use terrain
Narrow halls, doorways, corners, and staircases are perfect for this style. Any place that limits vision helps your confusion effects feel stronger.
Key strengths
very high control value
excellent at breaking enemy rhythm
strong in close and mid-range fights
ideal for players who like pressure and positioning
extremely annoying for enemies to deal with
Main weaknesses
requires good spacing and timing
easy to mess up if you get too greedy
can be punished by strong burst if you overextend
depends heavily on weapon comfort and muscle memory
Best mindset for this build
This is not a "press buttons and win" setup. It rewards players who understand:
positioning
angle control
timing
movement baiting
re-entry windows
Your job is not just to deal damage. Your job is to make the enemy stop fighting cleanly.
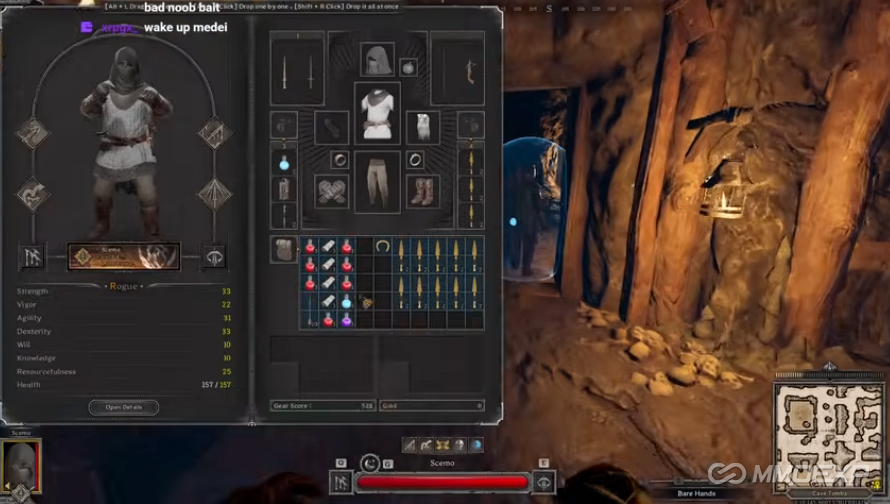
Final thoughts
The Merry Maker + Hazel Blade control style is powerful because it attacks your opponent’s decision-making as much as their health bar. If you want a build that feels oppressive, disruptive, and mentally exhausting to fight against, this is a very strong direction to explore in Dark and Darker, and you can buy Dark And Darker Gold to support your progression.
It is not the easiest build to master, but once you understand the rhythm, it can completely overwhelm players who rely on straightforward combat.