




Summary
This article outlines a powerful Elden Ring Heavy Knight tank build centered on high defense and steady melee pressure. It uses dual scimitars with frost and bleed infusions, paired with the game-changing Endure Ash of War for hyper armor and damage reduction. The setup features defensive talismans, useful crystal tears, and simple buffs to dominate boss fights with minimal skill reliance. Players can buy Elden Ring Runes to speed up leveling, weapon upgrades, and resource gathering for this durable, beginner-friendly tank setup.

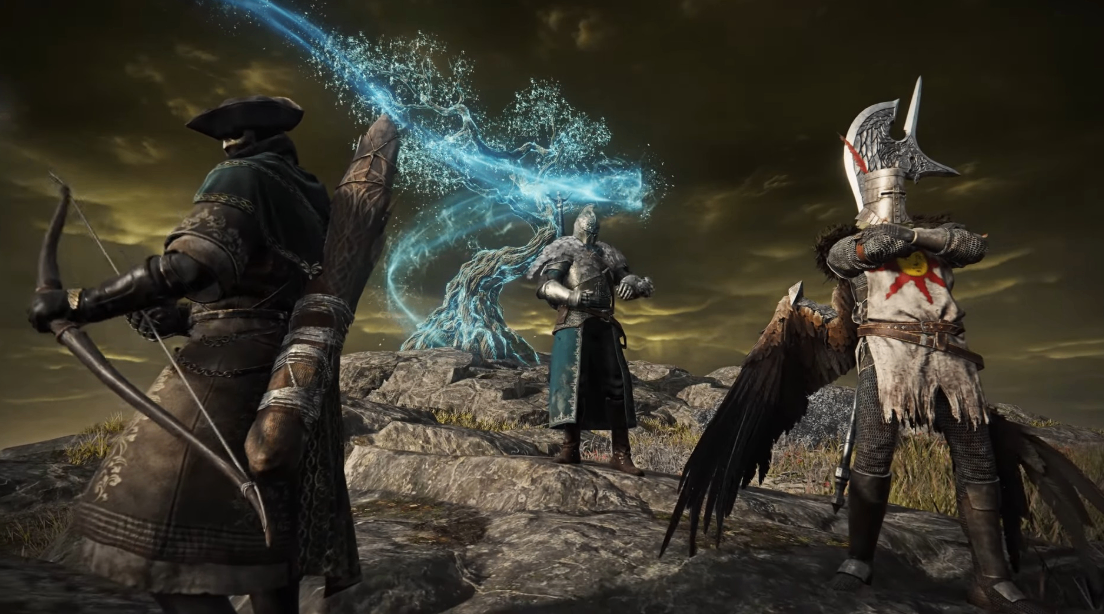
The Lands Between demand strength, resilience, and clever preparation. With the arrival of the Tarnished Edition comes a powerful new starter option: the Heavy Knight. This class arrives ready for battle in heavy armor that ranks among the stronger defensive sets available from the very beginning. Pairing that armor with the right tools turns a fresh Tarnished into a near-immovable wall capable of weathering even the fiercest bosses.
This approach focuses on a straightforward tank playstyle. The goal is simplicity. Clear your mind, raise your defenses, and press forward. The core idea is to absorb punishment while steadily chipping away at enemies through status effects and consistent pressure.
Building the Foundation Early
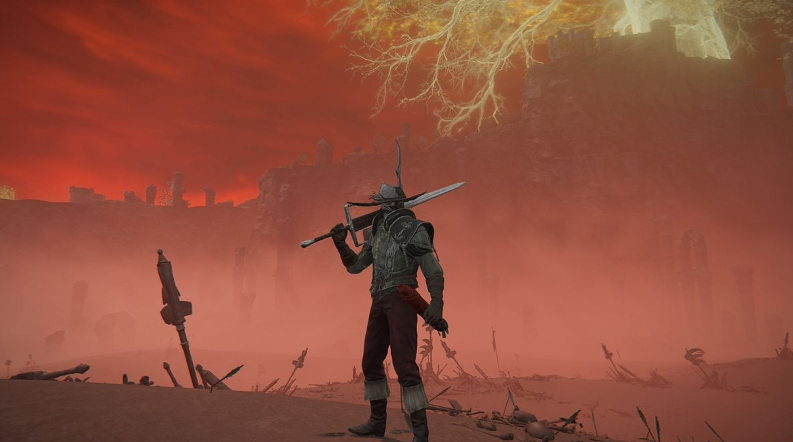
Start as the Heavy Knight. The class provides a solid base of endurance and strength along with a heavy armor set that already offers excellent protection. Equip load becomes a constant consideration because the armor and dual weapons add up quickly. Early levels invested in endurance keep movement viable without sacrificing too much defensive power.
One of the first priorities is securing a second hefty scimitar. The Heavy Knight begins with one, and a merchant in the Mistwood sells another. Dual-wielding these curved greatswords keeps the theme consistent with the starter kit while delivering solid damage and status buildup. Players who prefer raw power can later swap to heavier options such as dual Great Stars, but the scimitars work well for an authentic Heavy Knight experience.
The Key to True Tankiness: Endure
The real star of this setup is the Endure Ash of War. Acquired from Bernahl, Endure transforms the character into a temporary fortress. When activated, it reduces incoming damage by a significant margin for a few seconds and grants exceptional hyper armor. Most attacks that would normally stagger or knock the player back simply bounce off.
Because the effect lasts only a short time, the play pattern becomes rhythmic. Activate Endure, swing, and reapply as needed. This combination allows the player to stay aggressive even during boss combos that would force most builds to roll away. It is especially effective against heavy-hitting moves that normally demand precise timing.
Enhancing Weapons and Status Effects
Upgrade the dual scimitars as early as possible. Collecting smithing stone bell bearings opens merchant access to the materials needed for reliable upgrades. One weapon receives a cold infusion for frost buildup. The second takes a blood affinity for hemorrhage. The combination of frost and bleed creates frequent status procs that melt enemy health bars even when pure physical damage is only moderate.
Supporting tools round out the kit. The Dragoncrest Shield Talisman improves physical damage negation. Crystal tears such as the Opaline Bubbletear or Hardtear provide temporary extra protection or healing. Boiled crab offers a straightforward physical defense boost before tough encounters. Stormhawk Deenh can be summoned for an aura that increases physical and stance damage, helping break enemy poise faster.
Leveling and Resource Management
Early progression focuses on vigor for survivability and endurance for equip load. Godrick's Great Rune later supplies a useful boost across multiple stats. Gathering enough Elden Ring Runes remains essential throughout. Runes fund weapon upgrades, level-ups, and consumables. When farming feels slow or a sudden power spike is needed, many players choose to buy Elden Ring Runes to accelerate progress and focus more time on exploring and fighting rather than grinding.
The heavy armor set can also be purchased later from an isolated merchant if the Heavy Knight was not chosen at the start. Note that only the starter path guarantees two of the specialized scimitars in a single playthrough.
The Combat Rhythm in Practice
Buffs are simple and quick. Drink the physic flask, eat a boiled crab, summon the spirit ash if desired, then enter the fight. Activate Endure and begin attacking. When health dips, heal without hesitation. Jump attacks can speed up stance breaks, but the pure tank version often relies on steady light and heavy swings while the hyper armor absorbs retaliation.
This style shines against remembrance bosses. The combination of high defenses, damage reduction windows, and dual status effects turns lengthy, punishing encounters into controlled trades. Even moves that normally demand perfect dodges become manageable when Endure is timed correctly. The approach rewards patience and resource awareness more than complex combos or perfect roll timing.
Long-Term Strengths and Flexibility
As the journey continues into higher-level areas and the Shadow of the Erdtree content, the same principles scale effectively. Stronger versions of the Dragoncrest talisman, improved tears, and higher weapon upgrades keep the tank viable. Players can experiment with different weapon pairings while retaining the core Endure-and-tank philosophy.
The Heavy Knight starter class demonstrates that FromSoftware's design still allows for highly durable playstyles. Heavy armor, smart Ash of War use, and status pressure create a build that feels powerful without requiring constant high-skill inputs. It offers a satisfying alternative for anyone who prefers to stand firm rather than dance around every attack.
In the end, the Lands Between remain dangerous. Yet with the right preparation, a Heavy Knight can march through them as an unstoppable force, trading blows and emerging victorious through sheer resilience and steady pressure.