The encounter against Akthi, the Final Sting, and Anundr, the Sandworm is one of the first real "mechanics check" fights in Path of Exile 2. It happens during the Interlude in The Khari Crossing and is tied to the "Clearing the Way" quest. While technically optional, skipping it is a mistake-the reward includes a Book of Specialisation that grants passive skill points, which is permanent character power.
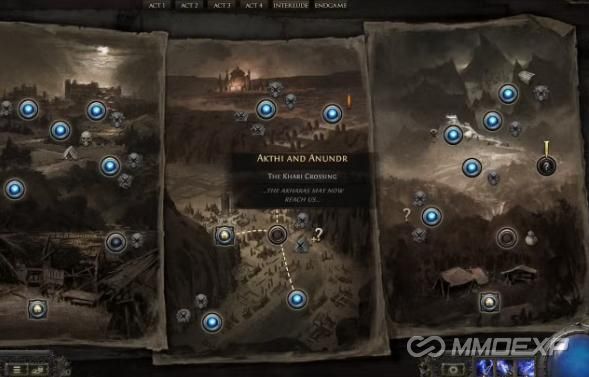
What makes this fight dangerous isn't raw damage-it's battlefield control. You're dealing with two bosses simultaneously, each applying pressure in completely different ways. If you don't understand how they interact, the arena becomes unmanageable very quickly. This guide breaks down the fight in a way that matches how it actually feels to play.
Understanding the Dual-Boss Design
The core challenge of this encounter lies in how the two bosses interact. Each one fills a different role, and together they create constant pressure.
Akthi is aggressive and fast. She focuses on direct combat, using sweeping melee attacks, lunges, and venom-based abilities to punish poor positioning. She forces you to stay alert at all times.
Anundr, on the other hand, manipulates the battlefield. He fills the arena with quicksand, poison pools, and lingering hazards that restrict movement. While his attacks may seem less threatening individually, their cumulative effect is what makes the fight dangerous.
When combined, these two forces create a layered threat. You are not just avoiding attacks-you are navigating a battlefield that becomes increasingly hostile over time.
Why Target Priority Matters
One of the most common mistakes players make in this fight is treating both bosses as equal threats. This leads to splitting damage and prolonging the encounter, which only increases difficulty.
The correct approach is to prioritize Anundr. The reason is simple: Anundr's mechanics scale over time. The longer he stays alive, the more the arena fills with hazards. Quicksand slows your movement, poison zones deal constant damage, and safe positioning becomes harder to maintain.
If you eliminate Akthi first while leaving Anundr alive, you may still lose due to the overwhelming number of environmental hazards. Conversely, killing Anundr first stabilizes the fight and gives you room to deal with Akthi more comfortably. Understanding this priority transforms the encounter from chaotic to manageable.
Mastering Movement and Positioning
Movement is the most important skill in this fight. Standing still, even briefly, can result in taking multiple sources of damage at once. However, effective movement is not about reacting randomly. It is about maintaining control.
A consistent strategy is to move in wide circles around the arena. This keeps both bosses within view and reduces the chance of being surprised by incoming attacks or hidden hazards. By maintaining a predictable path, you also avoid trapping yourself in corners or running through dangerous areas.
Positioning is equally critical. You should aim to keep both bosses on one side of your screen whenever possible. This allows you to track their actions and respond accordingly. Losing sight of either boss increases the likelihood of being hit unexpectedly.
Dealing with Ground Effects
The arena will gradually fill with hazards, and understanding these is key to survival.
Quicksand is one of the most dangerous mechanics. It slows your movement, making it harder to dodge attacks and reposition effectively. Even a small patch can become deadly if it interferes with your ability to escape.
Poison pools and caustic ground deal damage over time. While each instance may seem manageable, standing in multiple overlapping areas can drain your life rapidly.
The key is to treat these hazards as top priority. Avoiding them is often more important than dealing damage. A player who survives longer will always have more opportunities to win the fight.
Breaking Down Akthi's Attack Patterns
Akthi is the more aggressive of the two bosses and demands constant attention.
Her tail swipe is a wide, sweeping attack that can catch players who are too close. The safest response is to move out of range or dodge through the attack if your timing is precise.
Her burrowing ability allows her to disappear and reappear beneath you. This attack is telegraphed by ground indicators, and quick lateral movement is usually enough to avoid it.